
As an part of the experiment, I decided to try to electroplate “non-metal” objects. This process is quite poorly described on the Internet. You can copper-plate with this method almost anything (insects, wood, plastics, dried plants and so on).
The first thing that has came to my mind was to try it out on a 3D printed models. I’ve made at least a few attempts to cover the prints with metal before achieving satisfactory results.
However, in the end, I managed to carry out the whole process from the beginning to the end without any problems or mistakes. Even distribution of the copper across the whole surface of 3D printed objects was certainly the biggest problem that I had to overcome.
Below I will describe a relatively simple process to copper-plate prints which gives decent results at the first attempts. I will also try to describe all the problems that I had to face and their solutions.
Needed items:
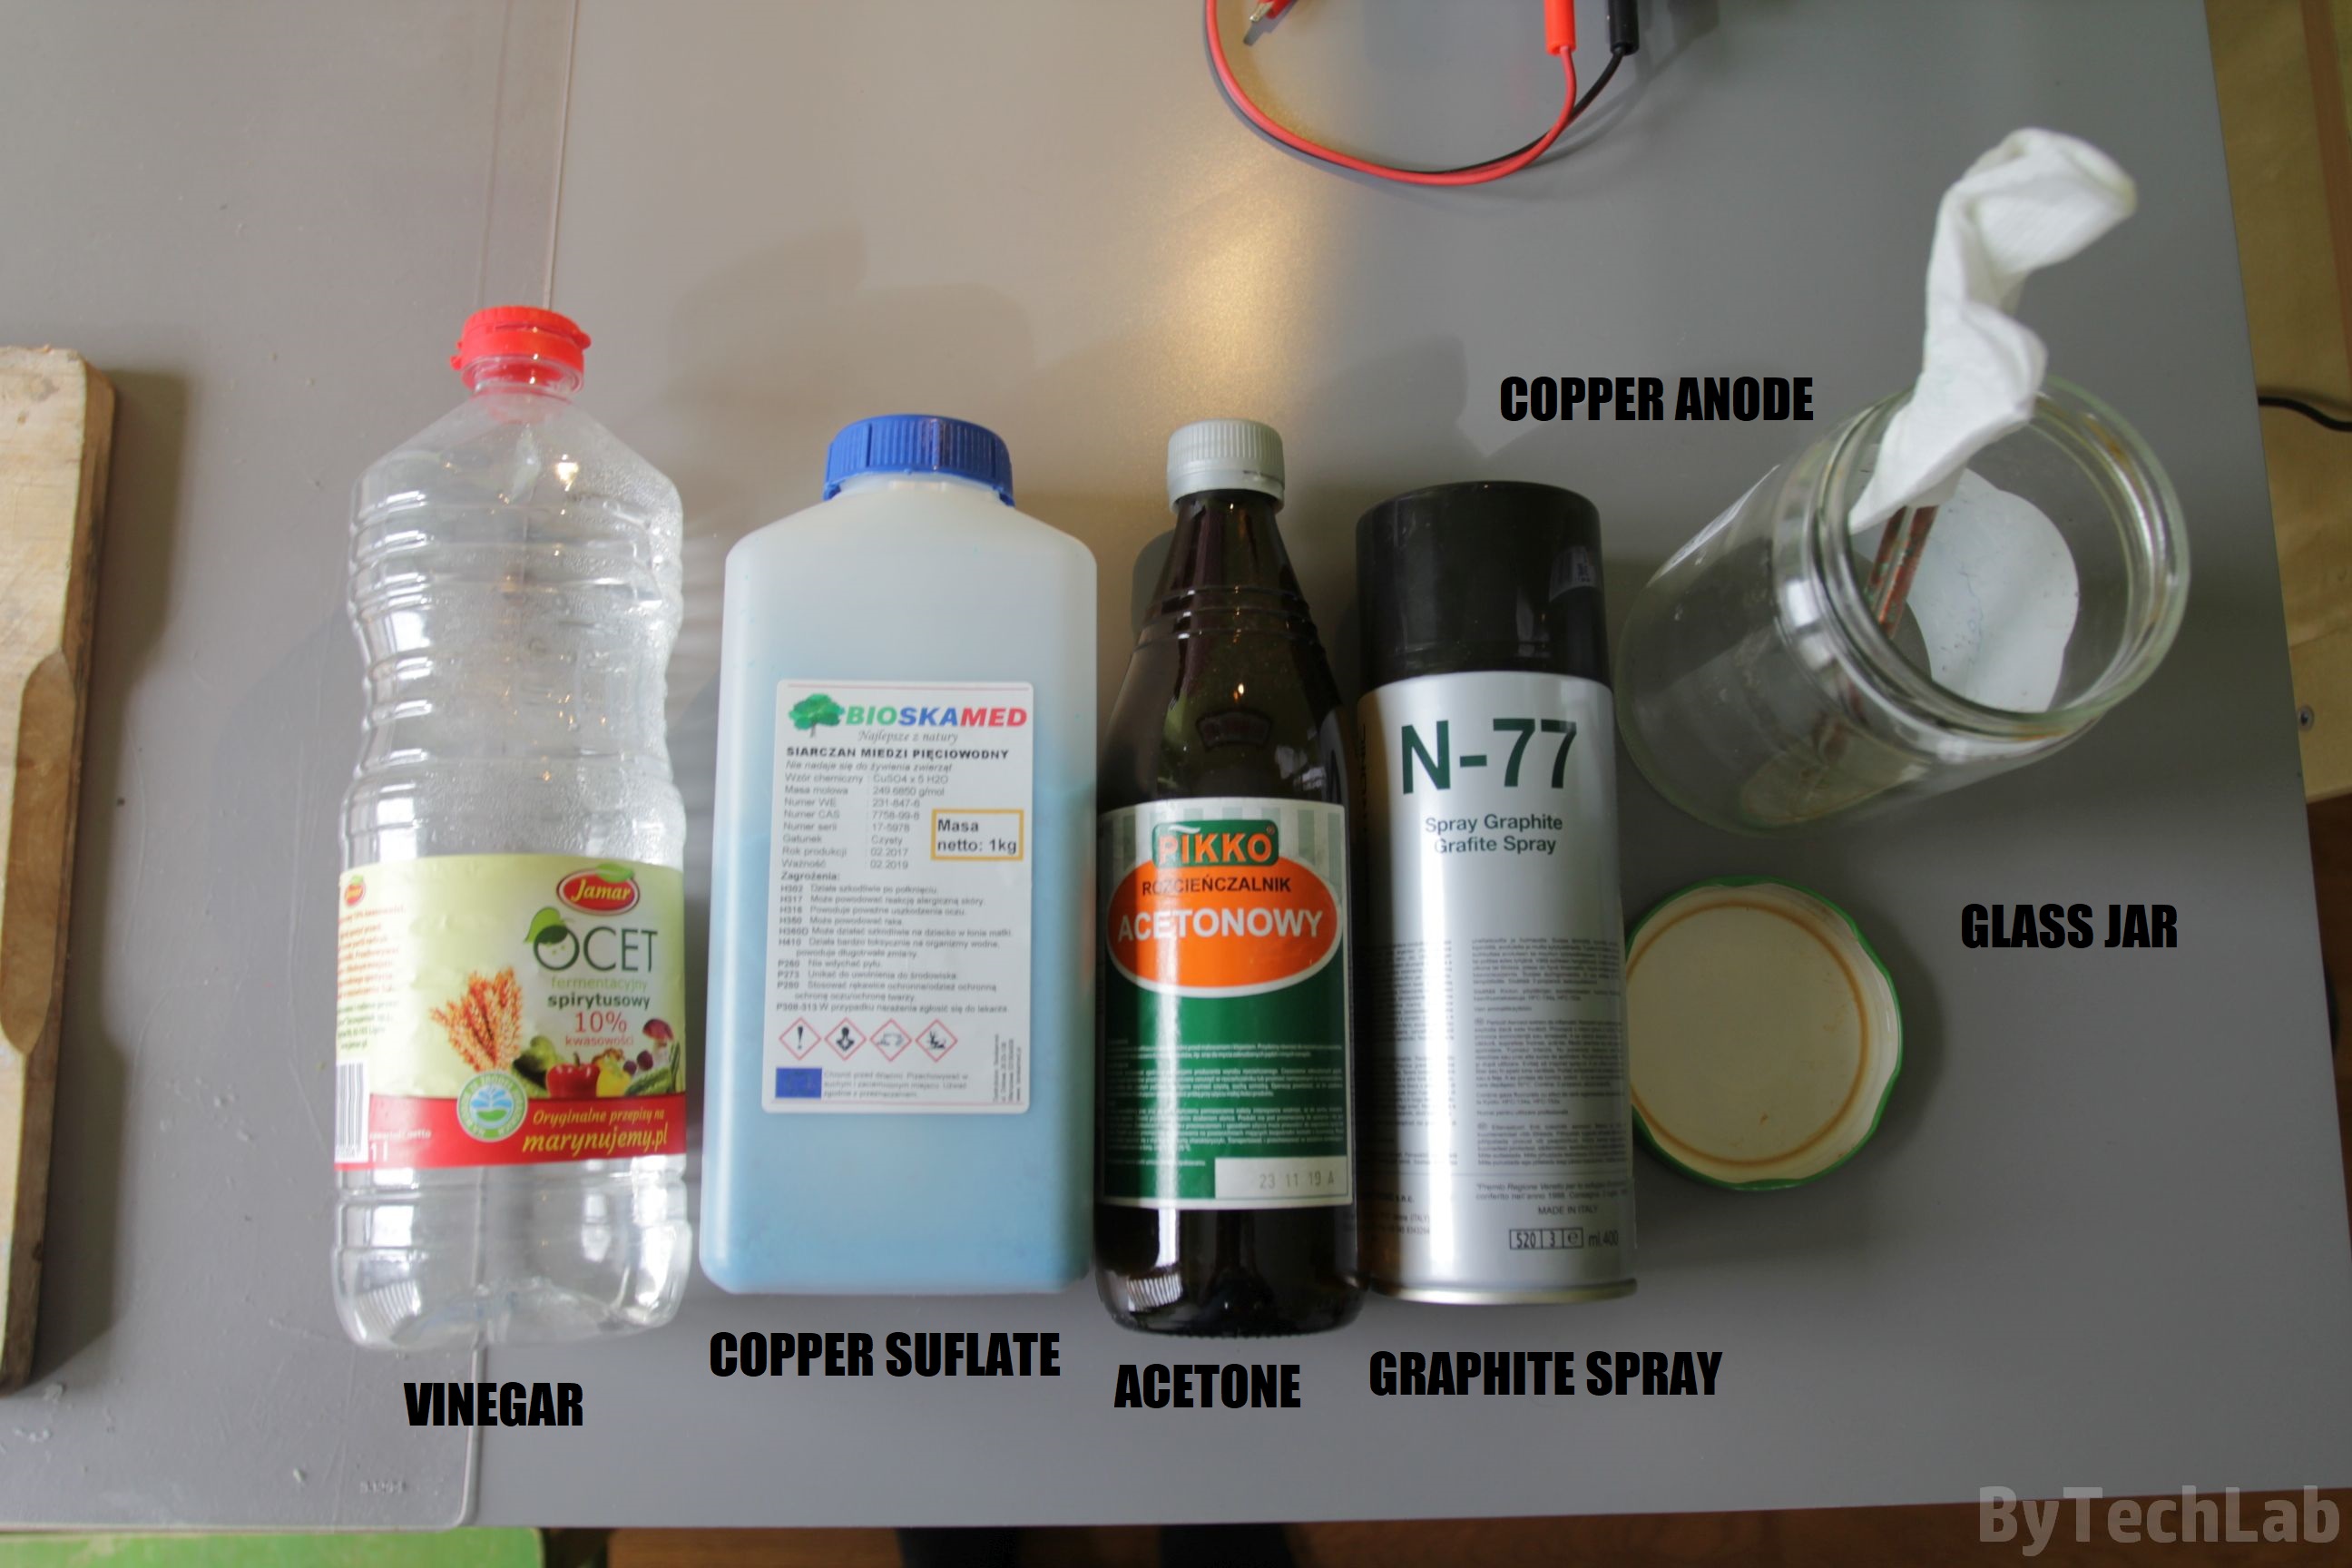
- Spirit vinegar (you can use other diluted acid for example: sulfuric – not recommended – dangerous)
- Copper sulfate (use gloves when working with it)
- Acetone
- N-77 graphite spray made by due-ci company (or similar which is available in your country)
- Concentrated isopropyl alcohol or eltyl alcohol (for cleaning 3D printed parts)
- A jar with a cap or other container
- Distilled water
- Sandpaper with high grit
- Brush
- Copper anode with high surface area
- PCB laminate
- Cyanoacrylate adhesive
- Laboratory power supply with the current source function
3D printing:
Firstly you need to properly prepare the model that you want to cover with metal. I don’t recommend starting with models that require a large number of supports (unless you have a printer which can print with soluble support). Under the supports, the print surface often has many tiny holes and it’s the surface is very uneven. All irregularities and leaks need to be removed in next steps, so when you print such a model, you add a lot of work for yourself.
I’ve chosen a fairly simple model which in addition is flat on the other side – it greatly improves the adhesion of the “distribution” electrode. You can find this model on Thingiverse (it is something that looks like Aztec tile): https://www.thingiverse.com/thing:1095494.
I’ve chosen this model because it will look very interesting when it oxidizes. I enlarged this model to 7 by 7 cm dimensions – I couldn’t enlarge it any more ,because it wouldn’t fit in to the jar.
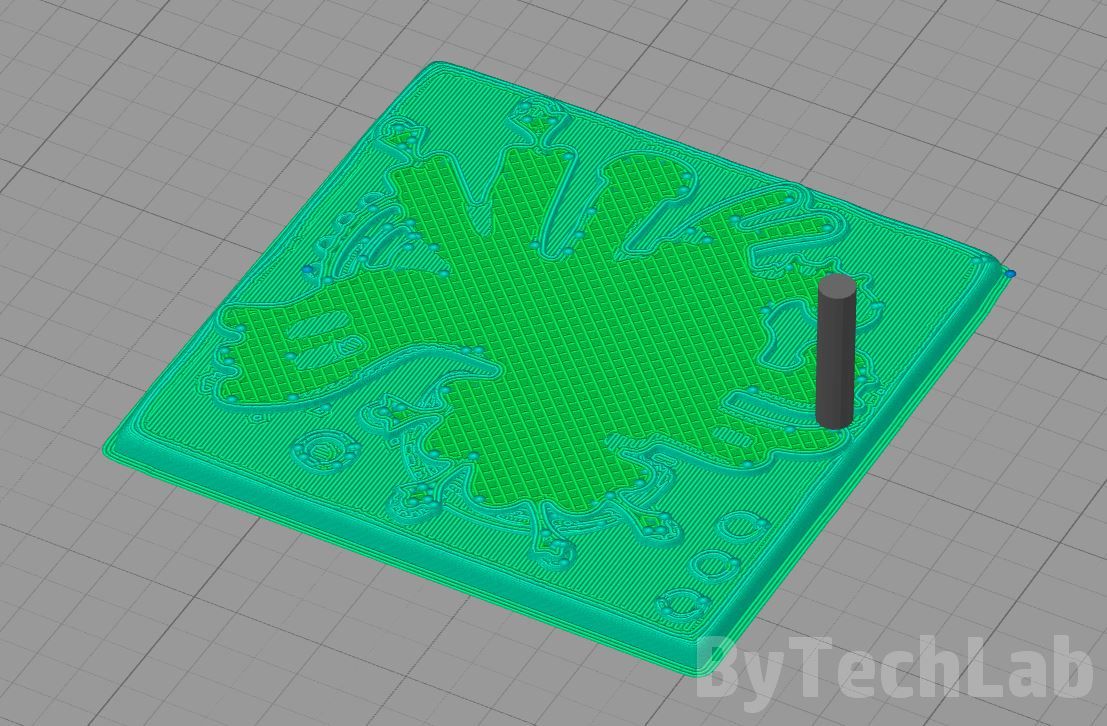
You should cut the model in slicer in that way that the print surfaces are as smooth as possible and they don’t have any “micro-holes”. I recommend printing objects intended for electroplating with ABS filament, because it is easy to work with (smoothing, grinding, etc.).
Printing parameters that I used:
- Layer height: 0.1 mm
- Extrusion width: 0.45 mm
- Infill: 35% Grid
- Number of top / bottom layers: 5/4
- Material: ABS +
- Outlines: 2
- Nozzle size: 0.4 mm
- Printing speed: 40-60 mm / s

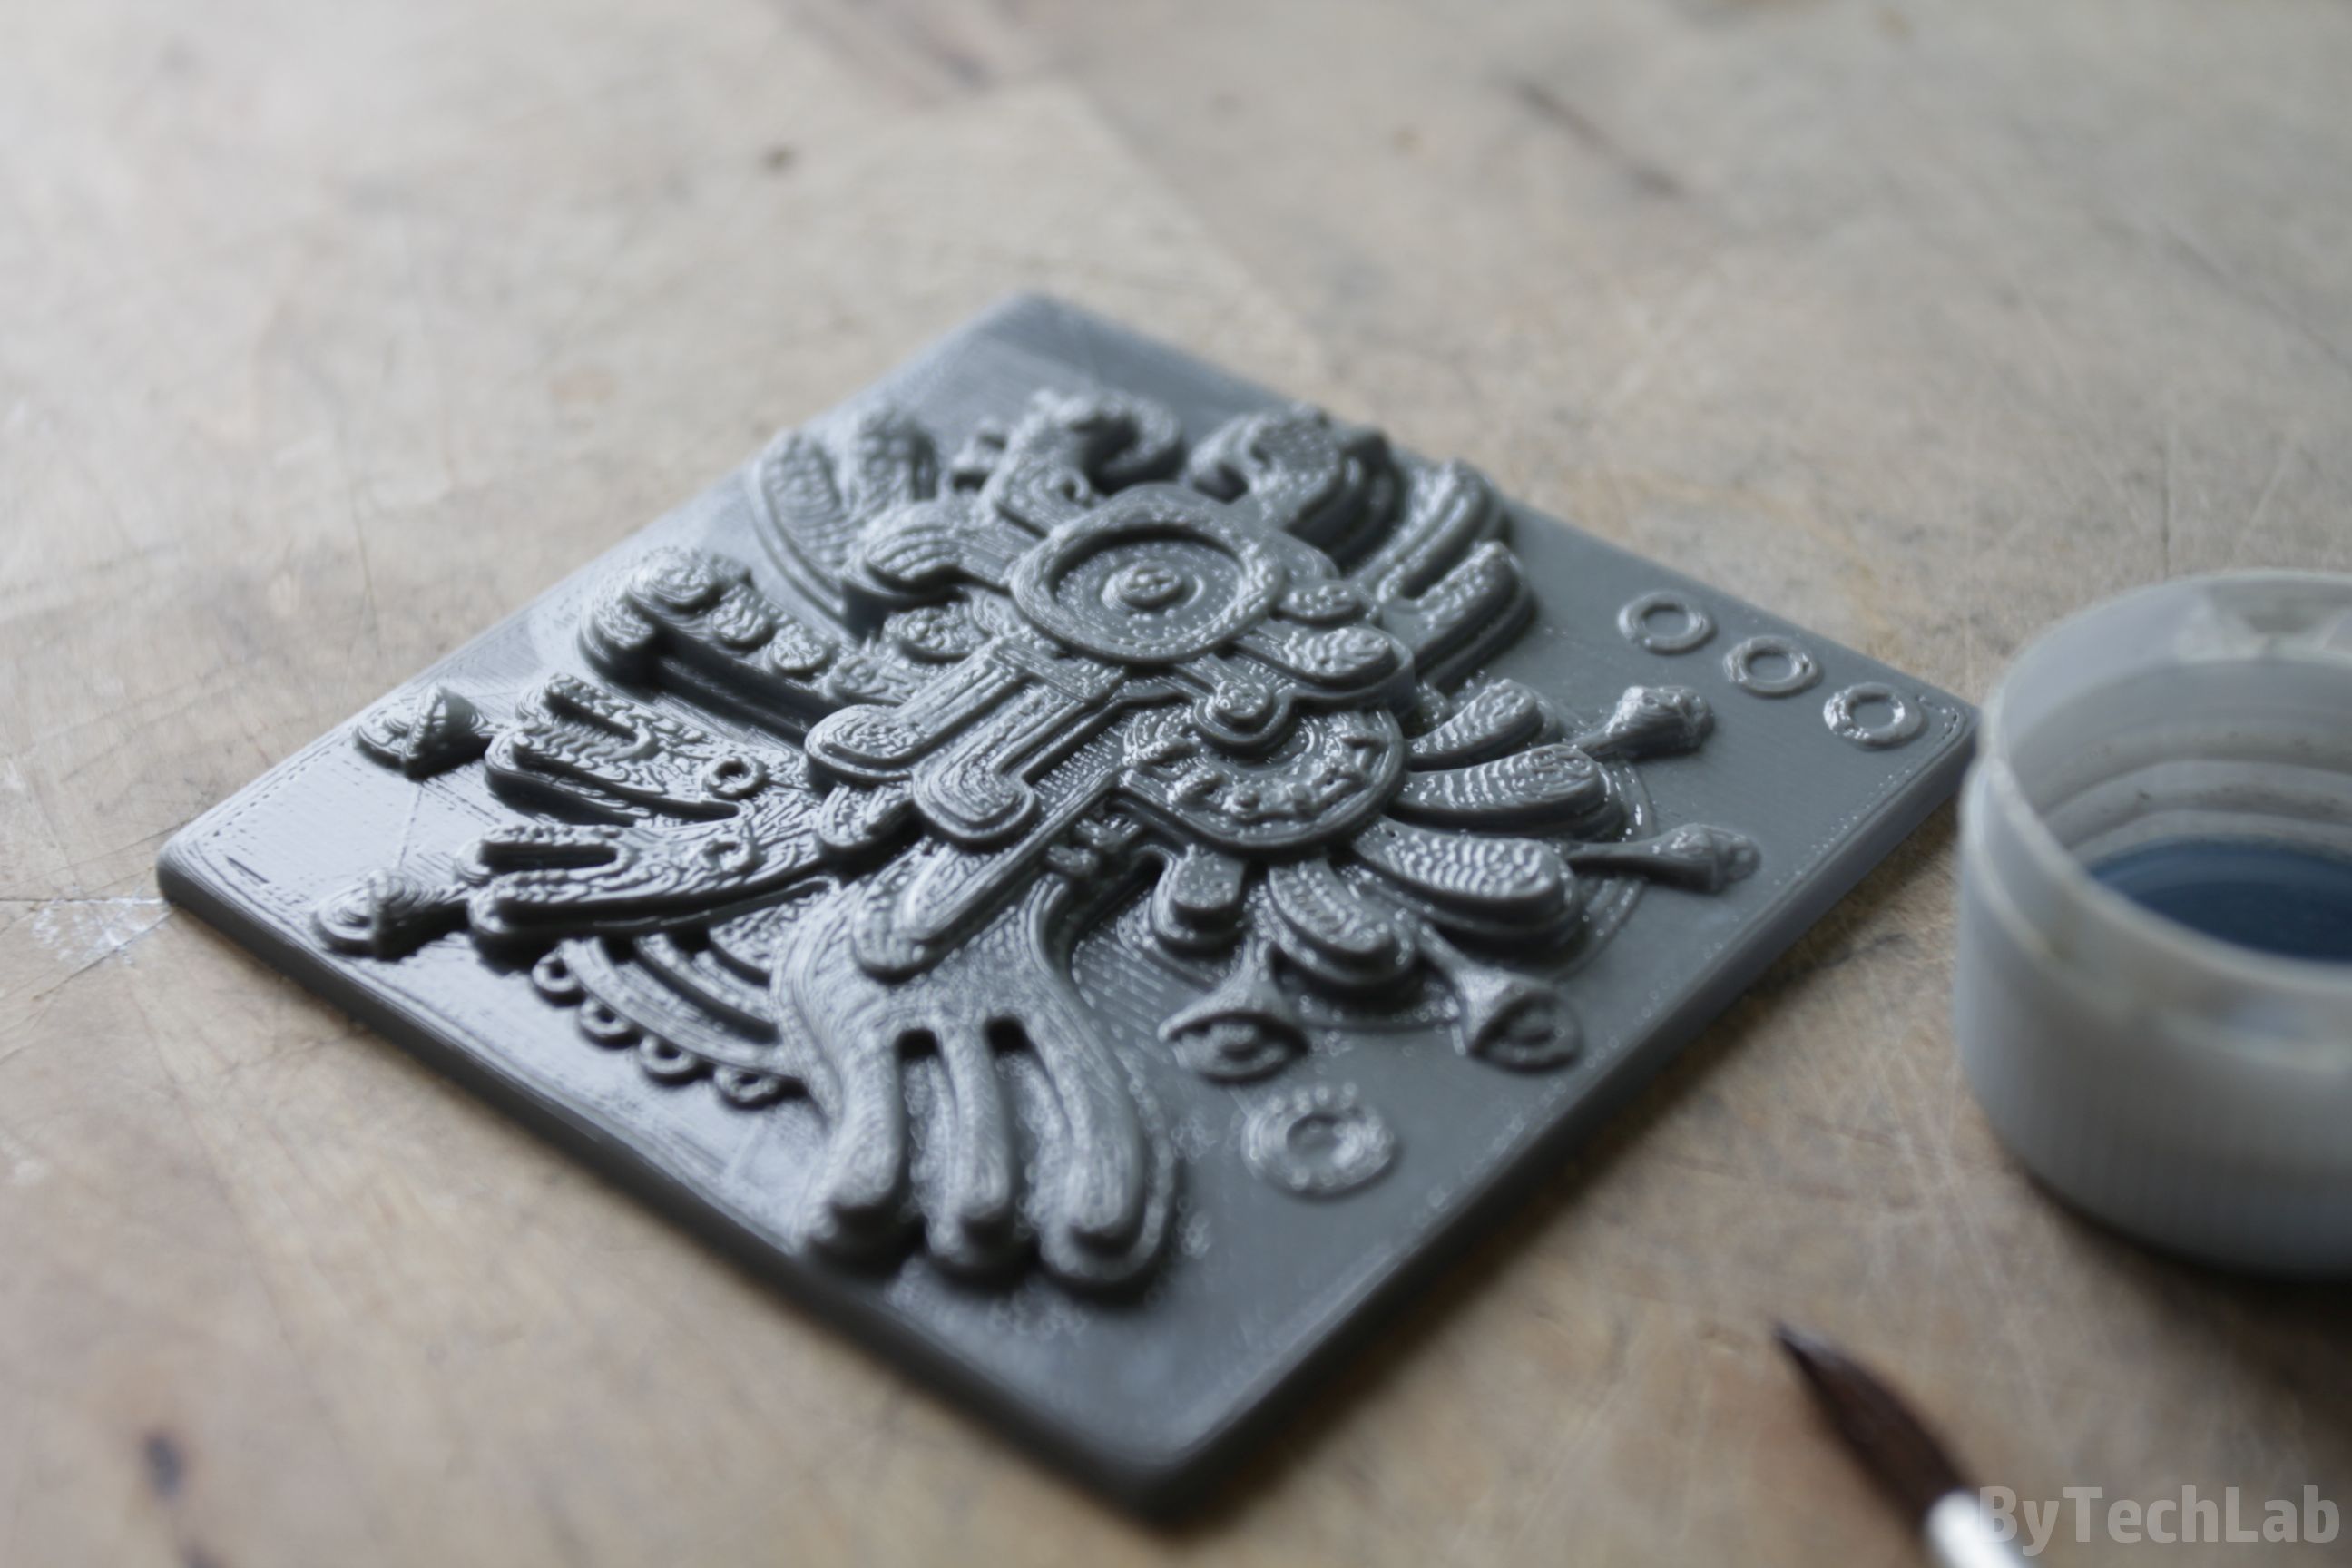
Despite the efforts, some holes appeared in the upper layers – I didn’t wanted to print whole model second time, so I spent a little more time smoothing it with acetone.
Preparing model for coverage with graphite:
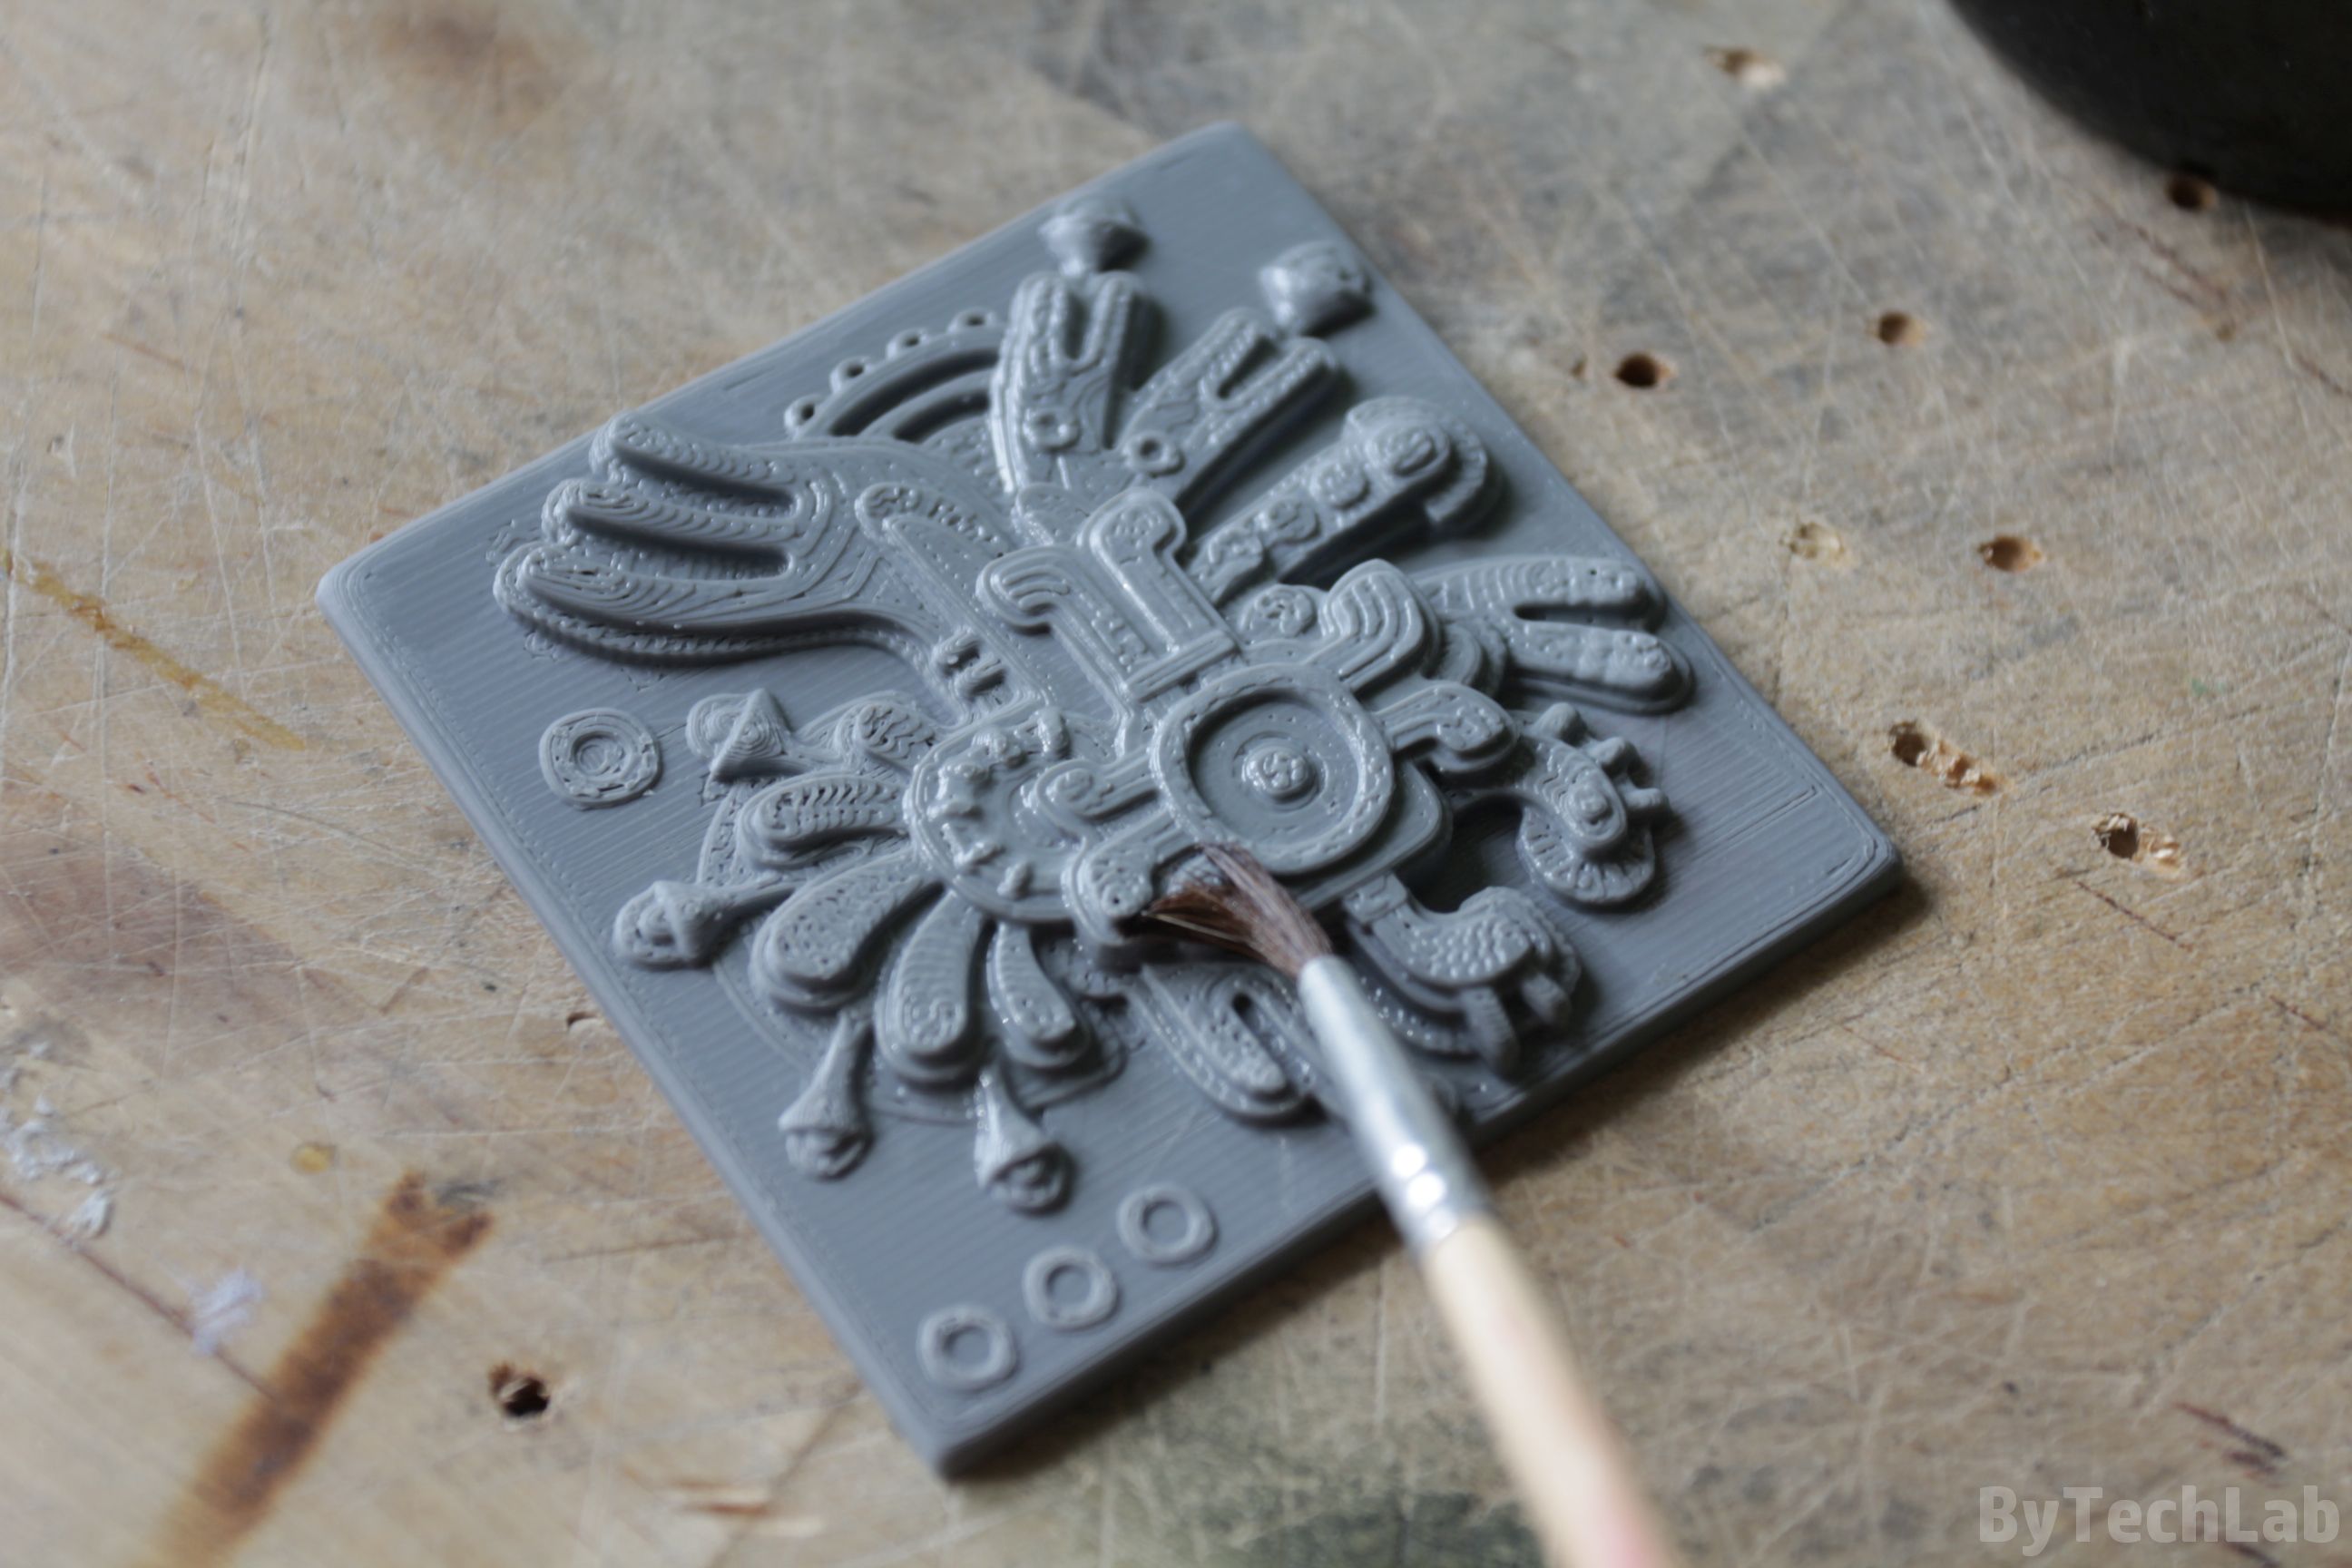
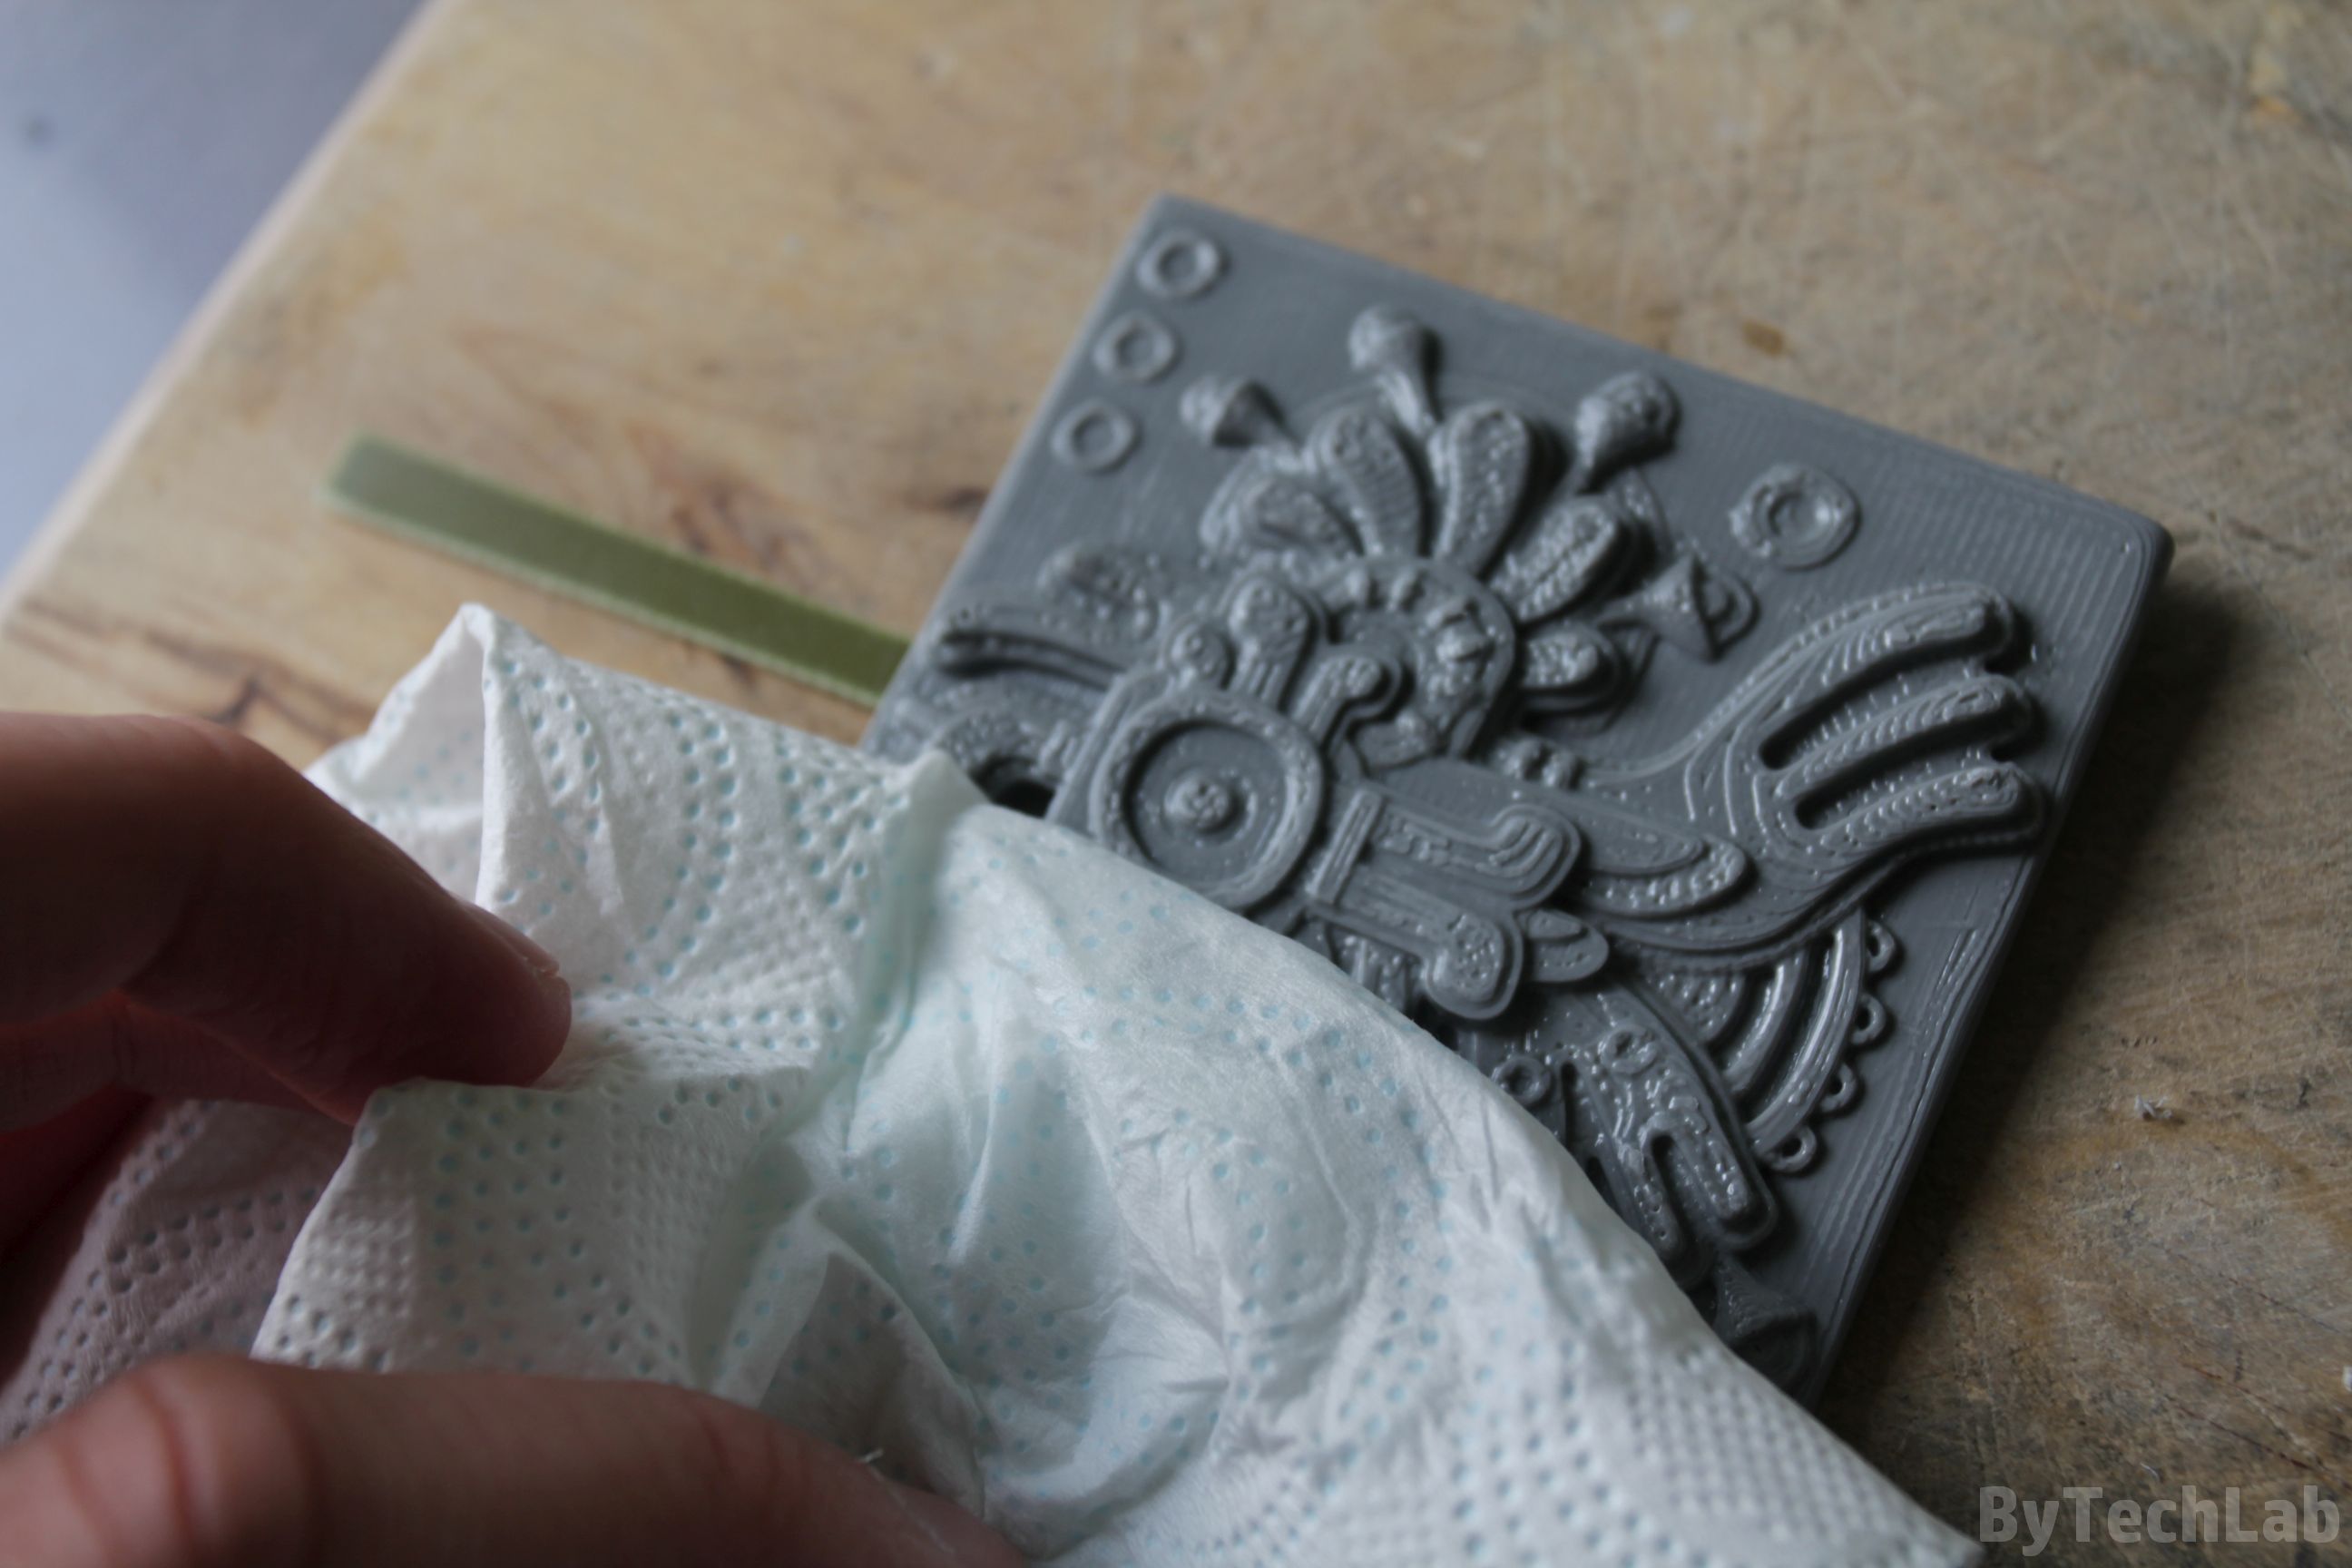
The 3D printed object should be carefully prepared for the application of a graphite layer. Firstly you need to remove any brims, rafts or supports. Then you have to deal with the uneven print surface which from the beginning should be relatively smooth ( that’s why I’ve used a 0.1 mm layer height ). Then the model should be treated with a brush dipped in acetone to smooth the surface and remove any micro-holes in it. Don’t use too much acetone because the print must be completely dry before applying graphite.
Apply acetone in larger quantities to places where you suspect leaks. You have to do it very carefully so that you don’t create ugly white “traces” on the model. After smoothing is finished, leave it for a few hours to evaporate the acetone. Then you will need to stick the electrode made from the PCB laminate to the 3D printed model with use of Cyanoacrylate adhesive.
I’m almost sure that someone will ask: “What should I do when I don’t have such a flat surface on the back of the print ?” – there are several ways (more difficult). You can cover the entire print with graphite and then wrap with a thin wire so that it touches it in several places. You can also screw in a small screw in a place that won’t be visible, and then apply the graphite coating to the whole model.
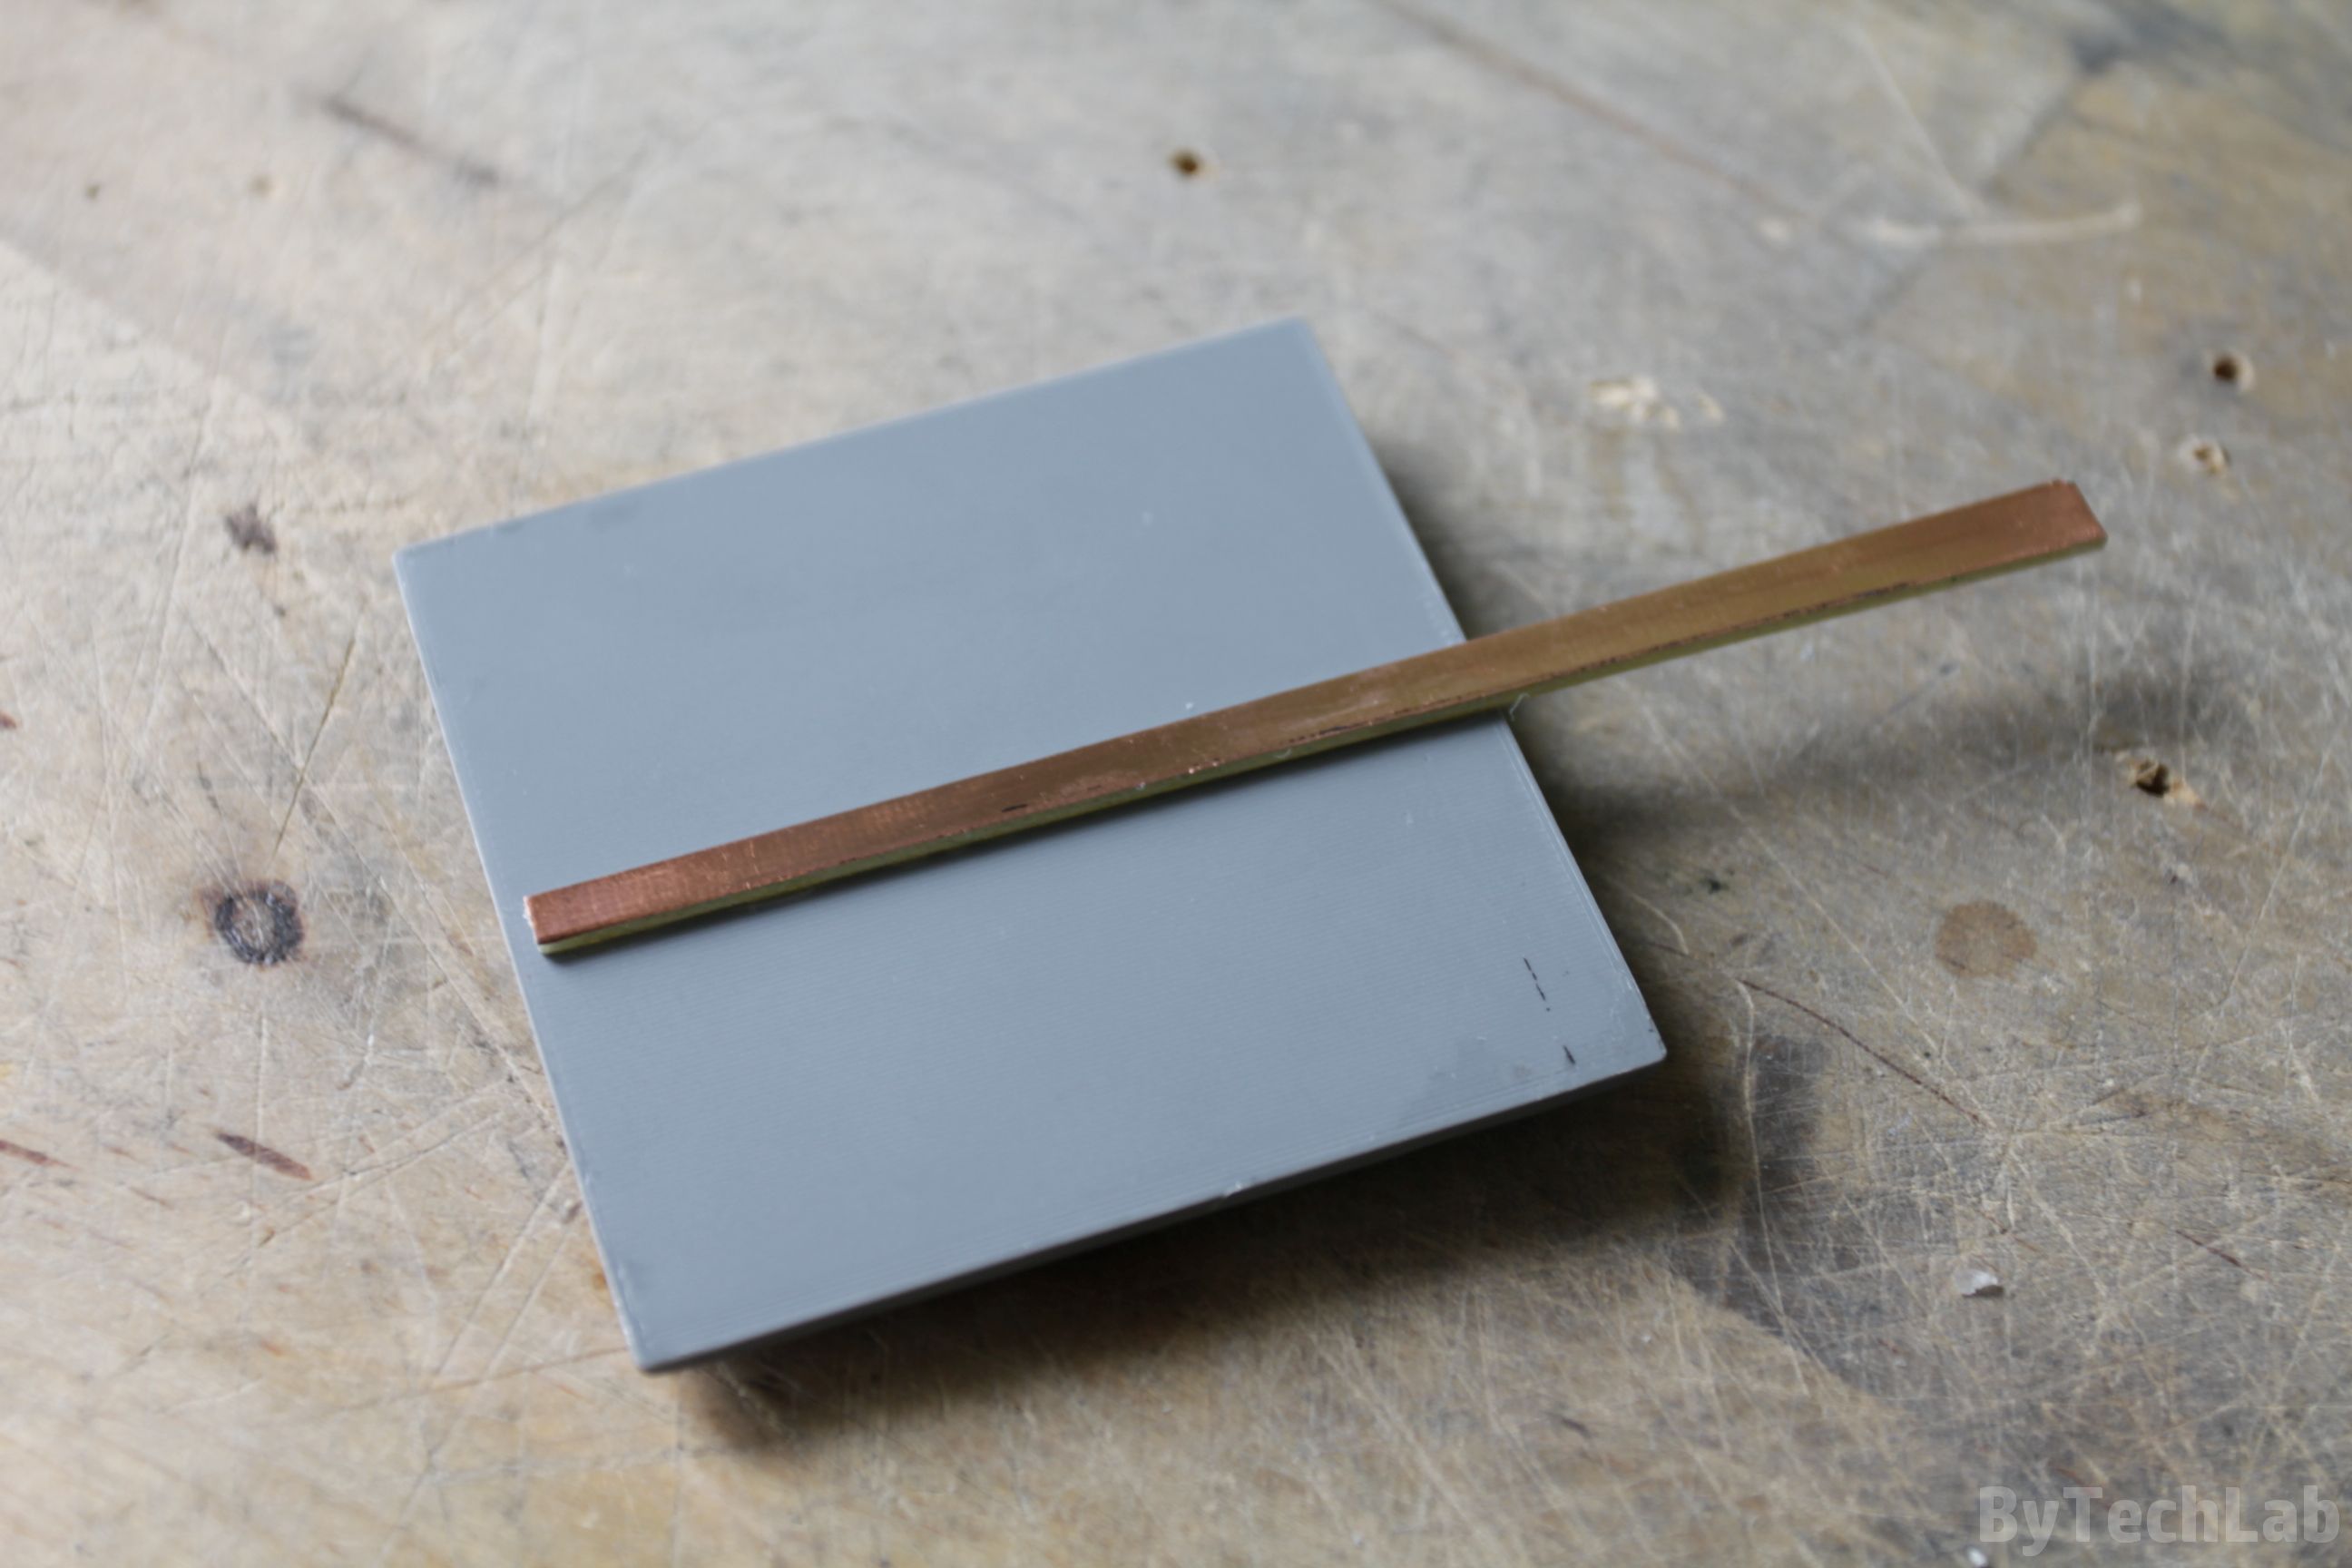
In this case, the electrode performs two tasks: it allows the print to be properly attached in the bath and evenly distributes the current over the whole the graphite coating. If you attach such an electrode in one point (for example on the corner), the current would flow first to the nearest graphite surface creating an uneven coating. Graphite conducts electricity well but not as well as the copper sulfate solution, so you need to be careful with that.
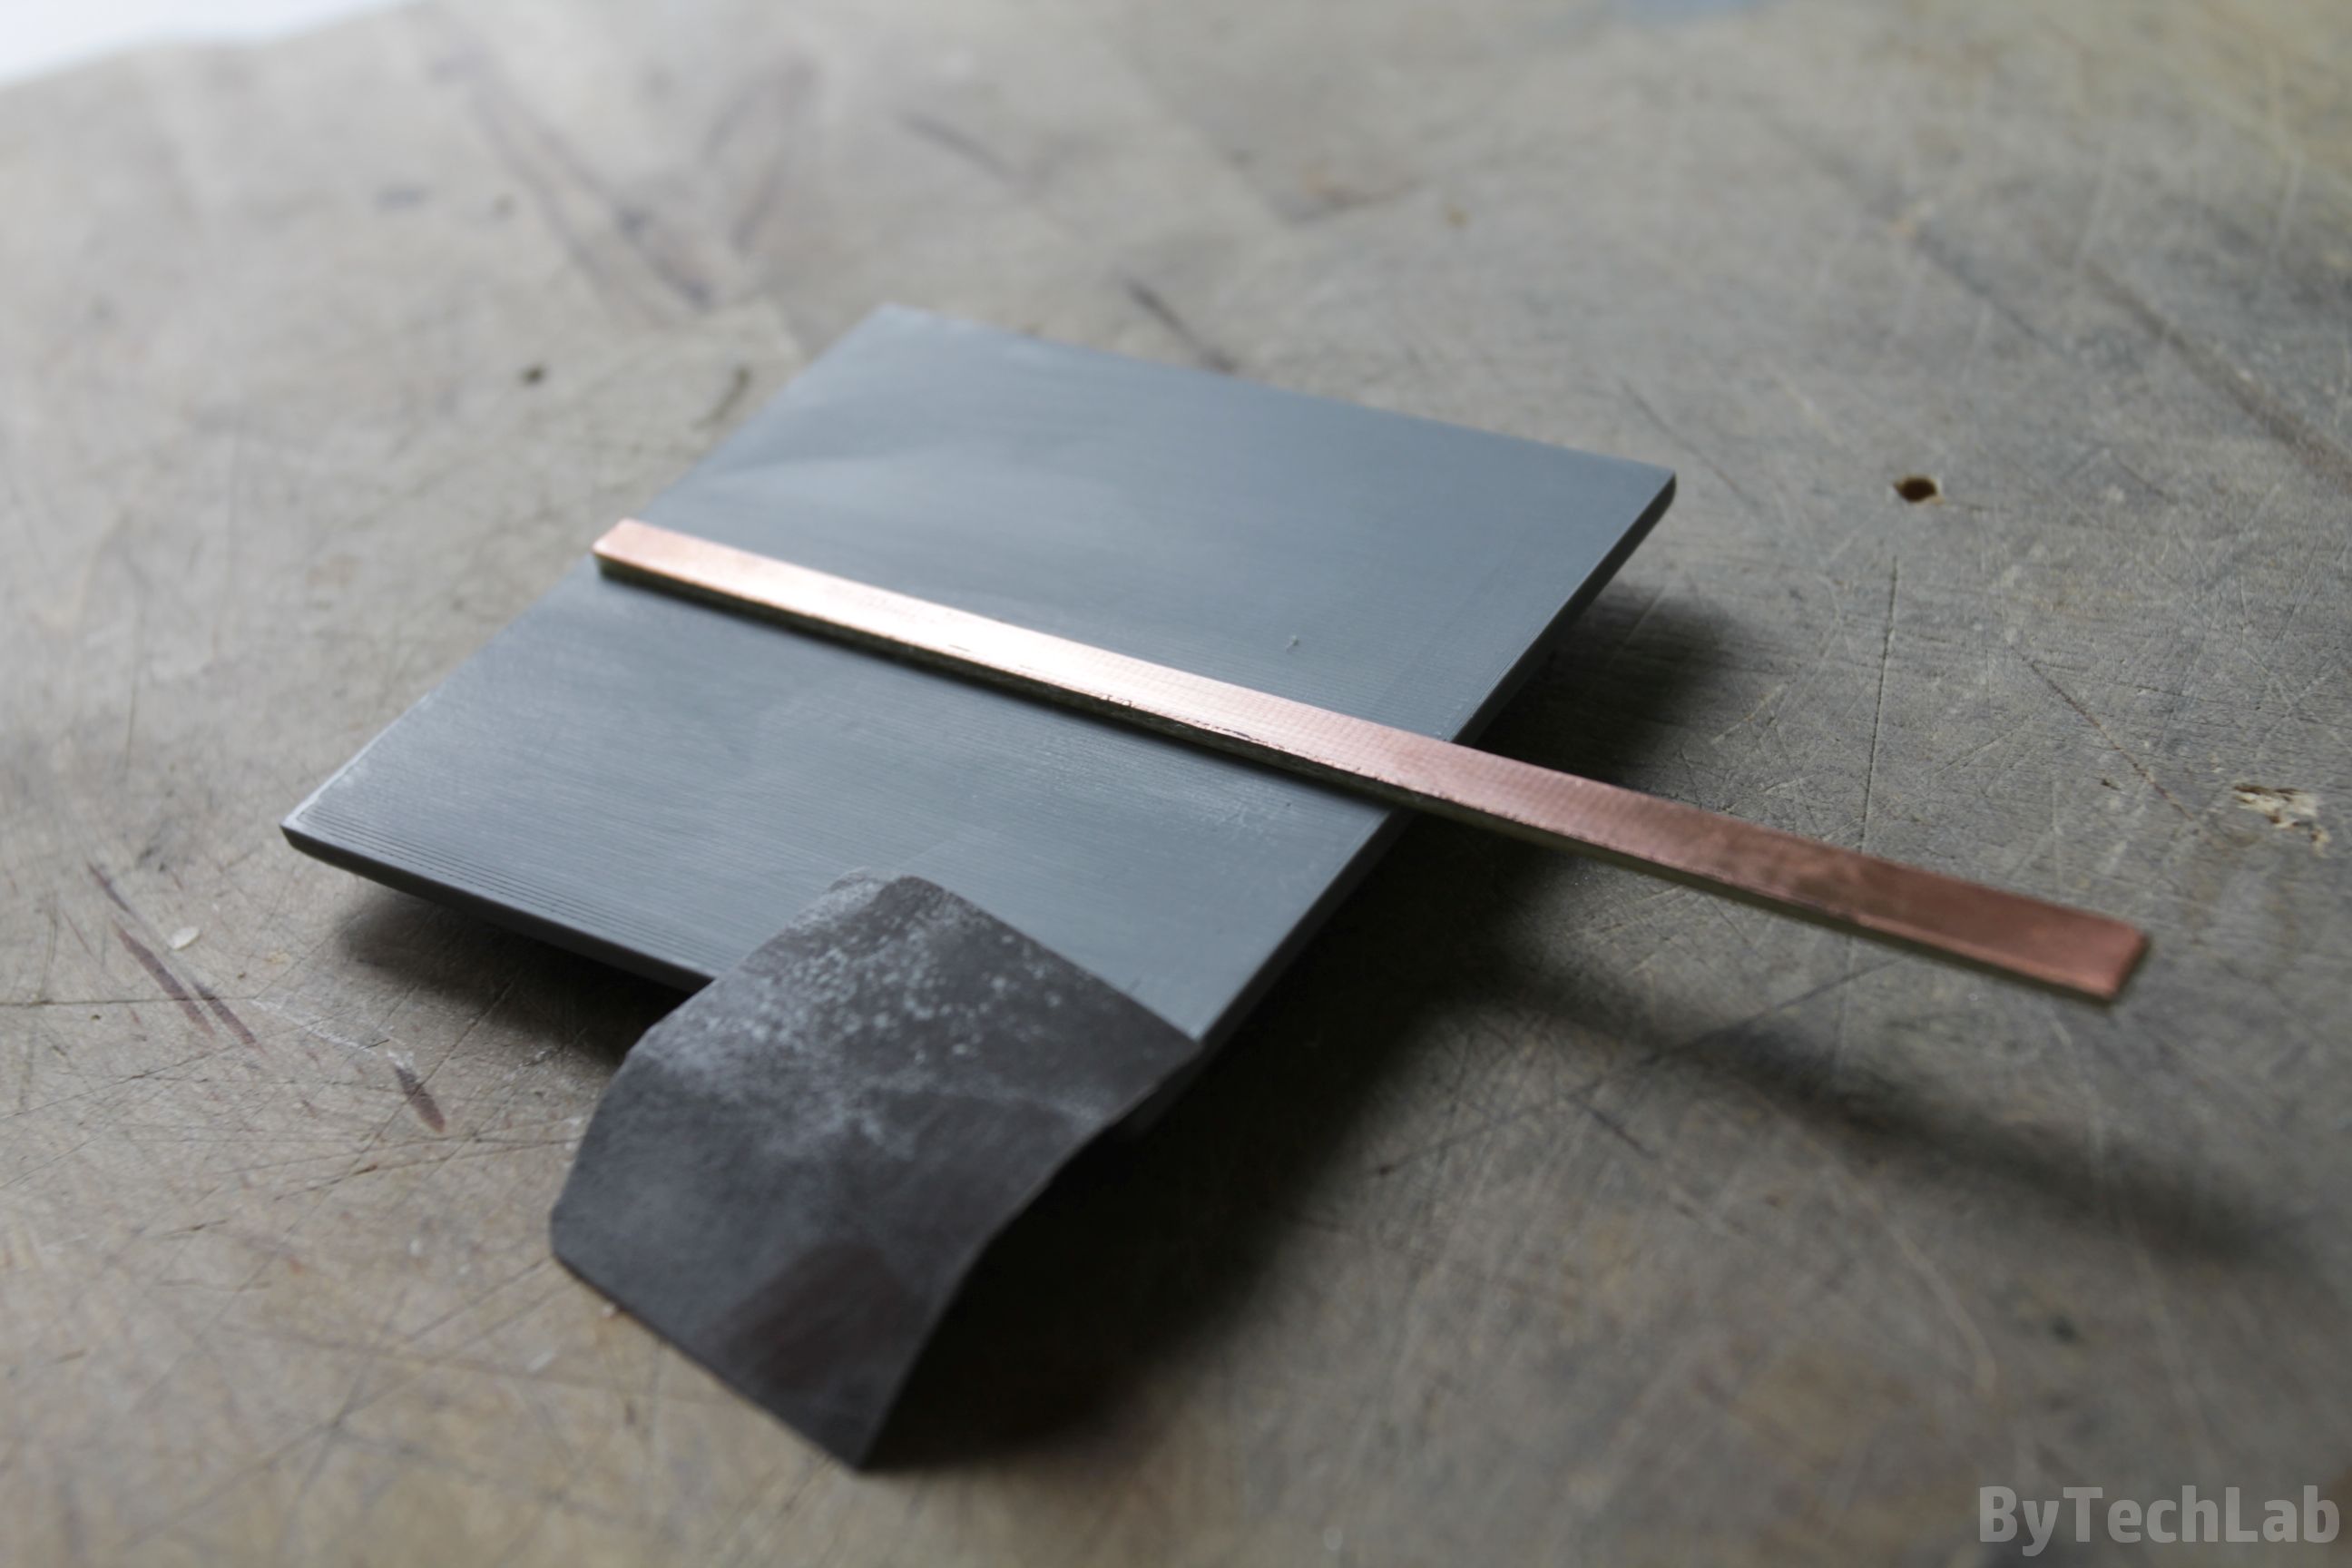
Before applying the conductive layer, slightly sand model and electrode surface with high-grit sandpaper. Now graphite should stick to the print surface a little bit better. Then you need to clean the whole thing with use of alcohol:
VERY IMPORTANT – Do not touch model surface after cleaning it, because it may lead to graphite coating adhesion problems !!
Applying graphite layer:

Apply at least 2 fairly thick layers of graphite paint. Regarding the drying time, you should follow the manufacturer’s instructions for the given graphite paint. You need to be sure that the layers are even – copper coating quality depends on this. Instead of graphite paint, you can also try powdered graphite mixed with ABS dissolved in acetone, but it is more difficult to obtain satisfactory results by using this method.
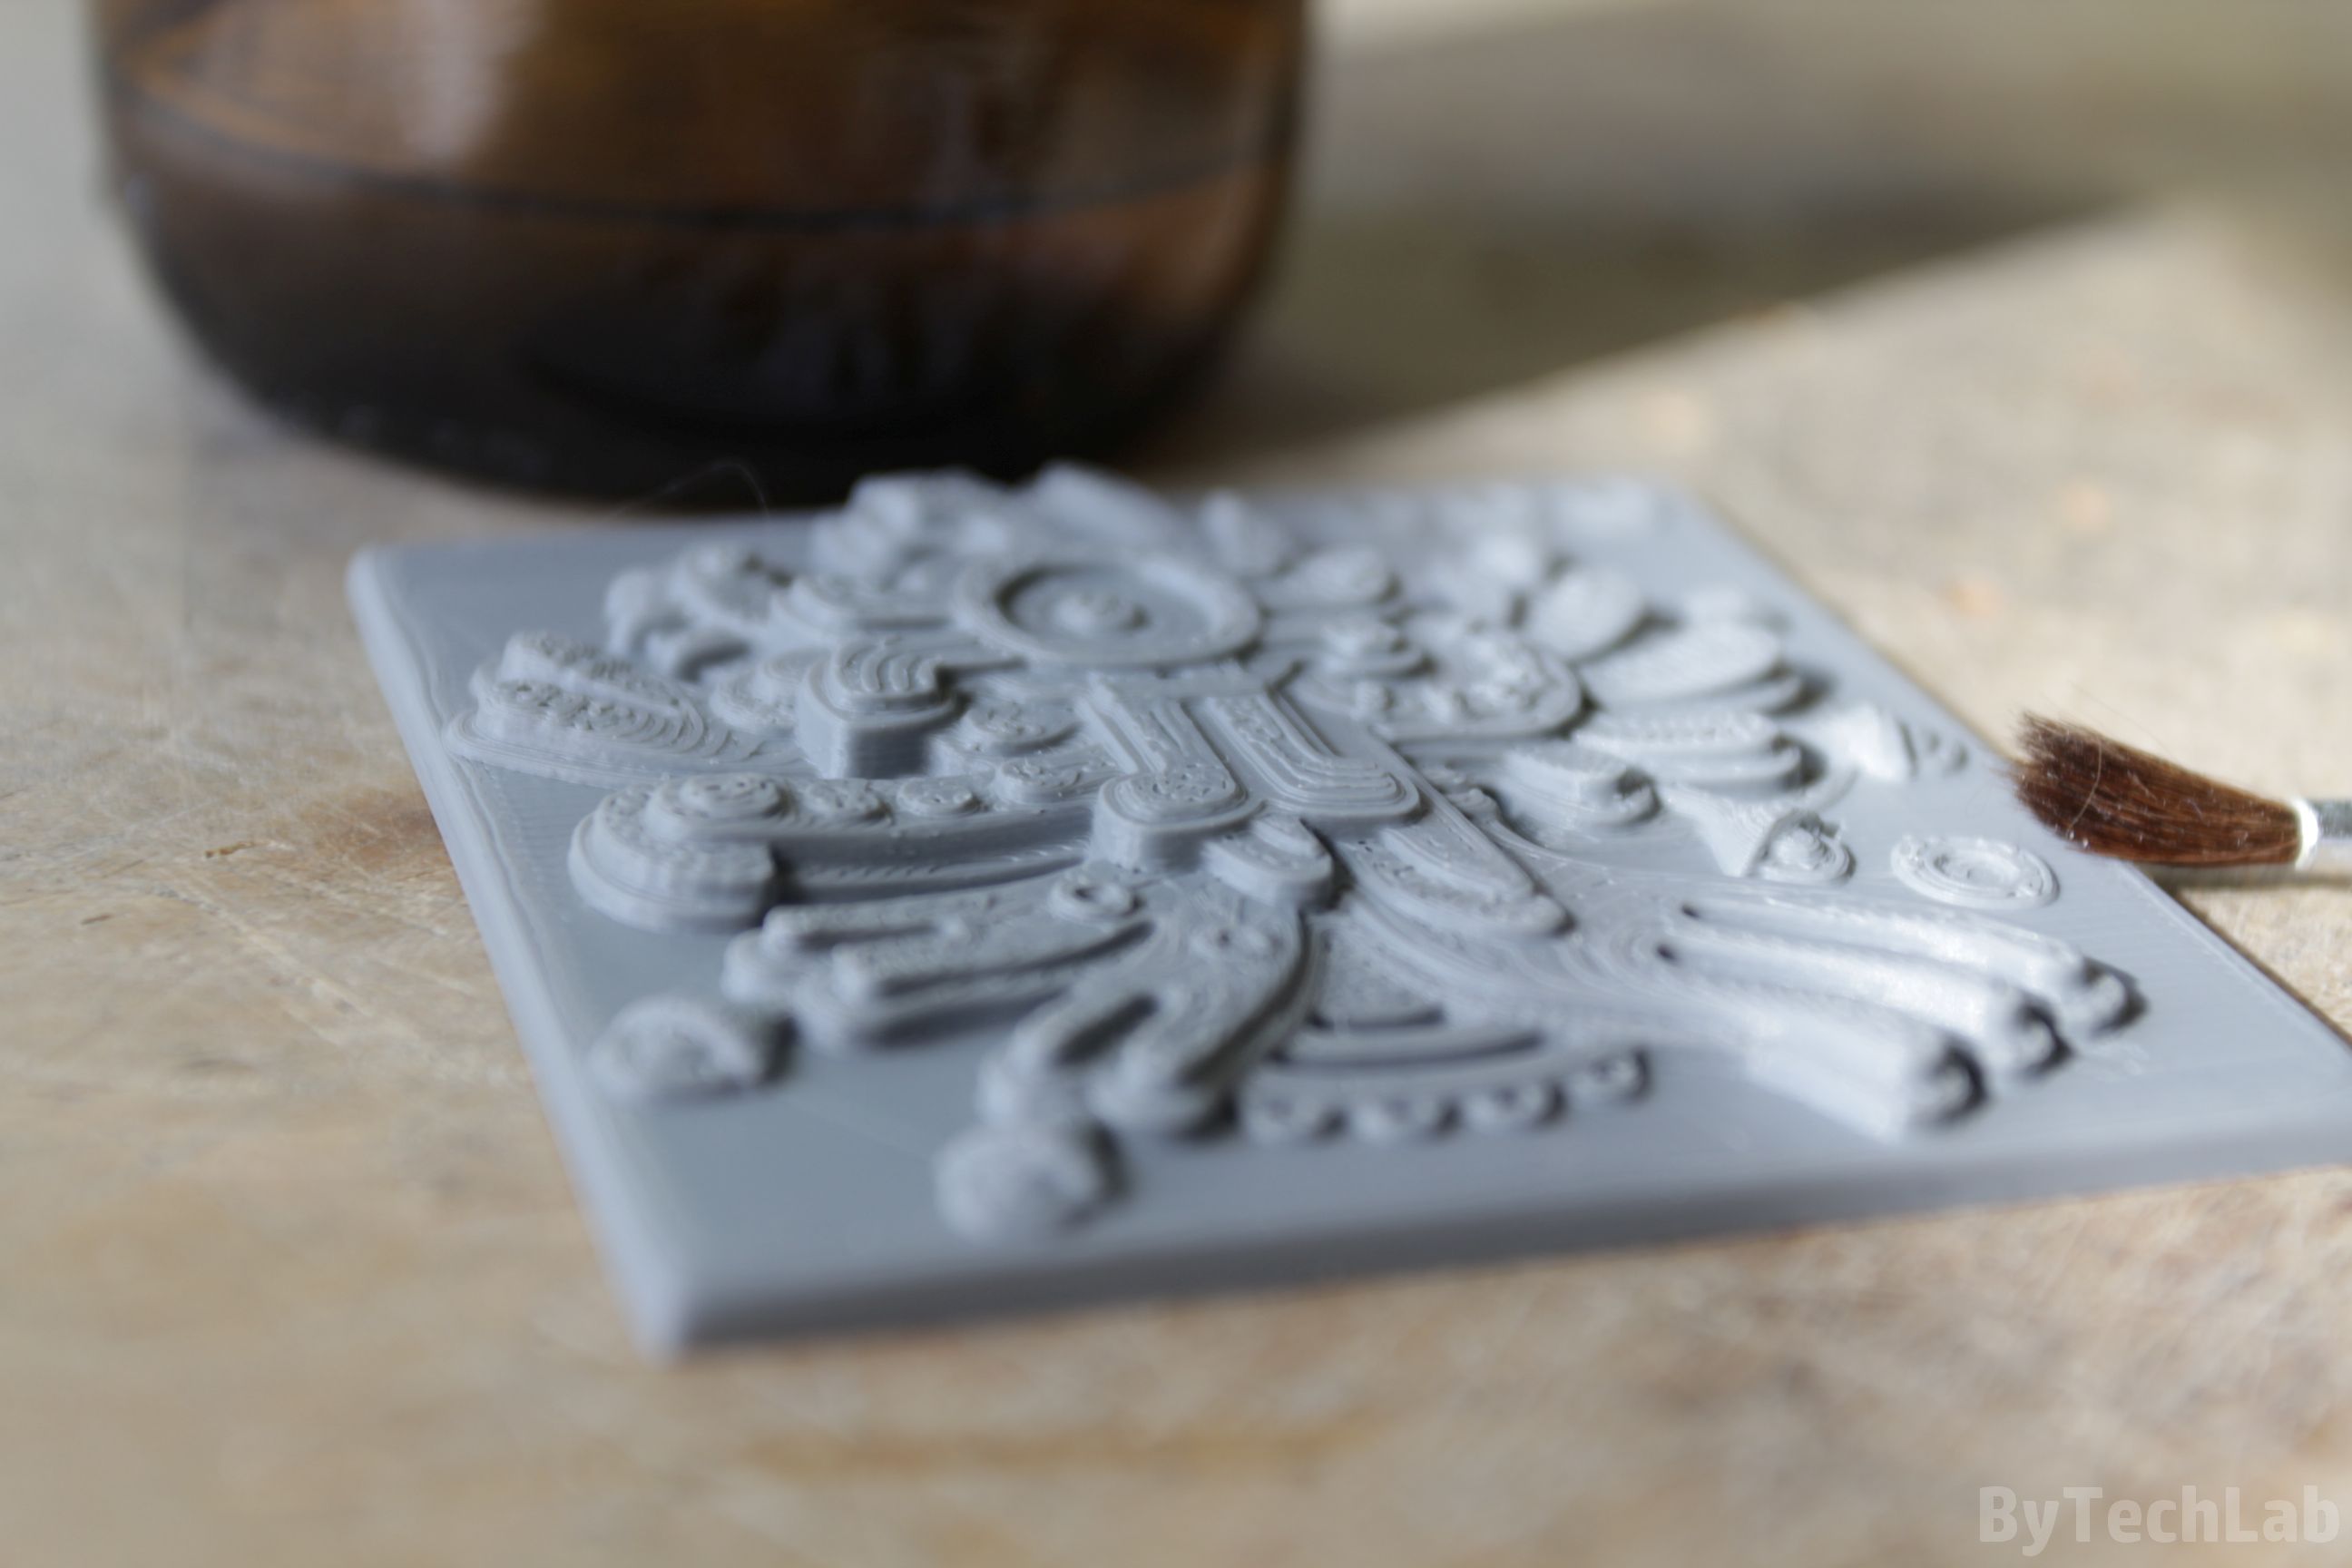
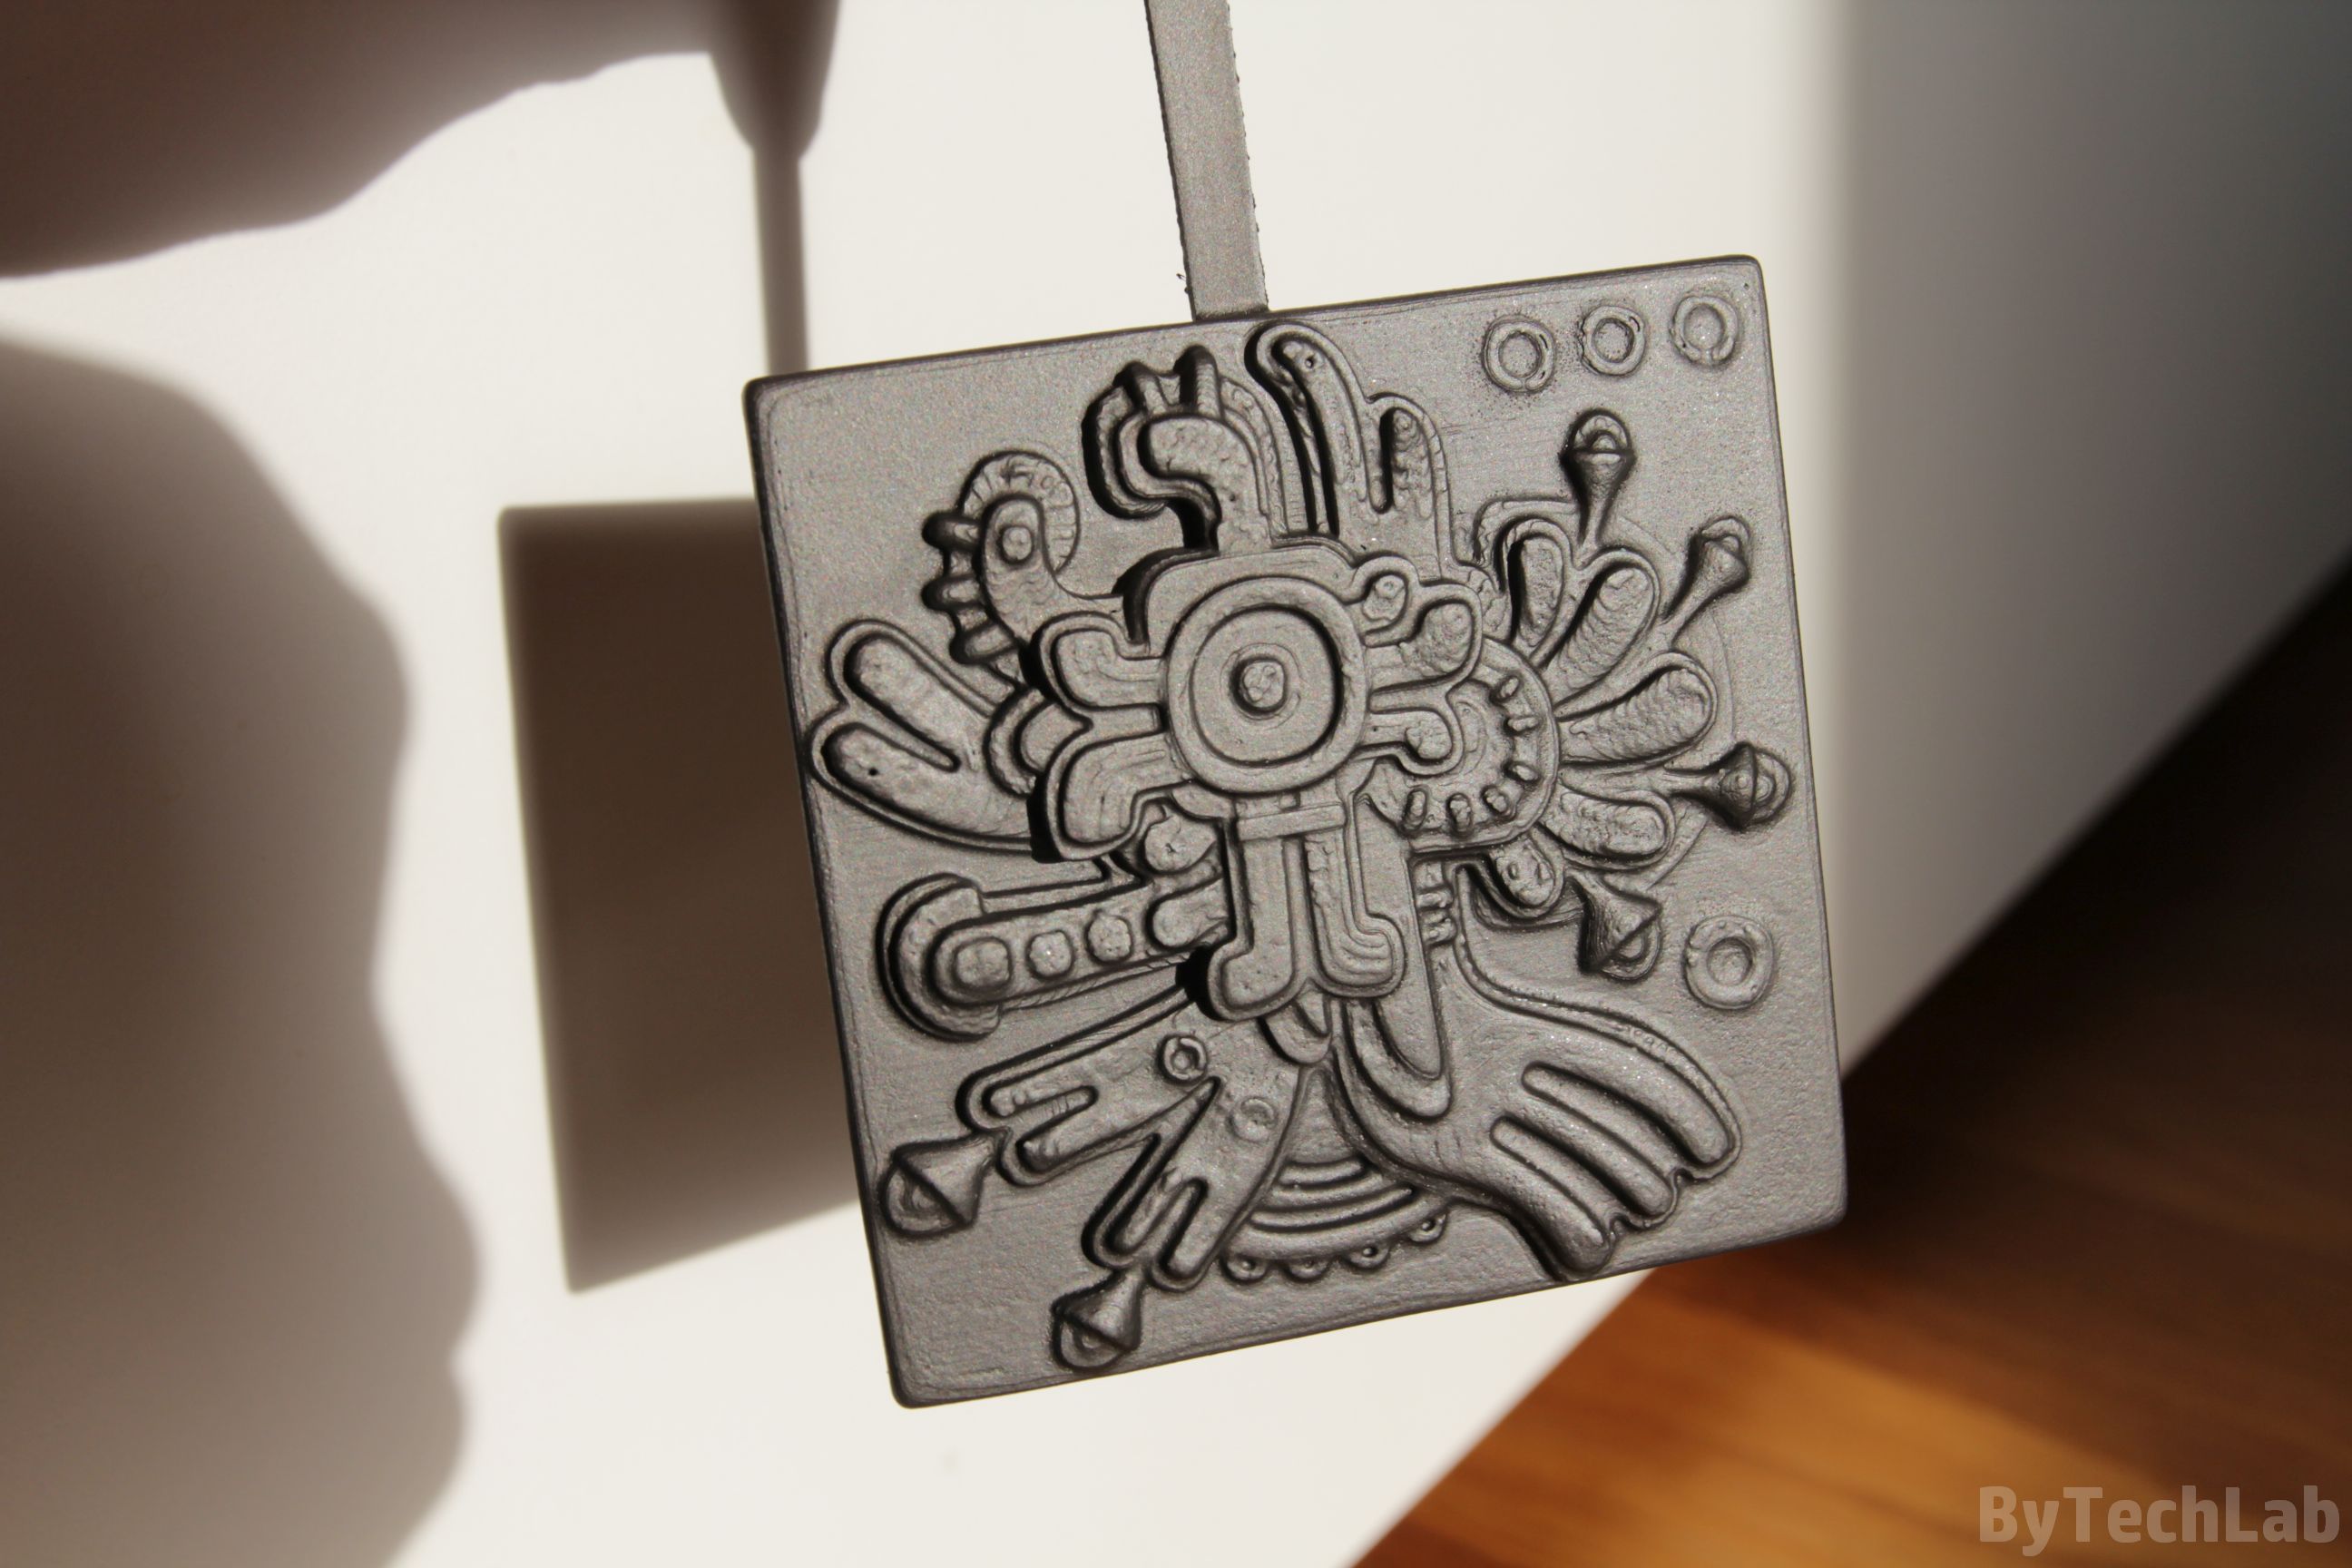
Before electroplating you have to be sure that everything has dried up – it is best to leave painted model for the night. Don’t speed up the drying process with a hair dryer – this may damage the coating. Below you can see how the coating should look after drying:

VERY IMPORTANT – Do not touch this graphite coating after applying it !!
Preparation for electroplating:
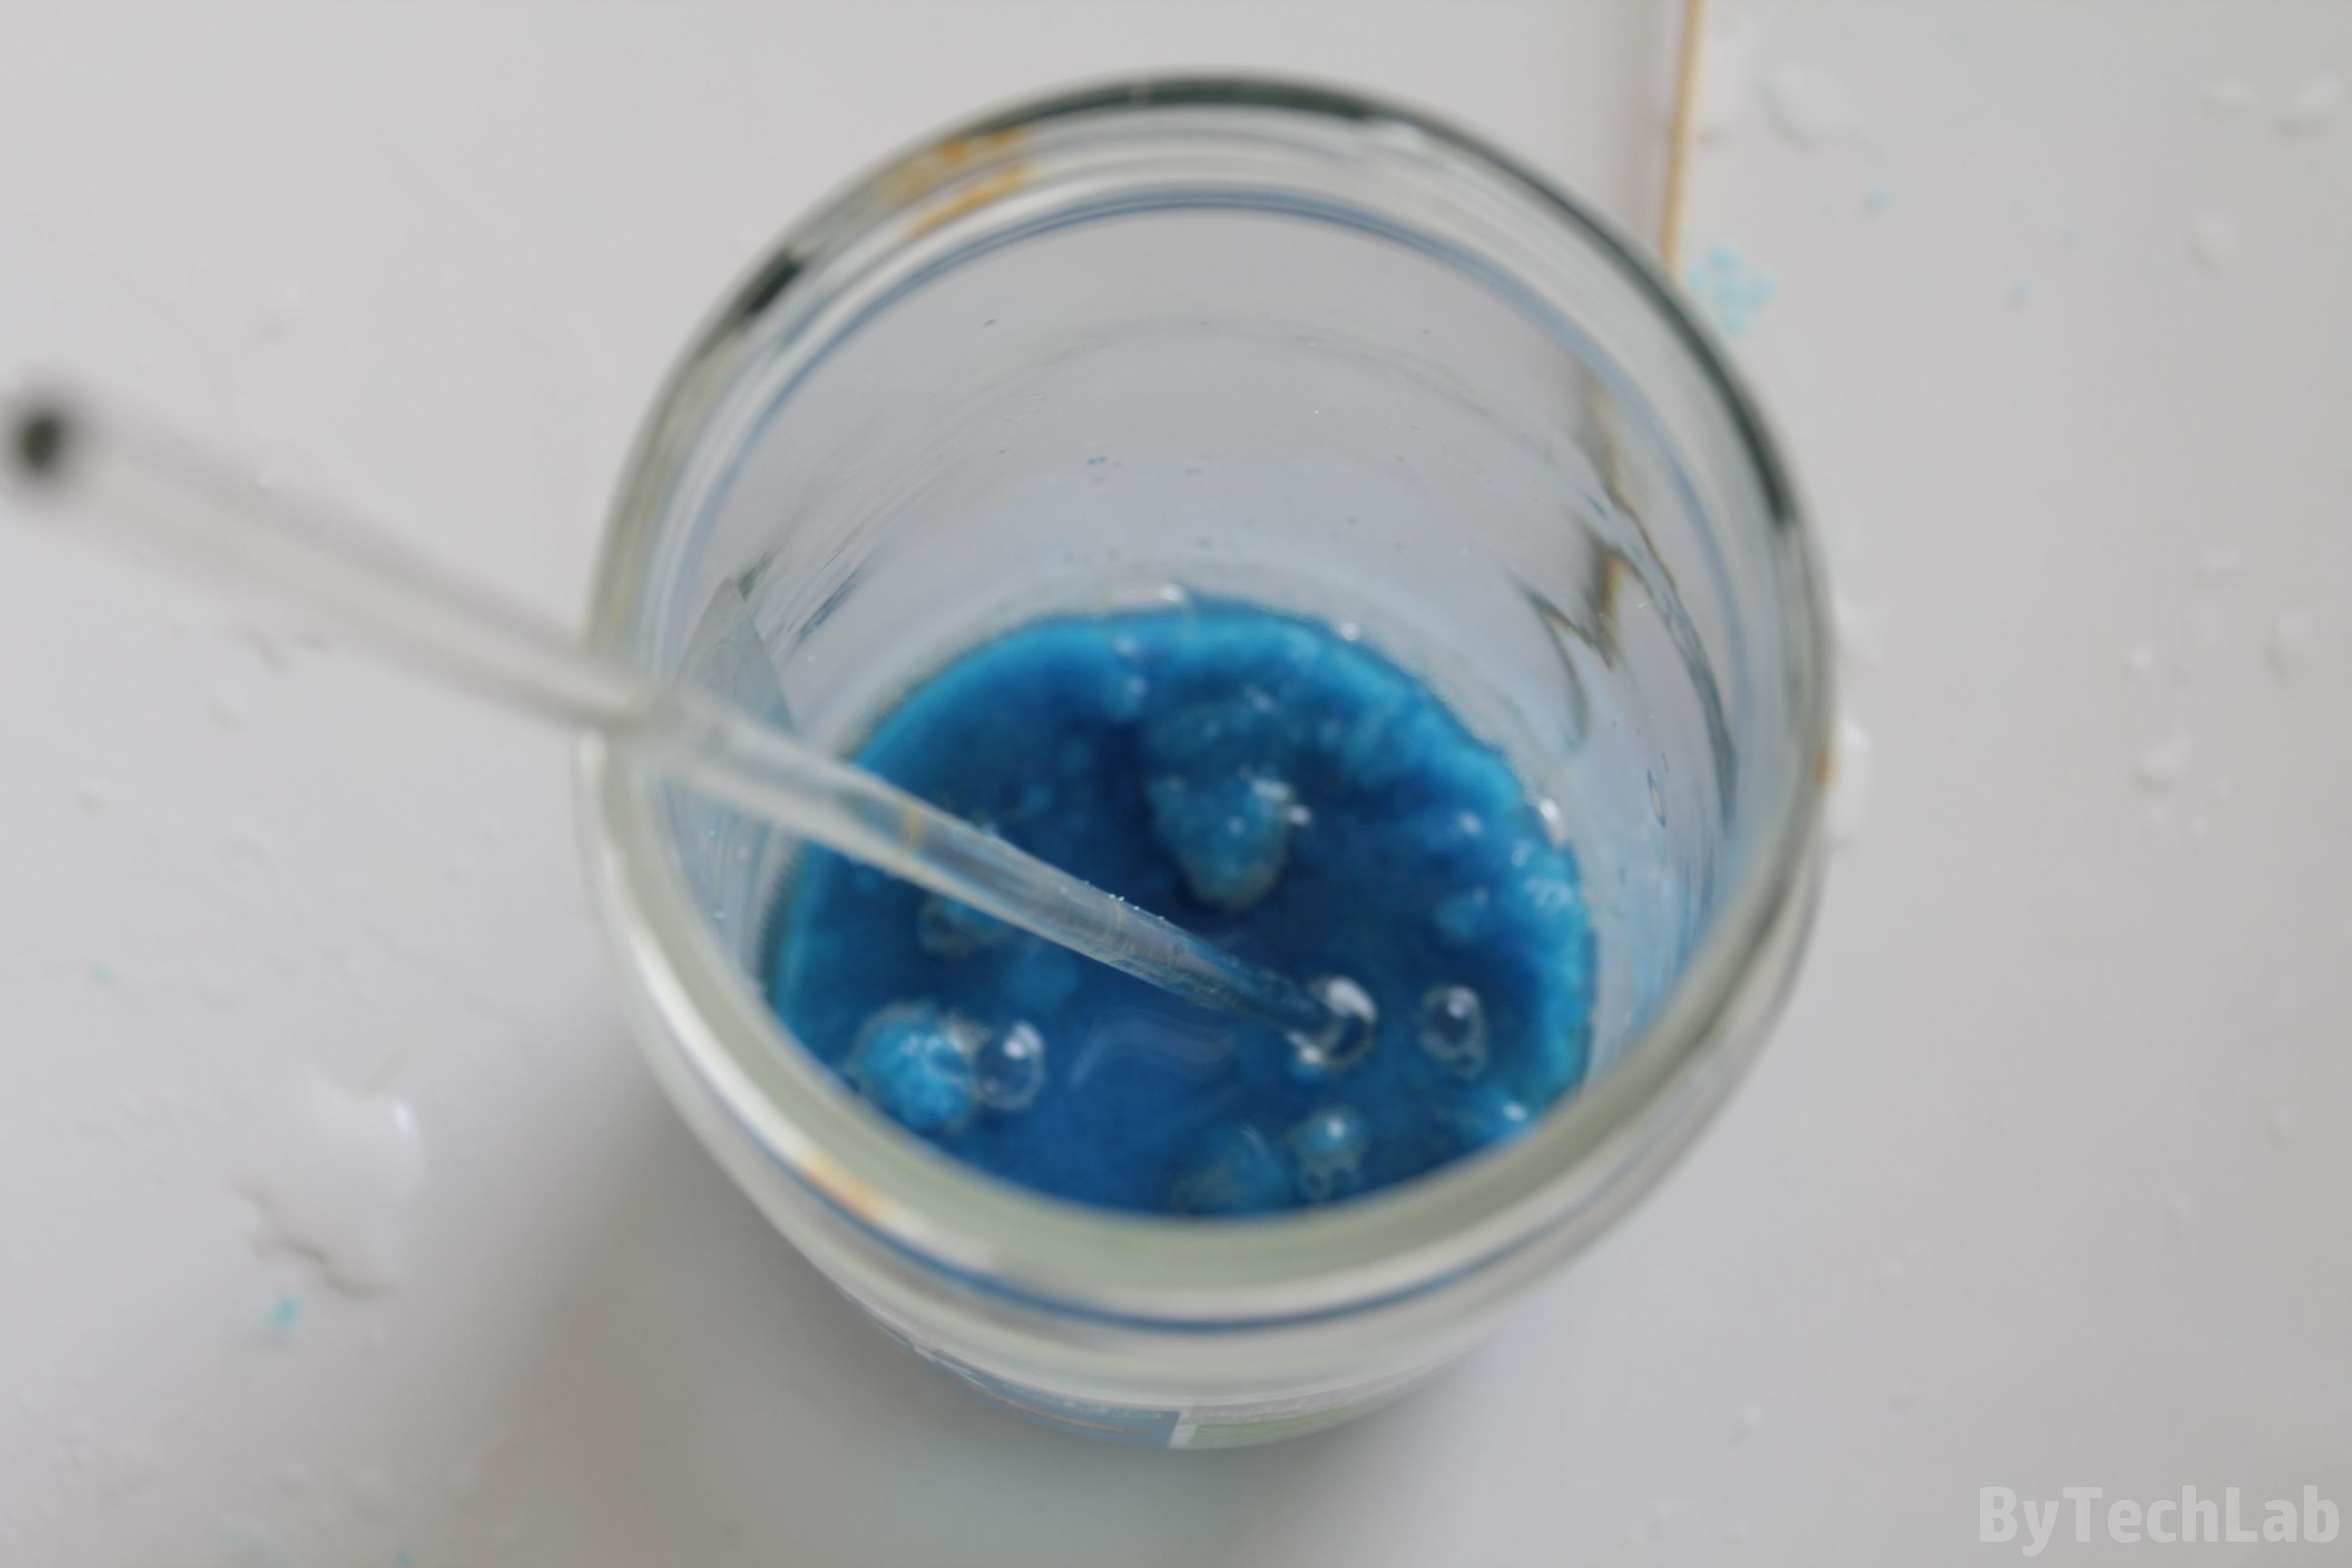
Firstly , you will need to prepare a water based solution for electroplating. Add about 200 g of copper sulfate (CuSO4-5H20) to one liter of distilled water. Any un-dissolved pieces can be filtered through a paper coffee filter. Then you should add 25 ml of concentrated sulfuric acid or vinegar in three or four times larger quantity. The whole solution should be mixed very well.
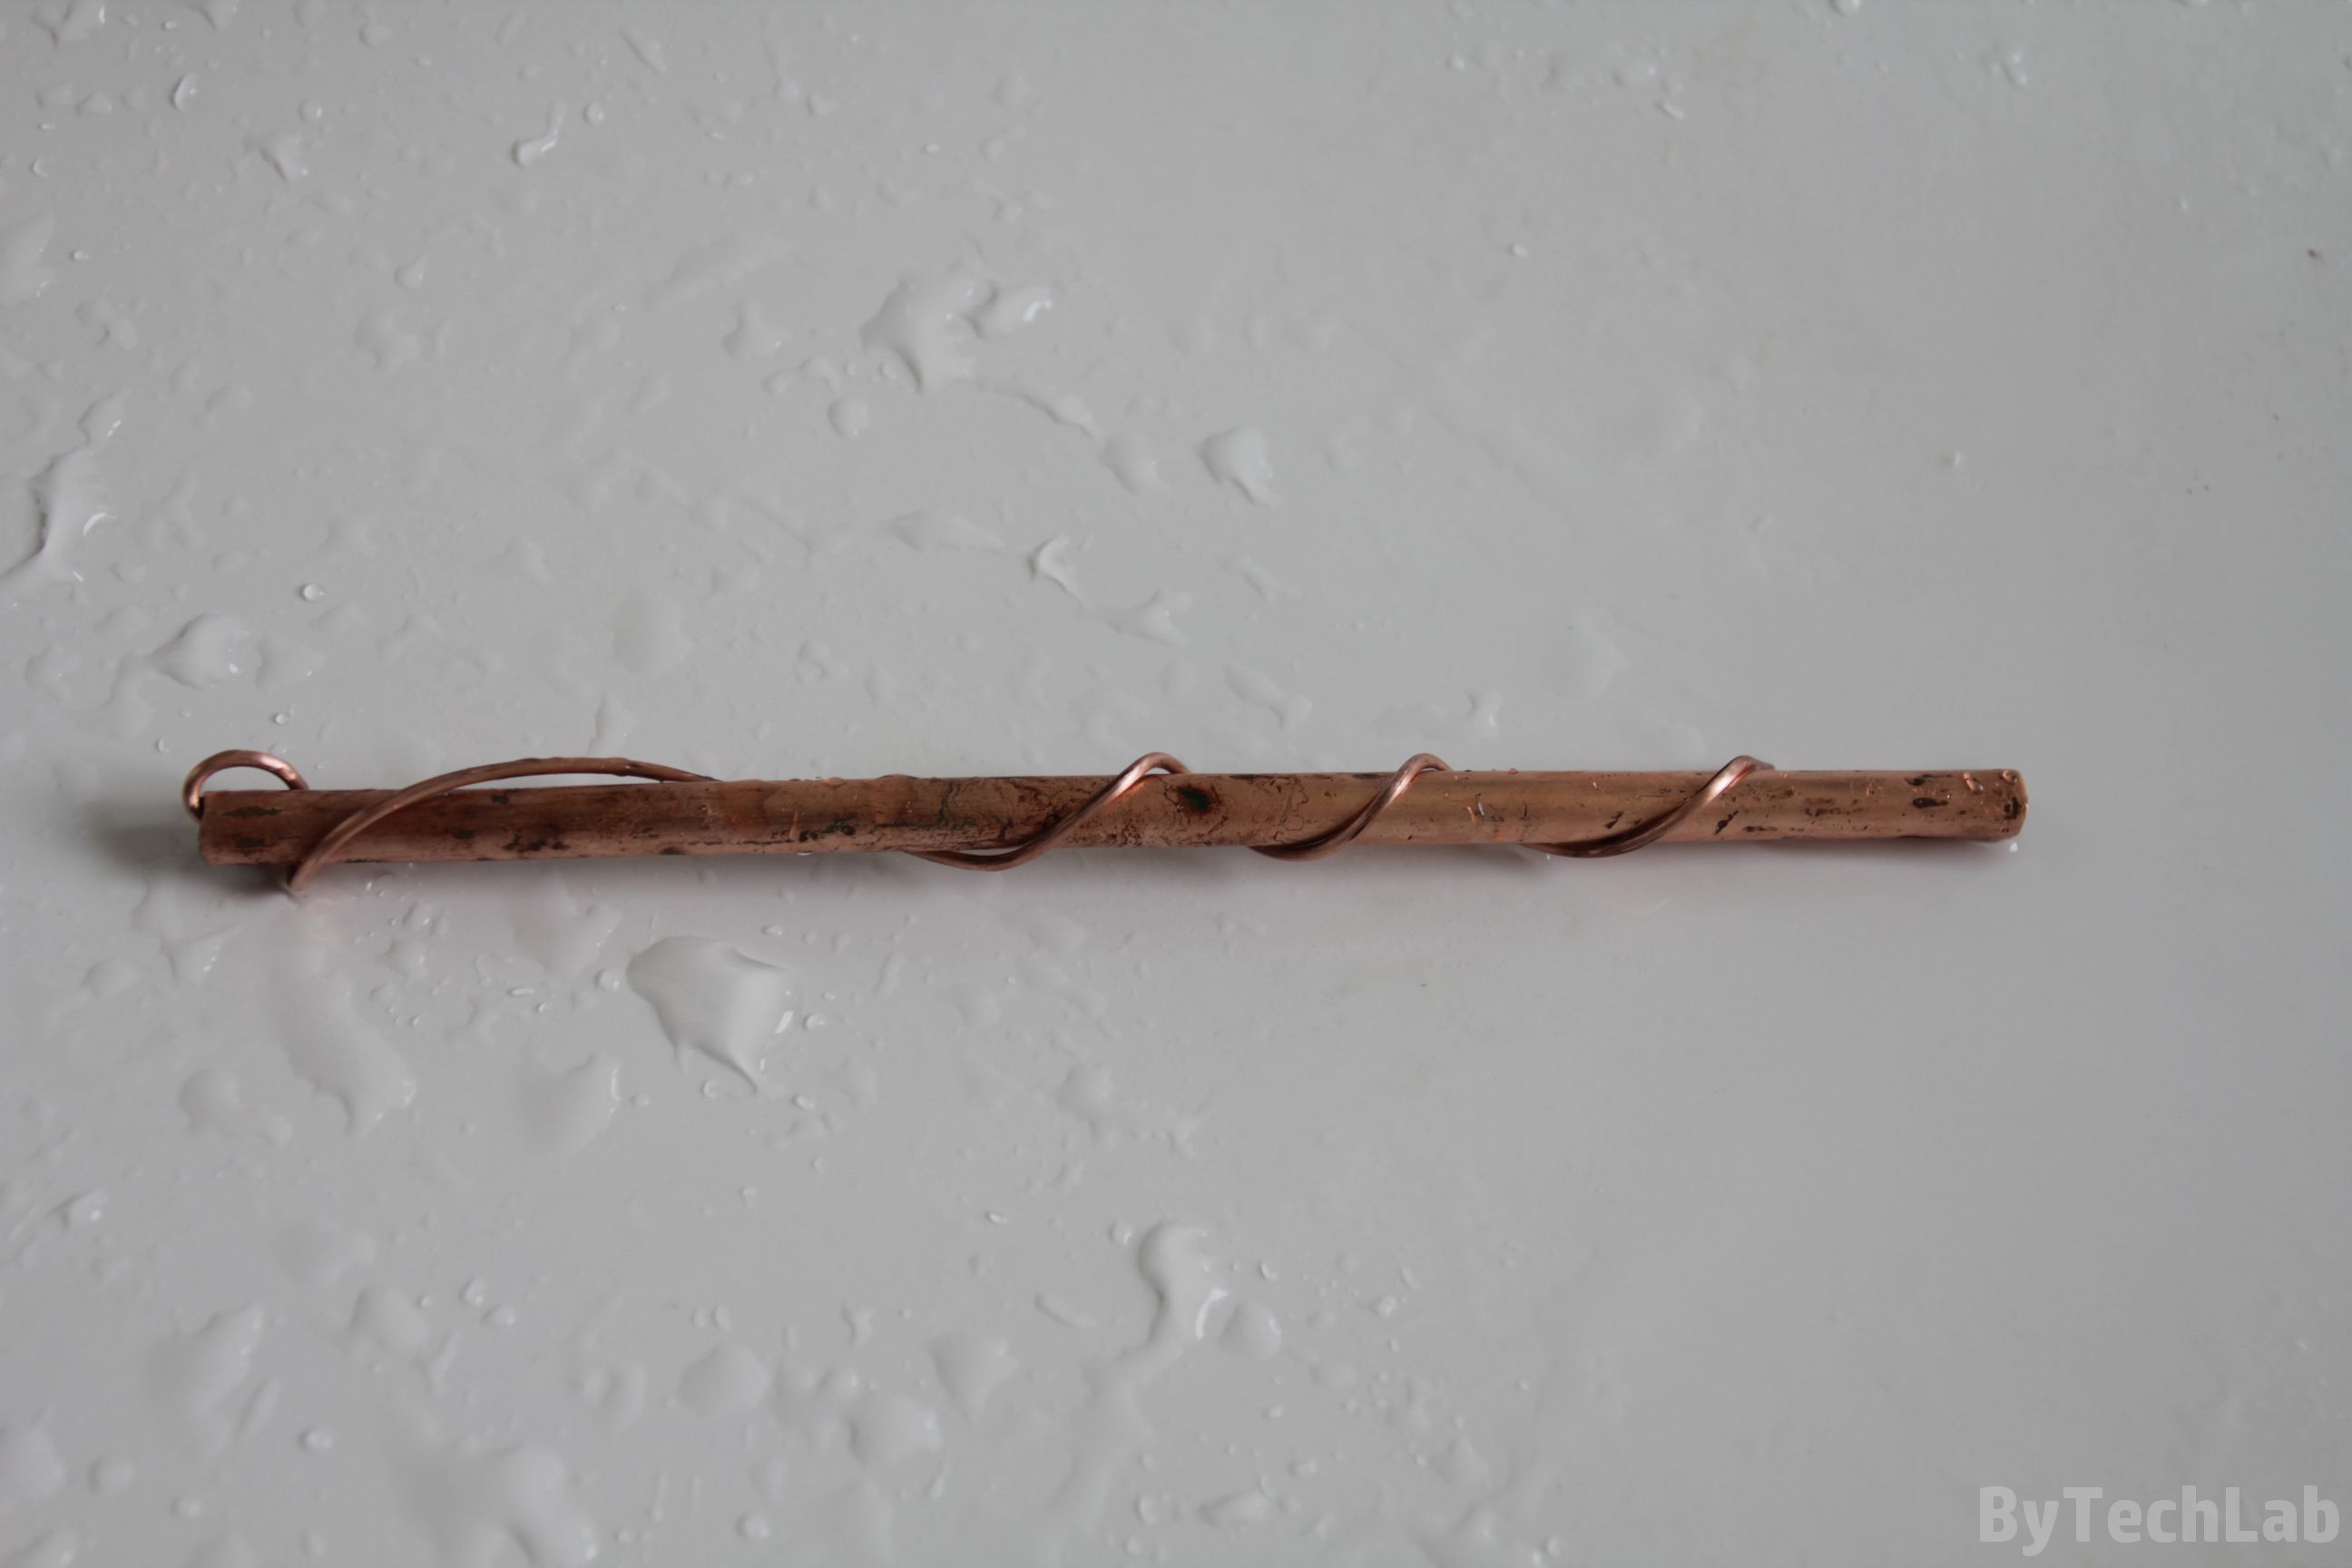
The best choice for copper anodes is pure copper obtained from wires or pipes. Before putting the anodes to the copper bath, clean the impurities and oxides with sand paper. After cleaning you shouldn’t touch these anodes with bare fingers.
You need to ensure that the surface area of the anode is similar to the surface area of the object that you want to copper plate. Two anodes should be used on both sides of the print in order to distribute the coating more evenly.
Electroplating:
Start electroplating process with placing in to our copper plating solution the cathode (our 3D printed model) and the anodes.You will need to ensure that distance is equal between anodes and the 3D printed model. You should also remember to get rid of any air bubbles that are stuck to the surface of 3D printed model. When 3D printed object is closer to the anode in some places , it will be covered with a much thicker layer of copper in these places.
Everything should also be properly secured with tape so that it can’t move. In order to choose the right target current you have to calculate the 3D printed object area. In my case, it is about 100 cm2 or 1 dm2. Set about one ampere of current per each square decimeter. If you have a power supply with a current source function, you don’t have to worry about changing the voltage non-stop to maintain constant current.
The solution should have a temperature of about 18-20 ° C. It is recommended to begin electroplating from half of the target current in order to create a nice initial layer. Then you should leave whole setup for about an hour. A thin copper layer should already be visible on the surface:
Next, you’ll need to pull out the 3D printed model and check whether the copper spreads nicely. At first the print may look unevenly coated – don’t worry about it. Over time, the copper layer growing from electrode will reduce the effective resistance of the graphite coating. Then you should clean the anode from the sludge that will be created in every few hours during the entire process. Just after that, increase the current to the target value.
If a dark/brown coating forms on the object, reduce the amperage slightly. It’s good to occasionally stir the entire solution in a jar. Every hour or two, check the condition of the coating. If it is necessary, in the case of any uncovered areas, gently sand down these places with high-grit sand paper.
After a few hours, clean the sludge which is growing on anode again. Theoretically, the copper should “grow” about 0.03 mm per hour. For me, the whole process took about 20 hours – I wanted to get a fairly thick coating just to make this aztec tile look like it was made of metal.
When plating is finished, remove everything from the solution. The copper sulfate solution should be left for storage in a sealed jar.
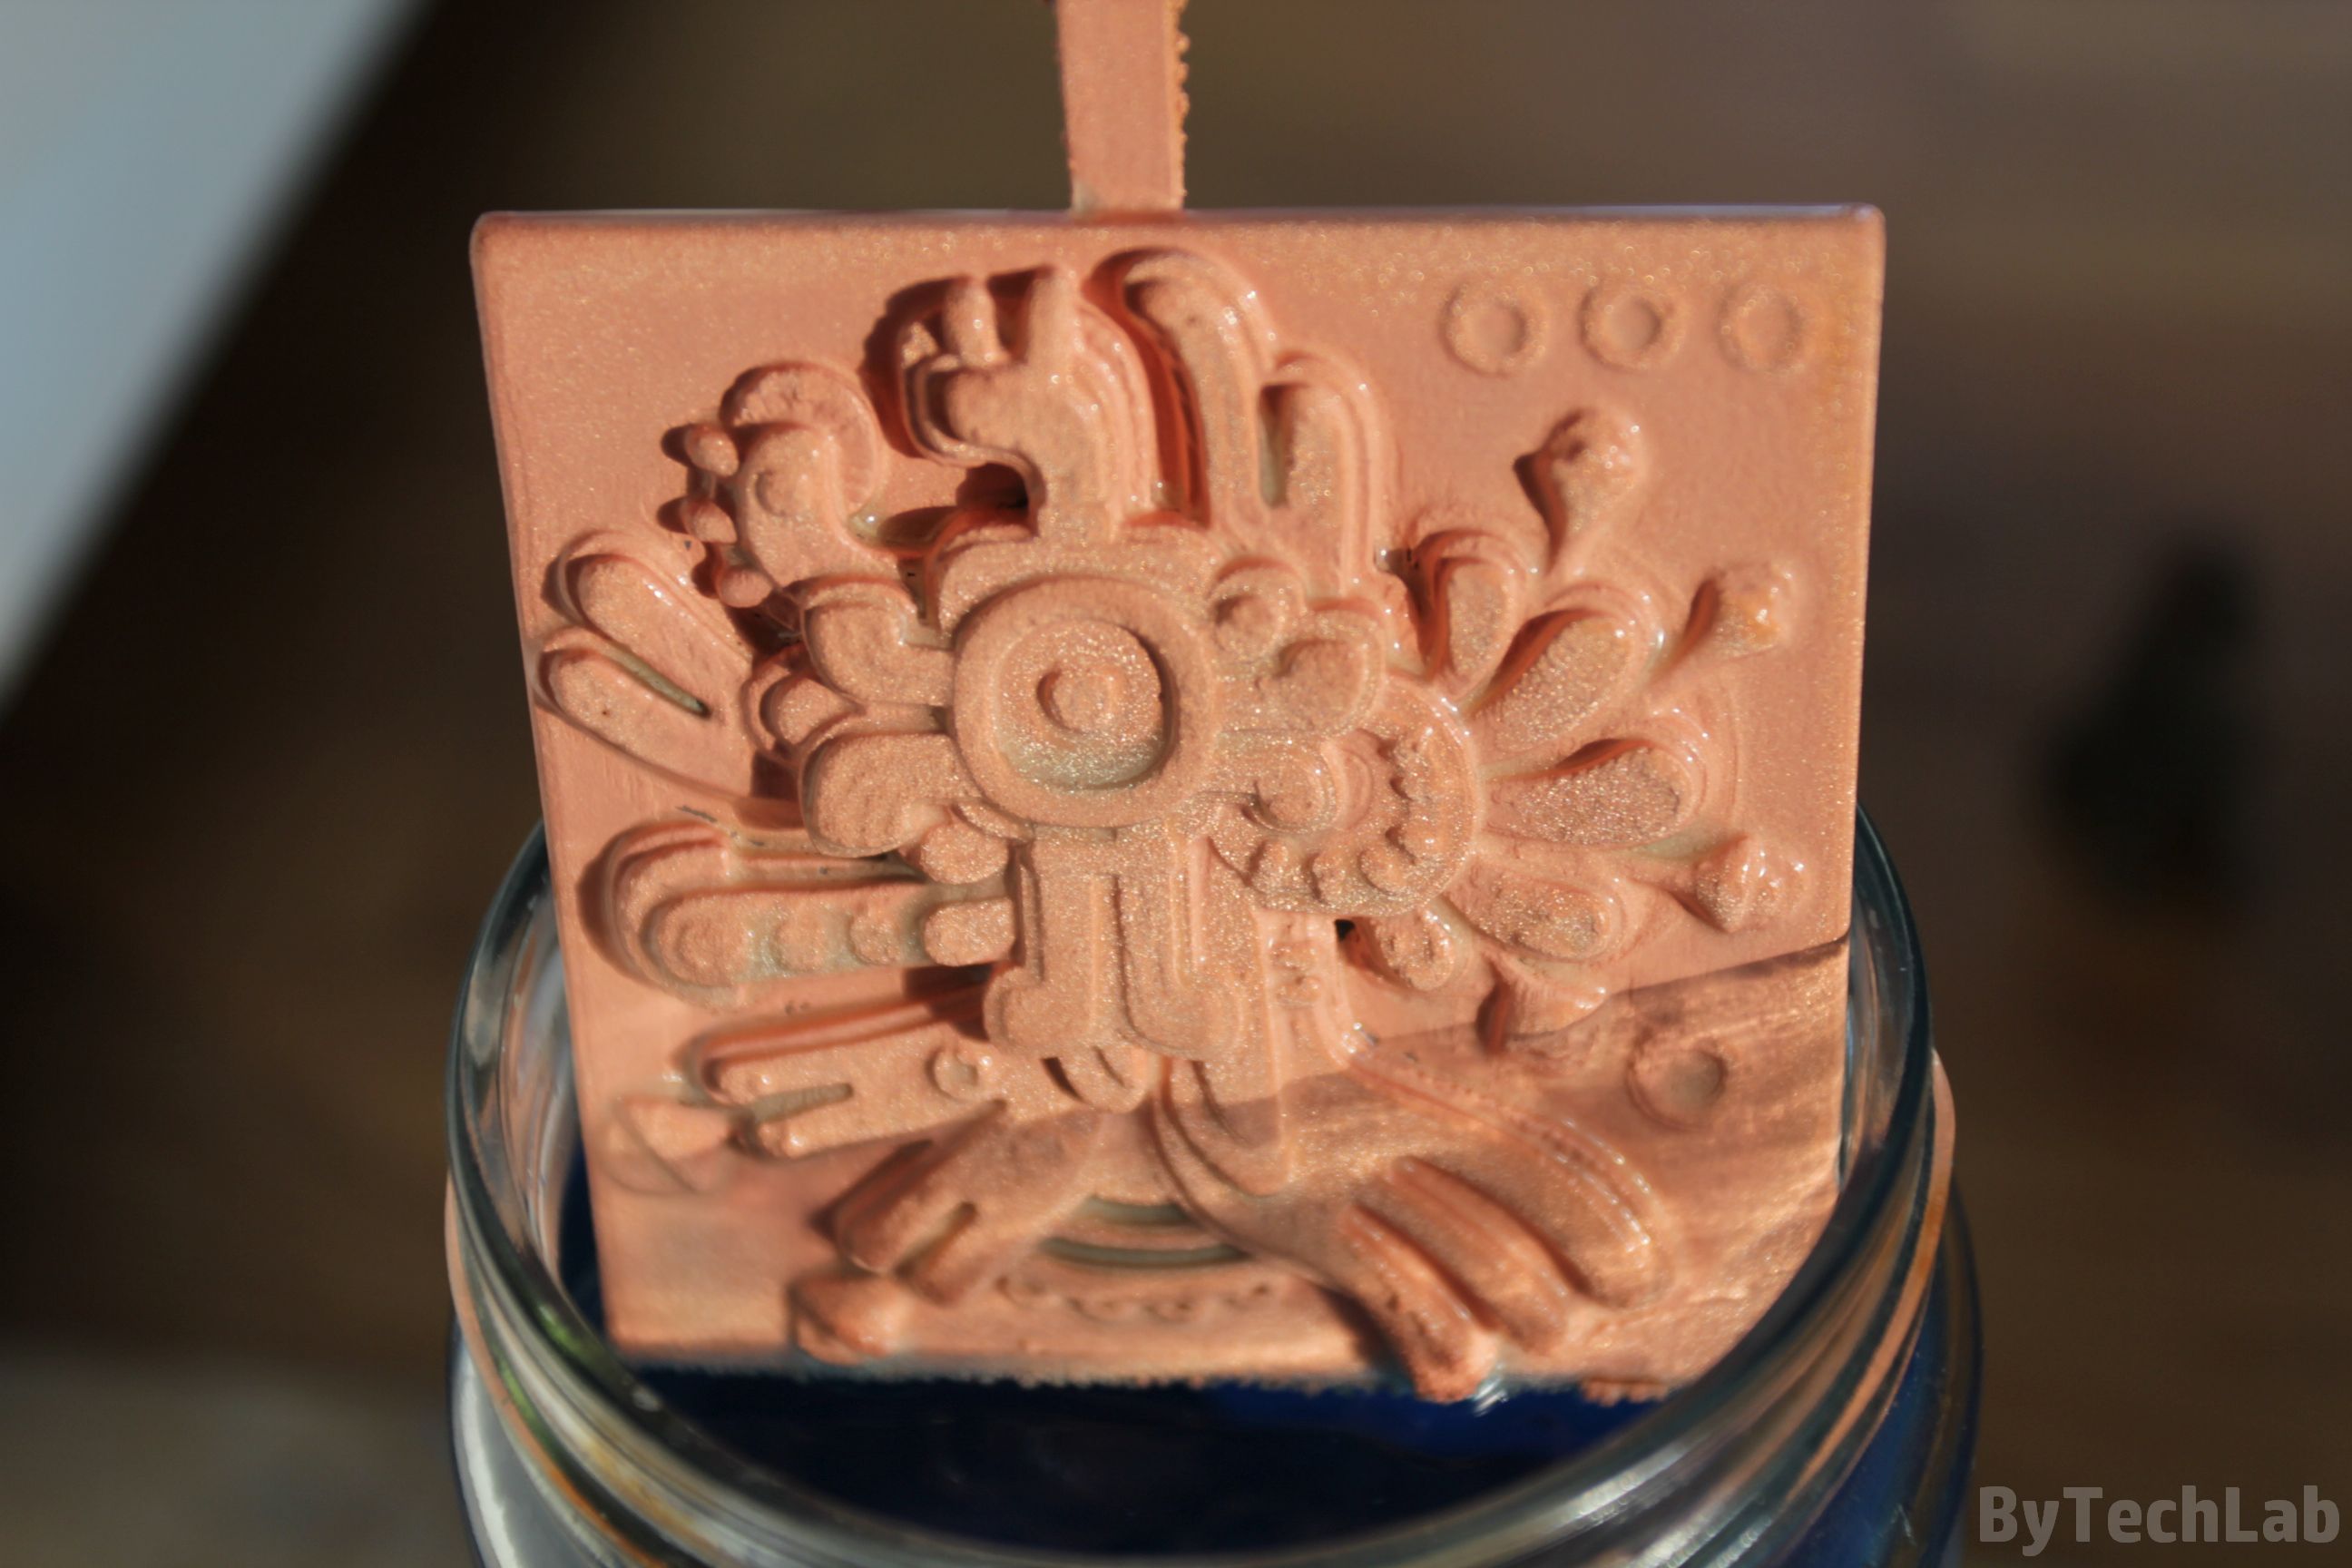
The final result:
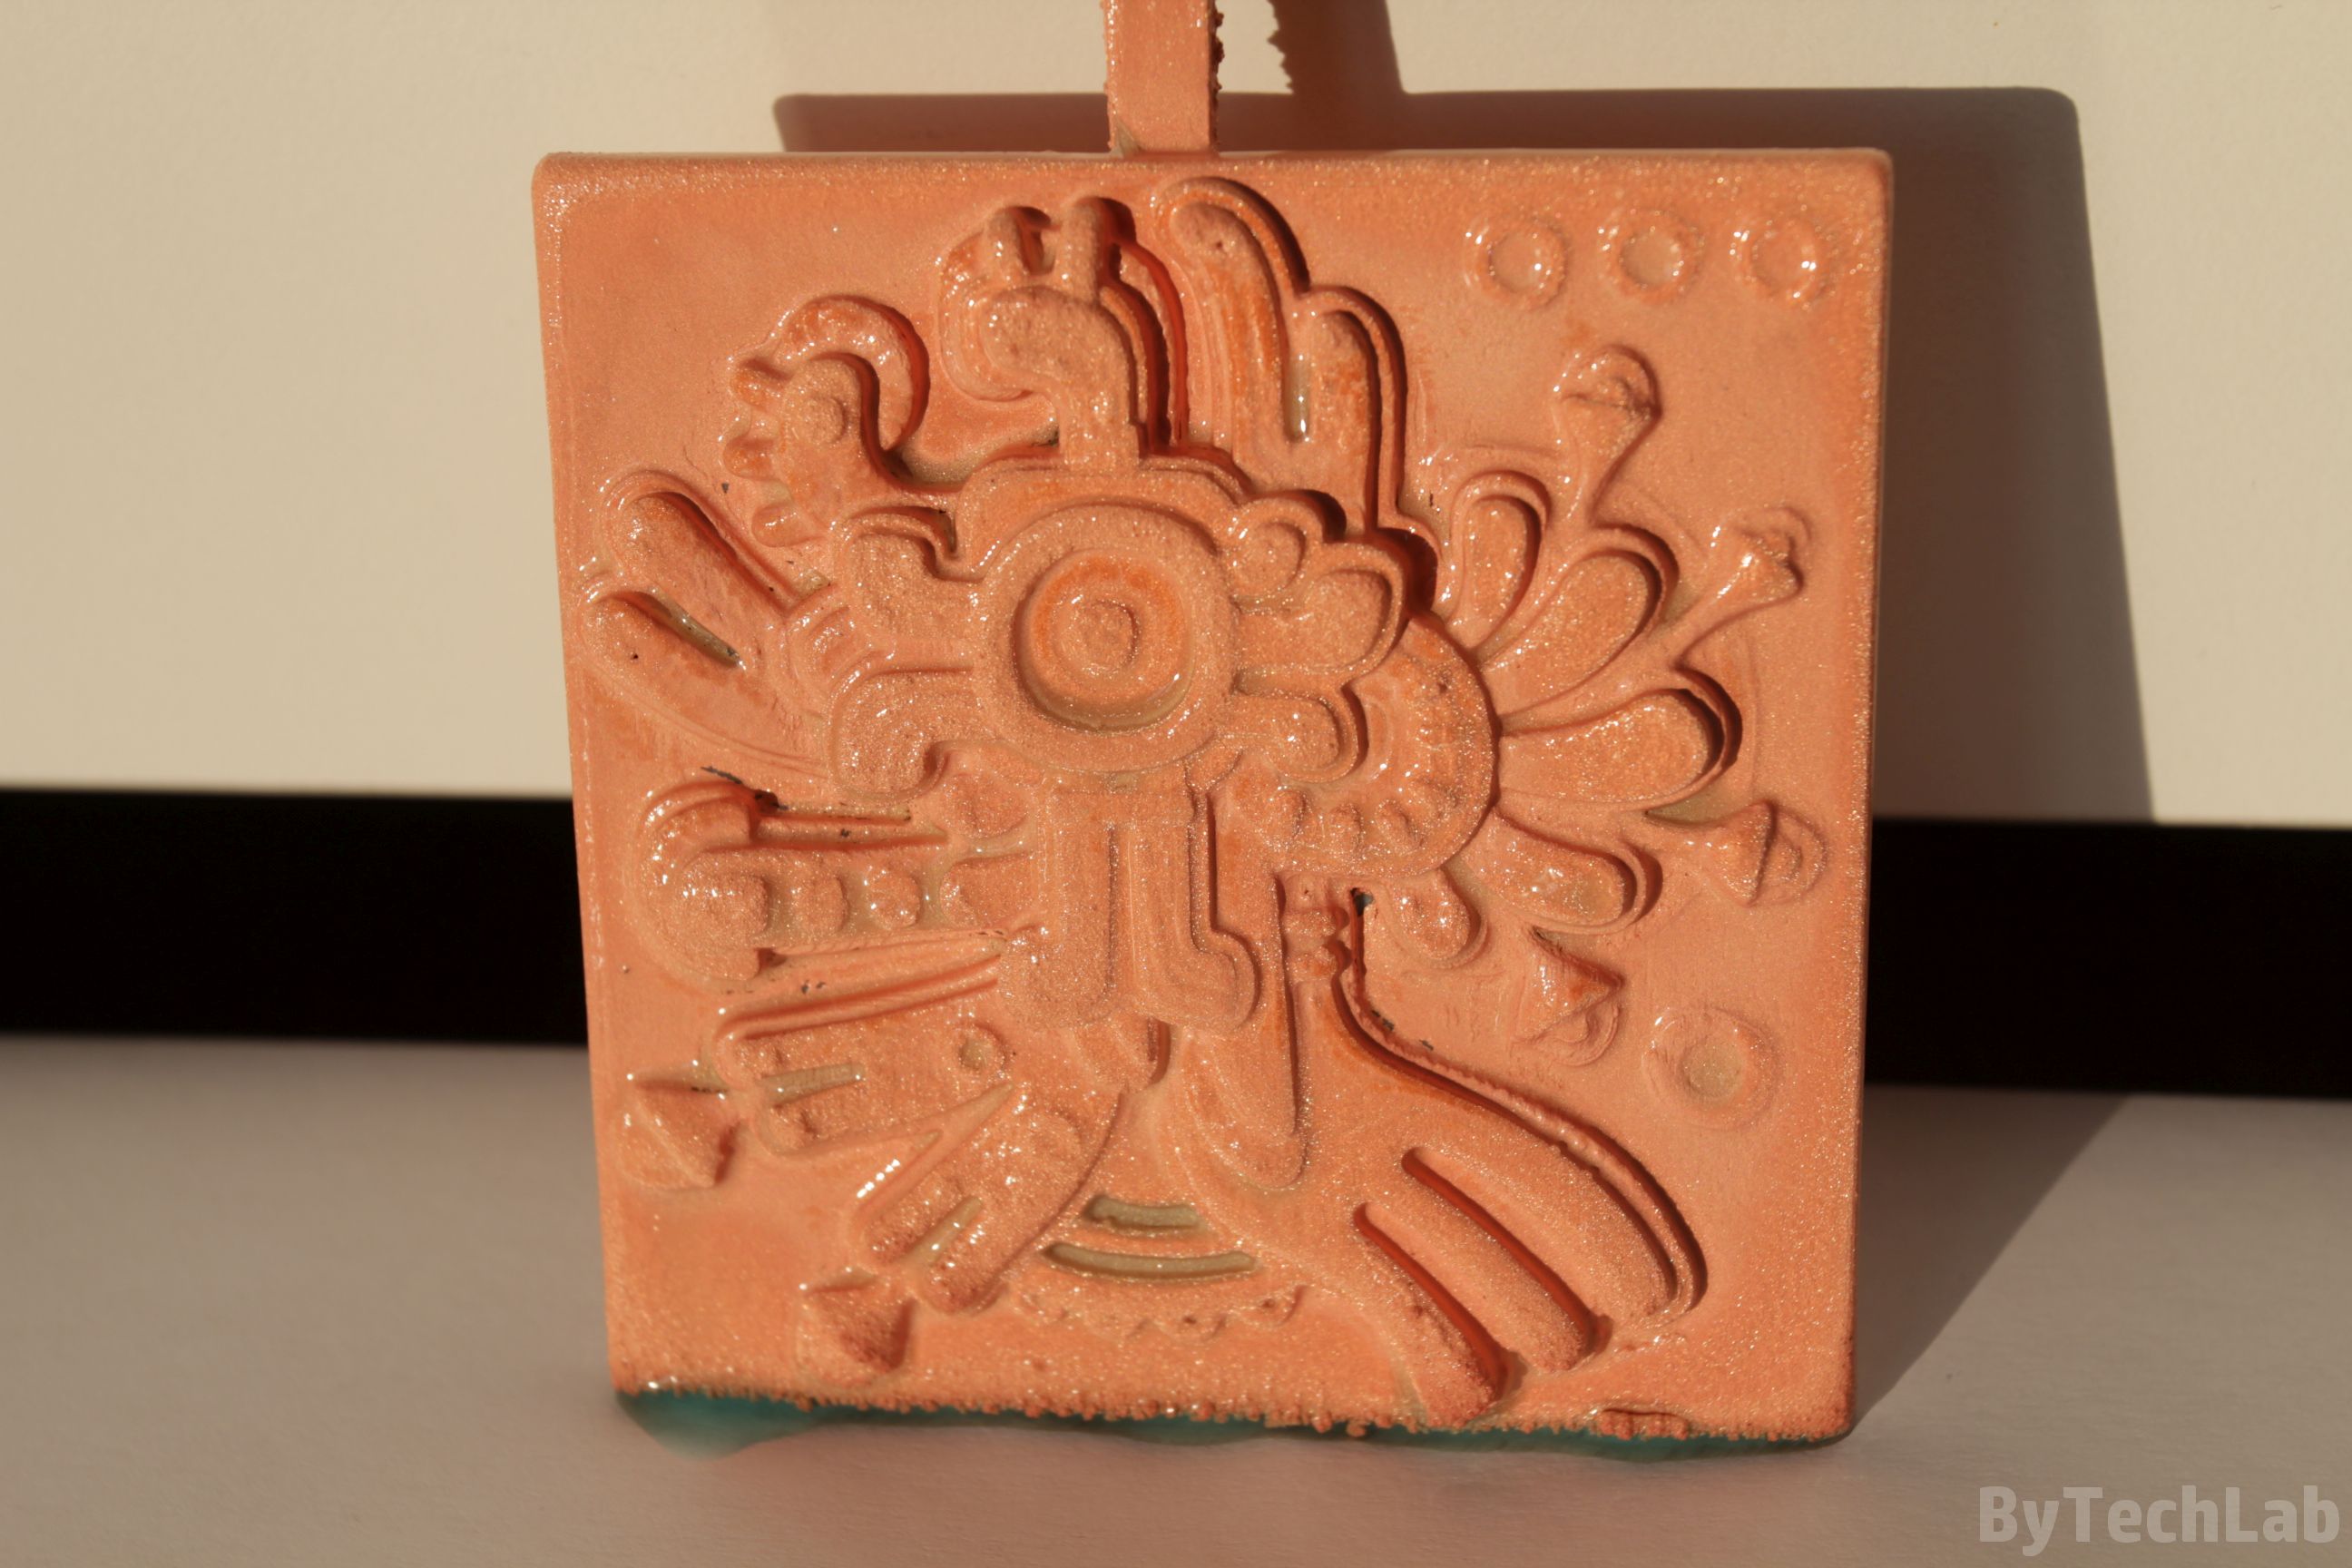
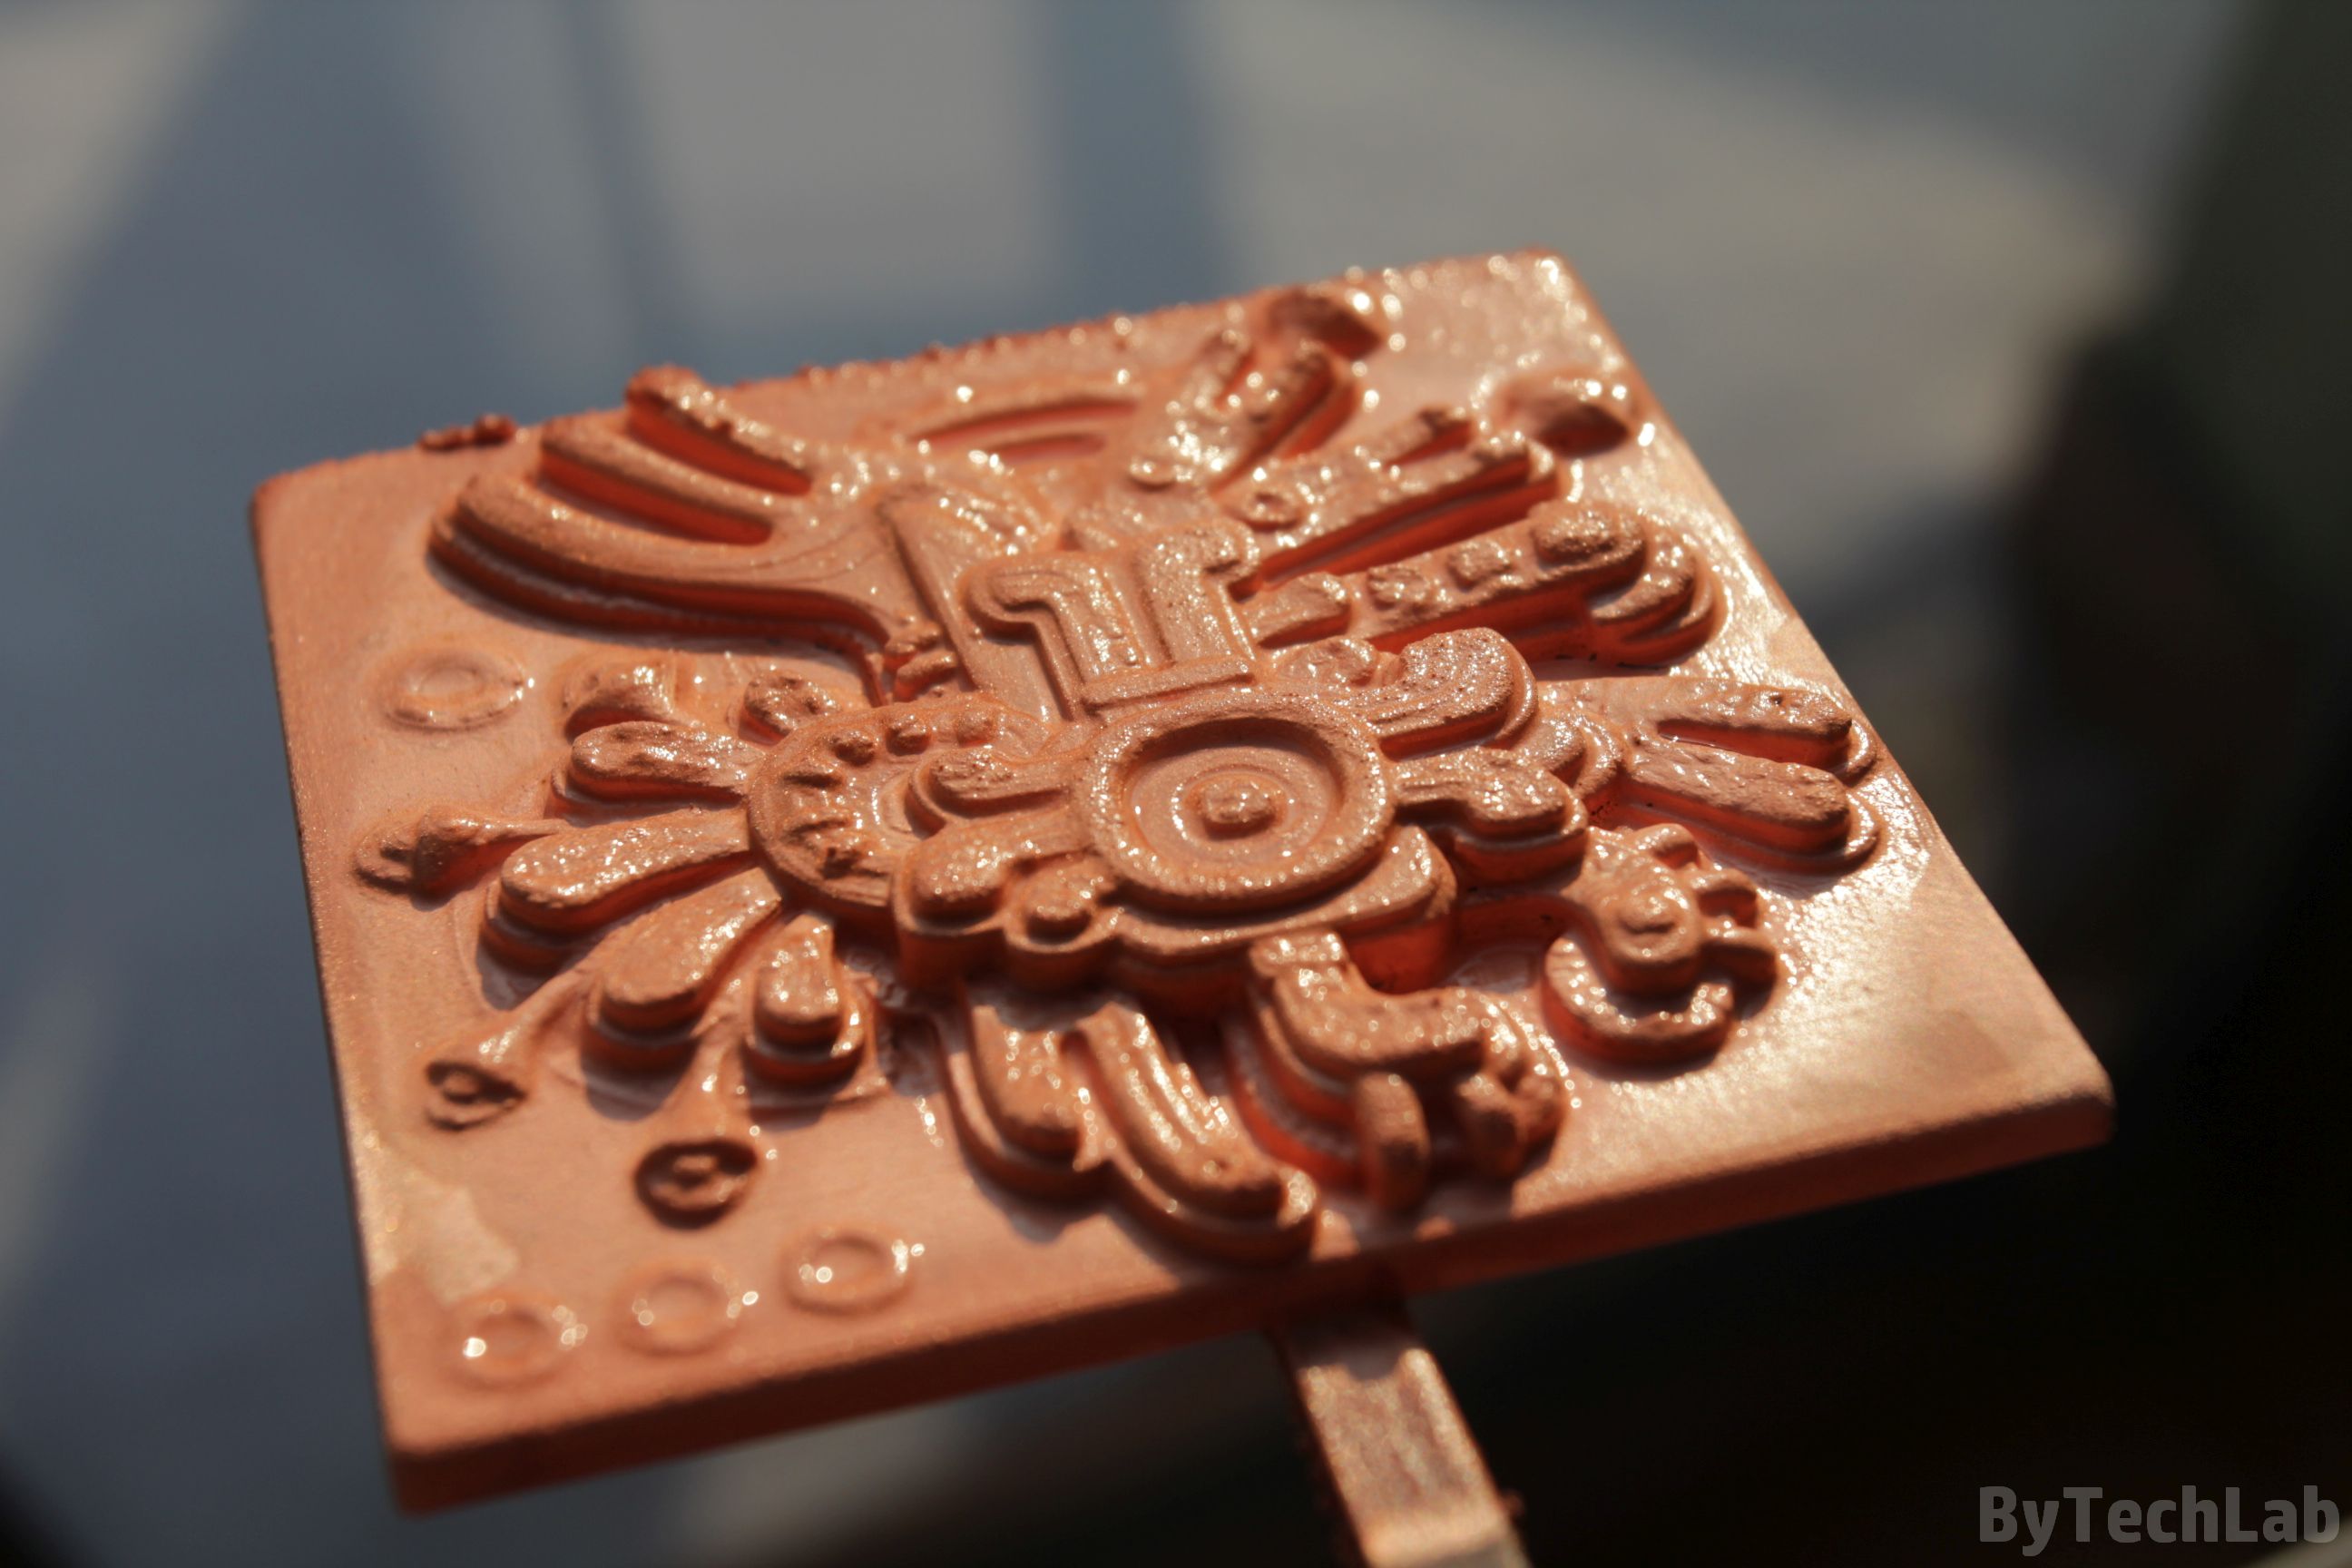
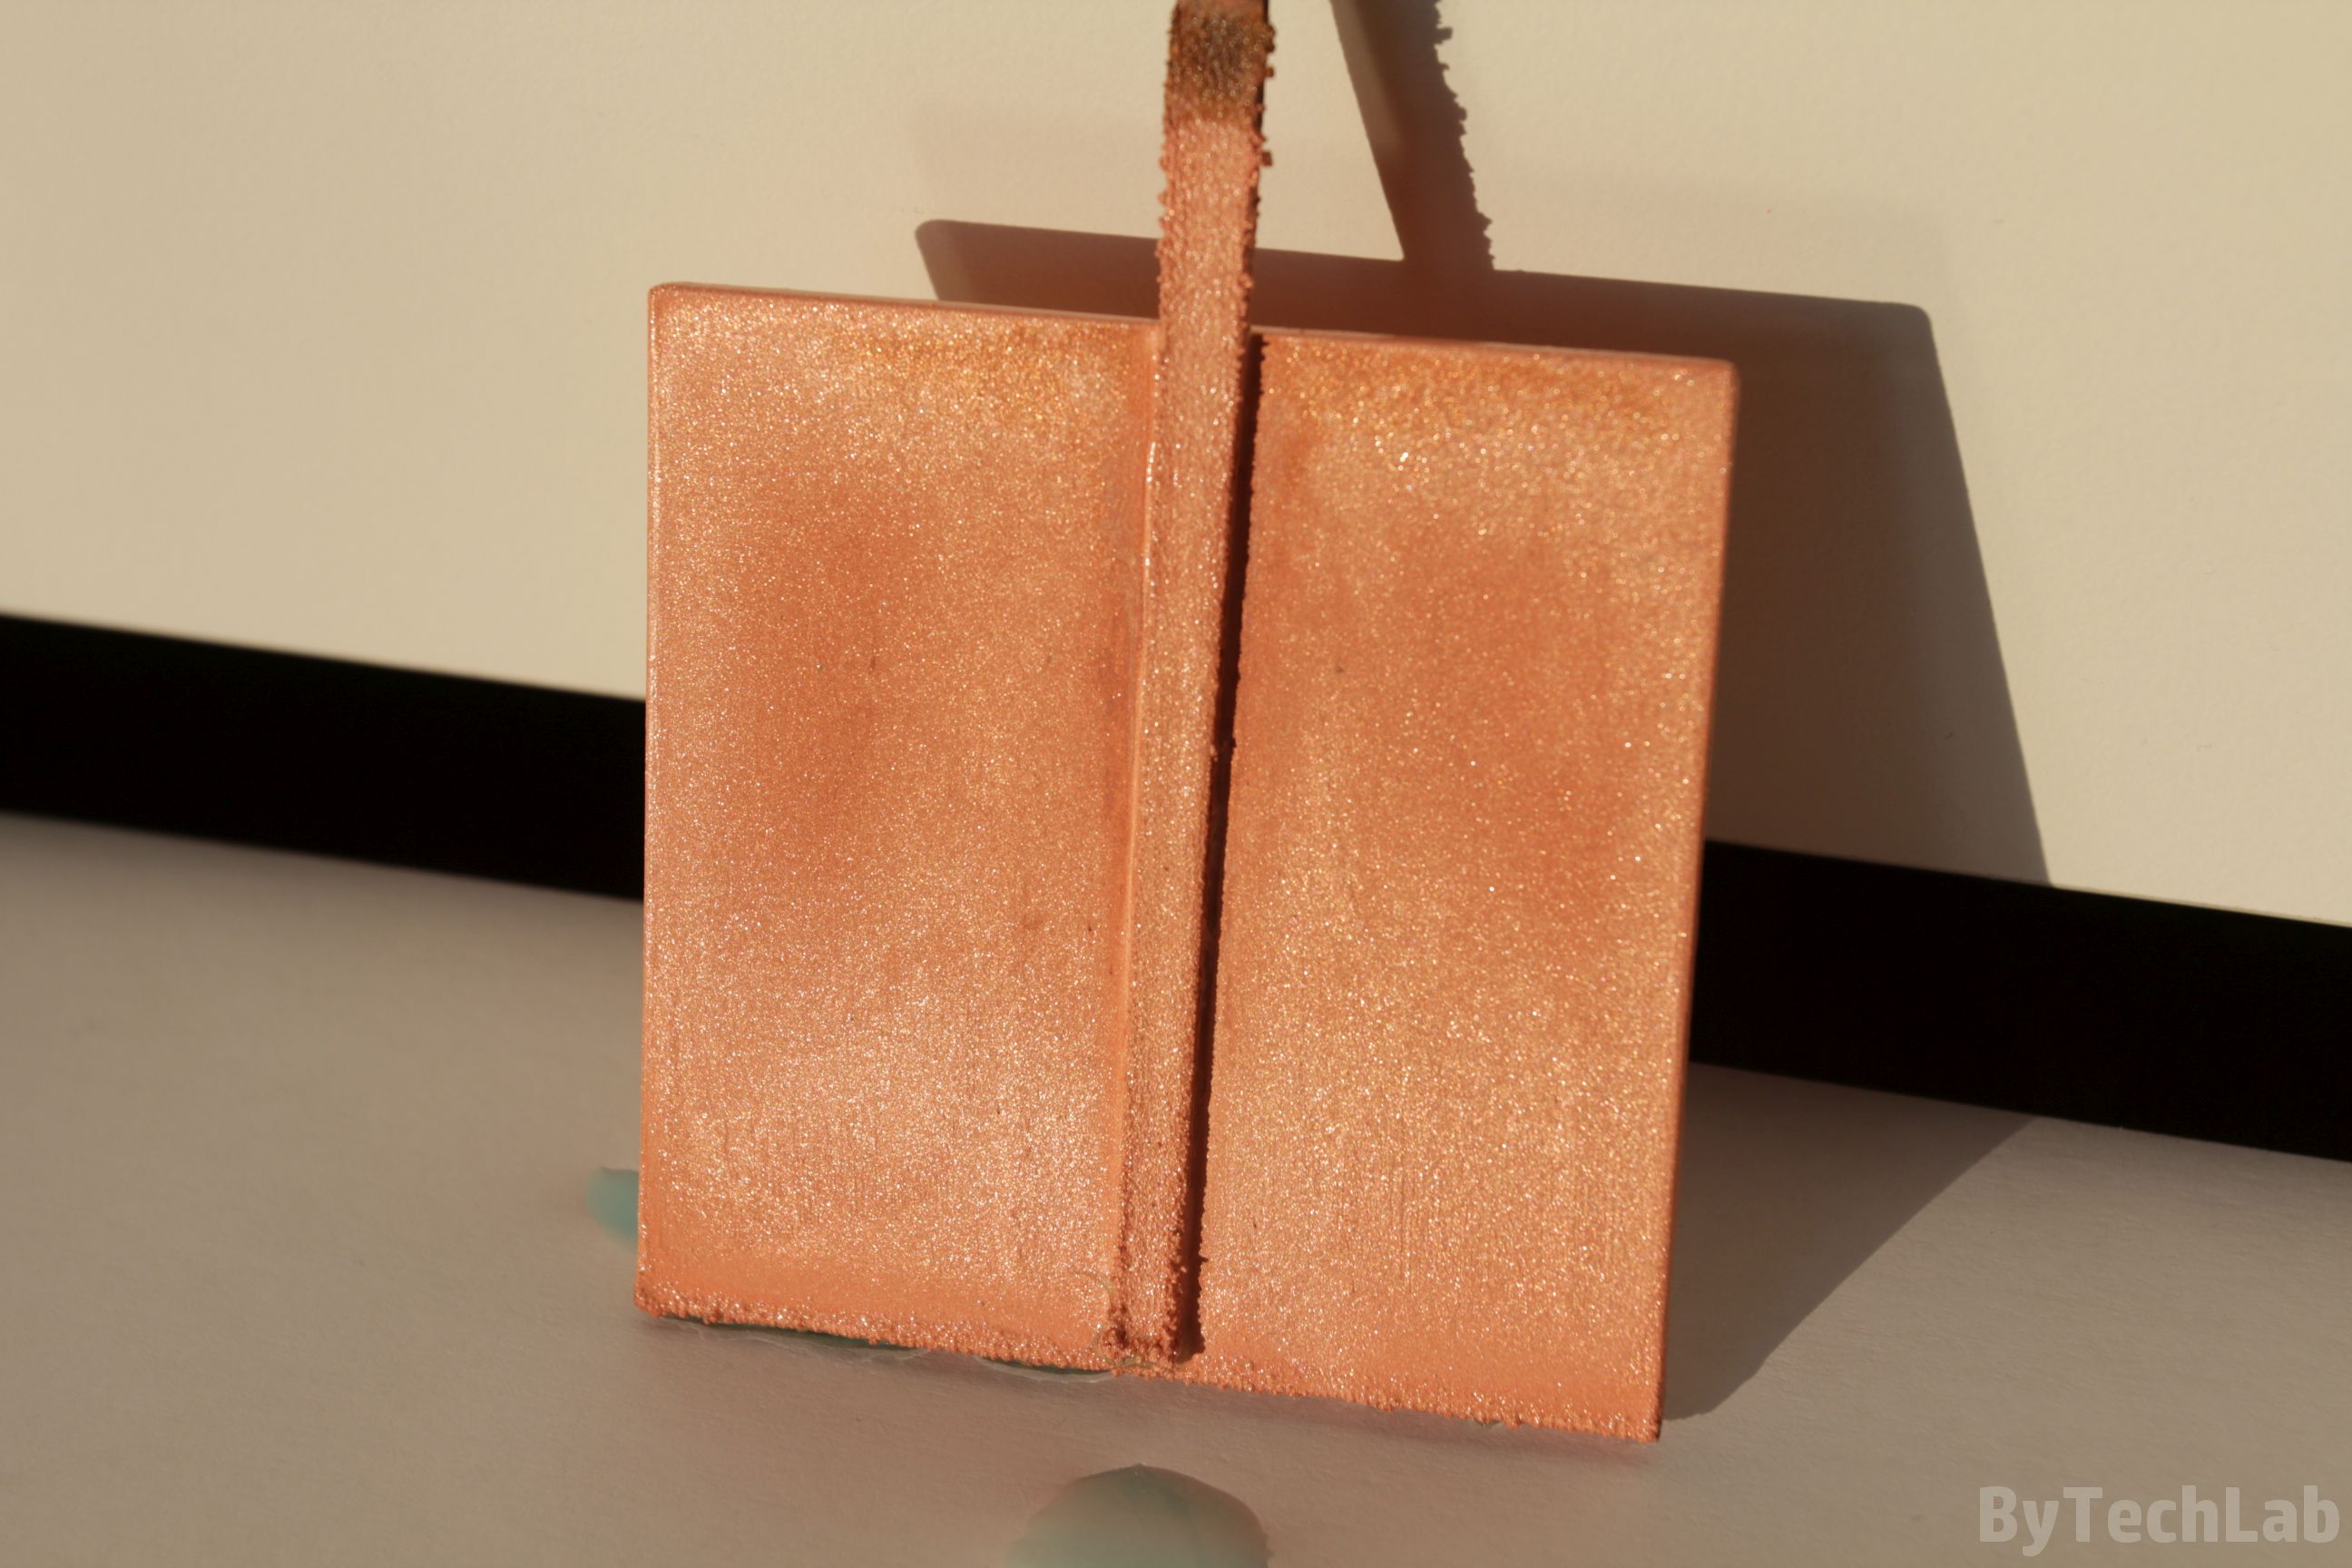
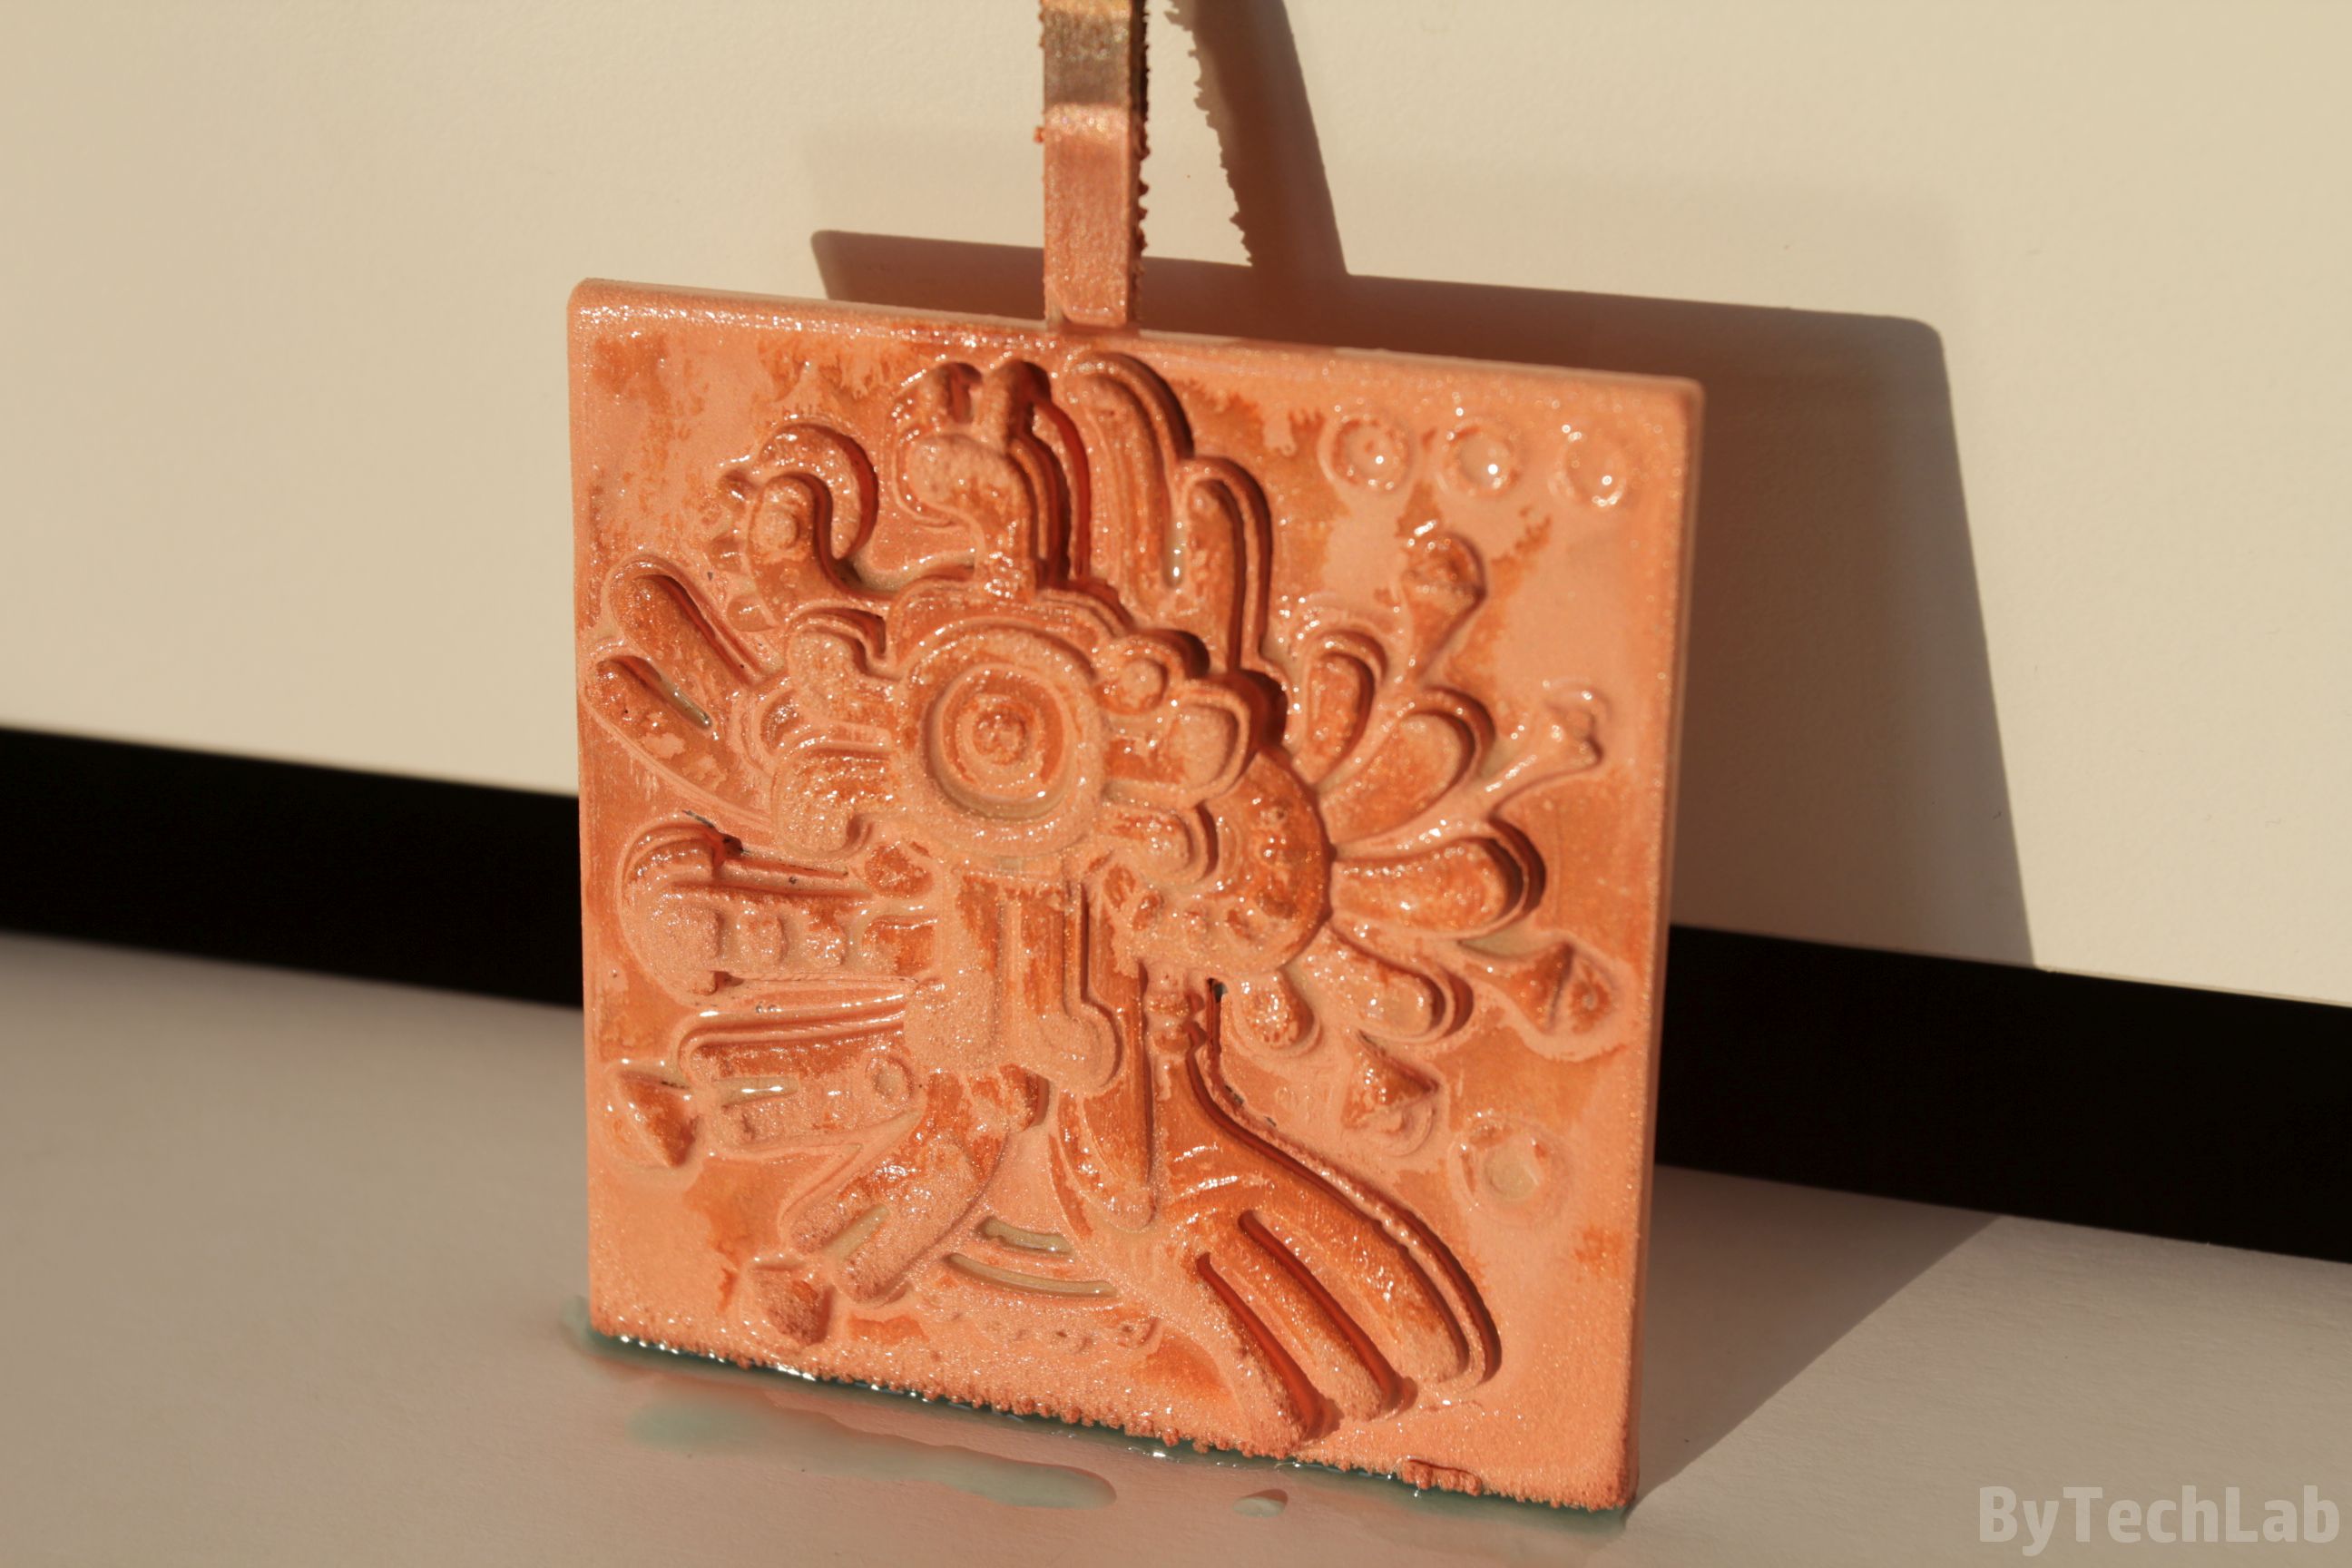

Above you can see how this print looks like after almost two days of electroplating. From the back and the front you can see small copper crystals that glitter when illuminated at the right angle. Unfortunately, the print will be oxidized very quickly after taking it out of the bath.
Therefore, it is a good idea to store it submerged in copper sulfate solution inside a closed jar until you apply layer of another metal. Large crystals of copper are visible on the lower edge – this is due to the fact that the model was not evenly arranged in plating solution. The greater part of the anode was under a hanging 3D printed model.
Covering with other metals:
The copper coating should now be properly polished . After polishing, you can go for the next stages of electroplating, for example with silver or gold.