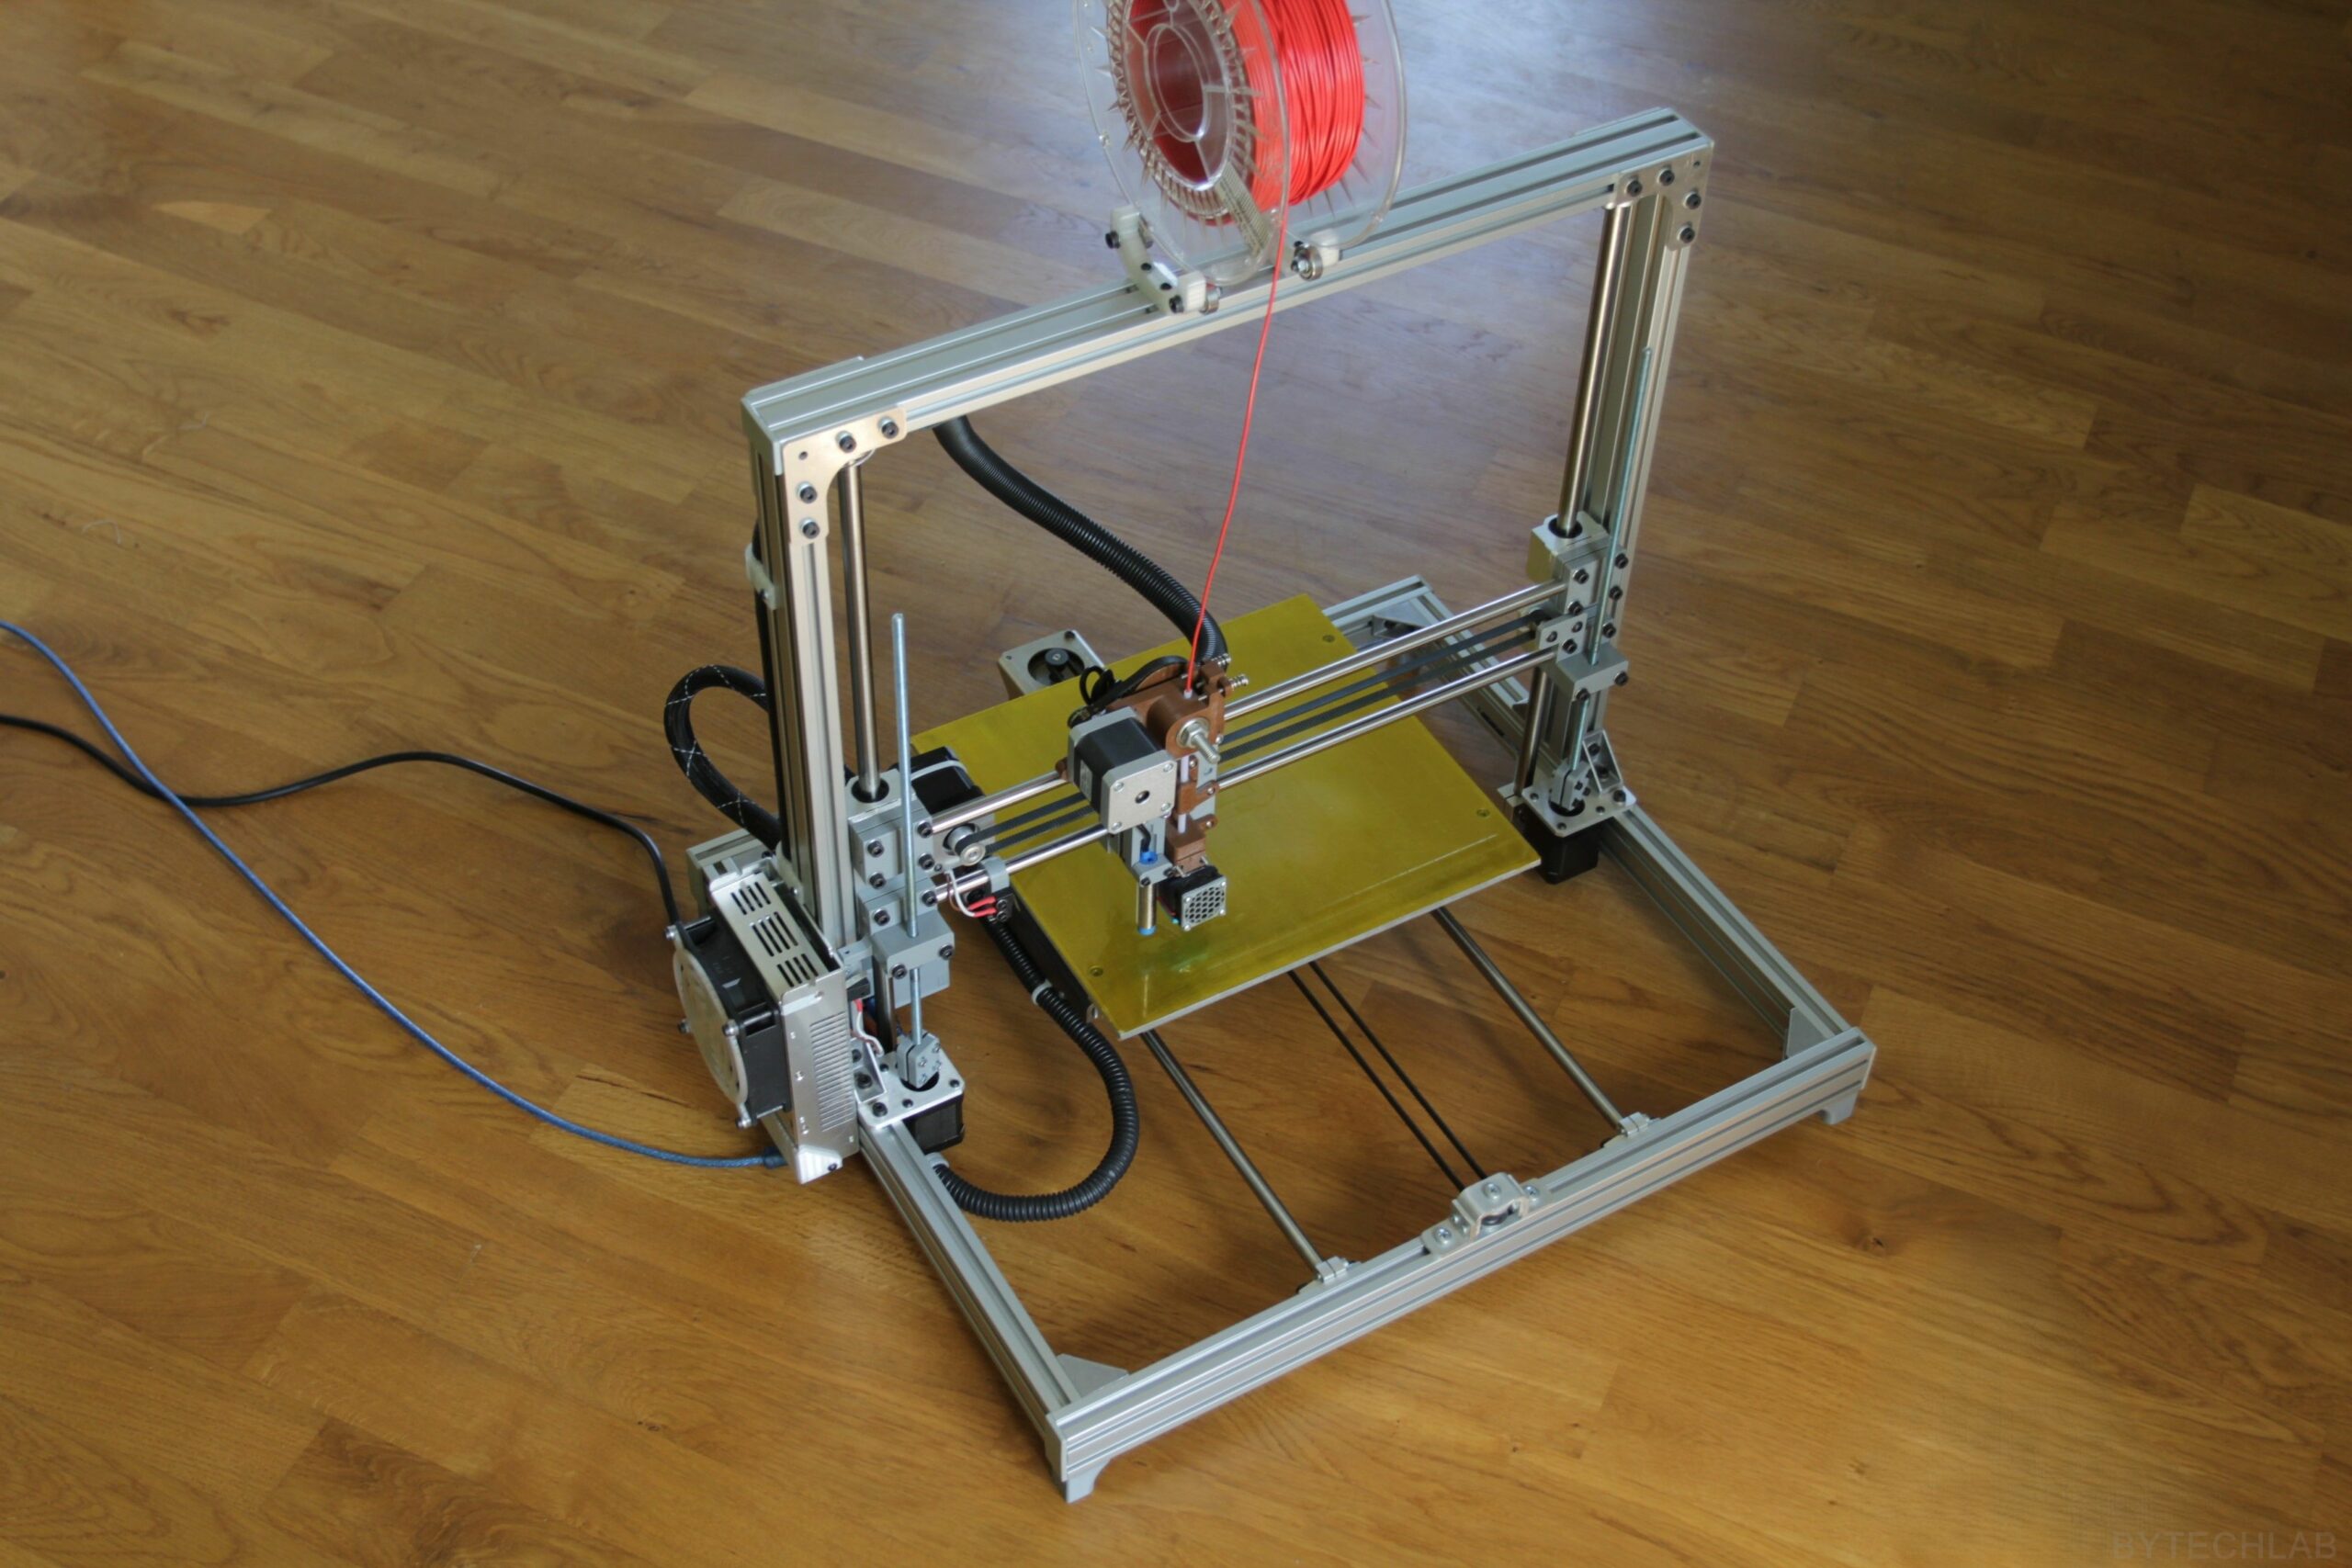
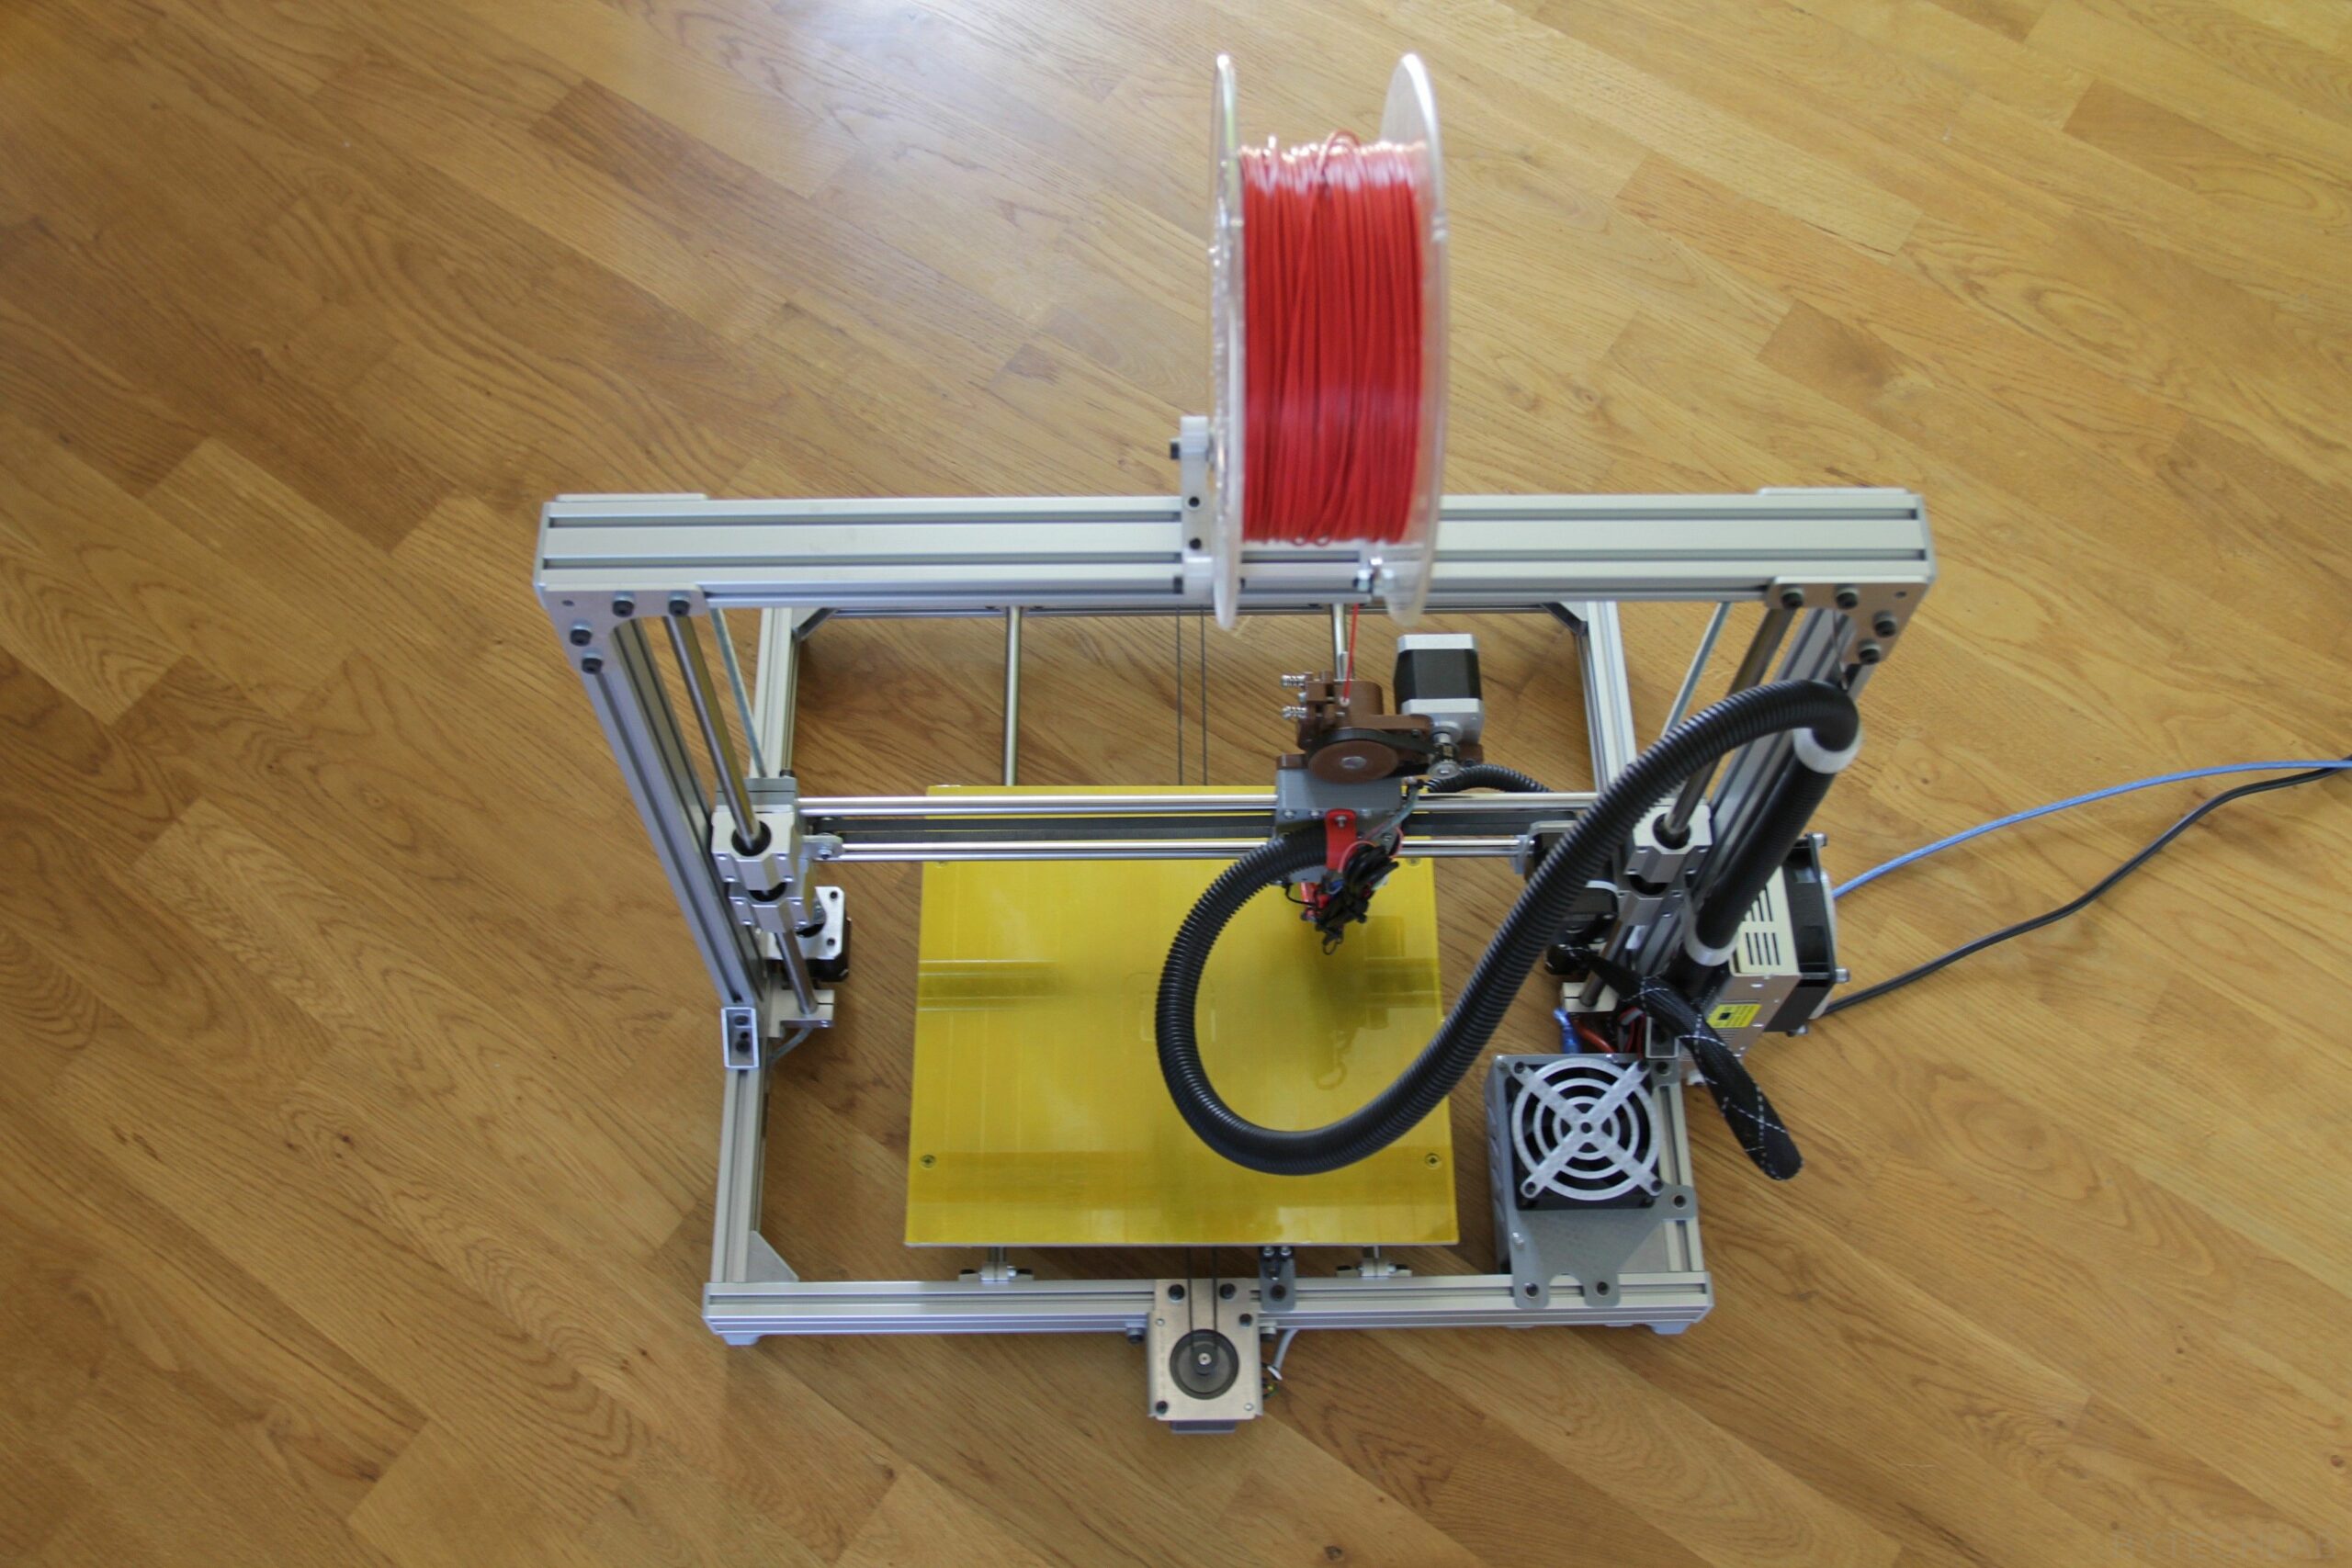
My new FDM 3D Printer (TREX-300) is based on the design of the Profabb Gate XL printer . The Gate LE is a very old design which was designed and manufactured a few years ago when the rep-rap printers were getting popular in my country. It required many modifications to improve numerous design mistakes.
I decided to share this project, because some of the modifications might be useful for someone who owns this printer. I’ve decided to give this printer design a new name (there are only a few parts left from the previous printer).
During the design process I needed to reverse engineer all dimensions of the “factory made” parts. Then I’ve designed new parts that were intended for transplantation based on these measurements.
Definitely the hardest thing to do was to properly design the X-end and X-axis carriage ( in the way that no significant changes to the printer’s frame would be required). The whole redesign / rebuild process took about 2 weeks. I think that it’s safe to say that it would be much easier to build a new printer from scratch than to redesign the old one.
MCAD DESIGN

In the GitHub repository (MCAD folder) you can find the following files:
- Autodesk Inventor project,
- Exported STEP file of the whole assembly,
- Exported PDF file with assembly drawing,
- Exported assembly renders,
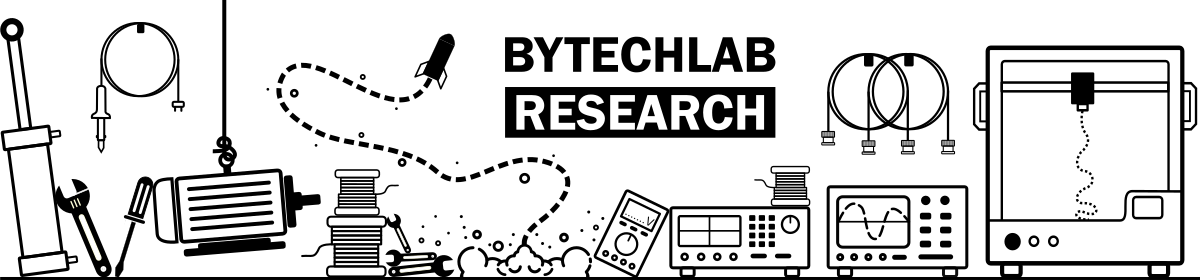
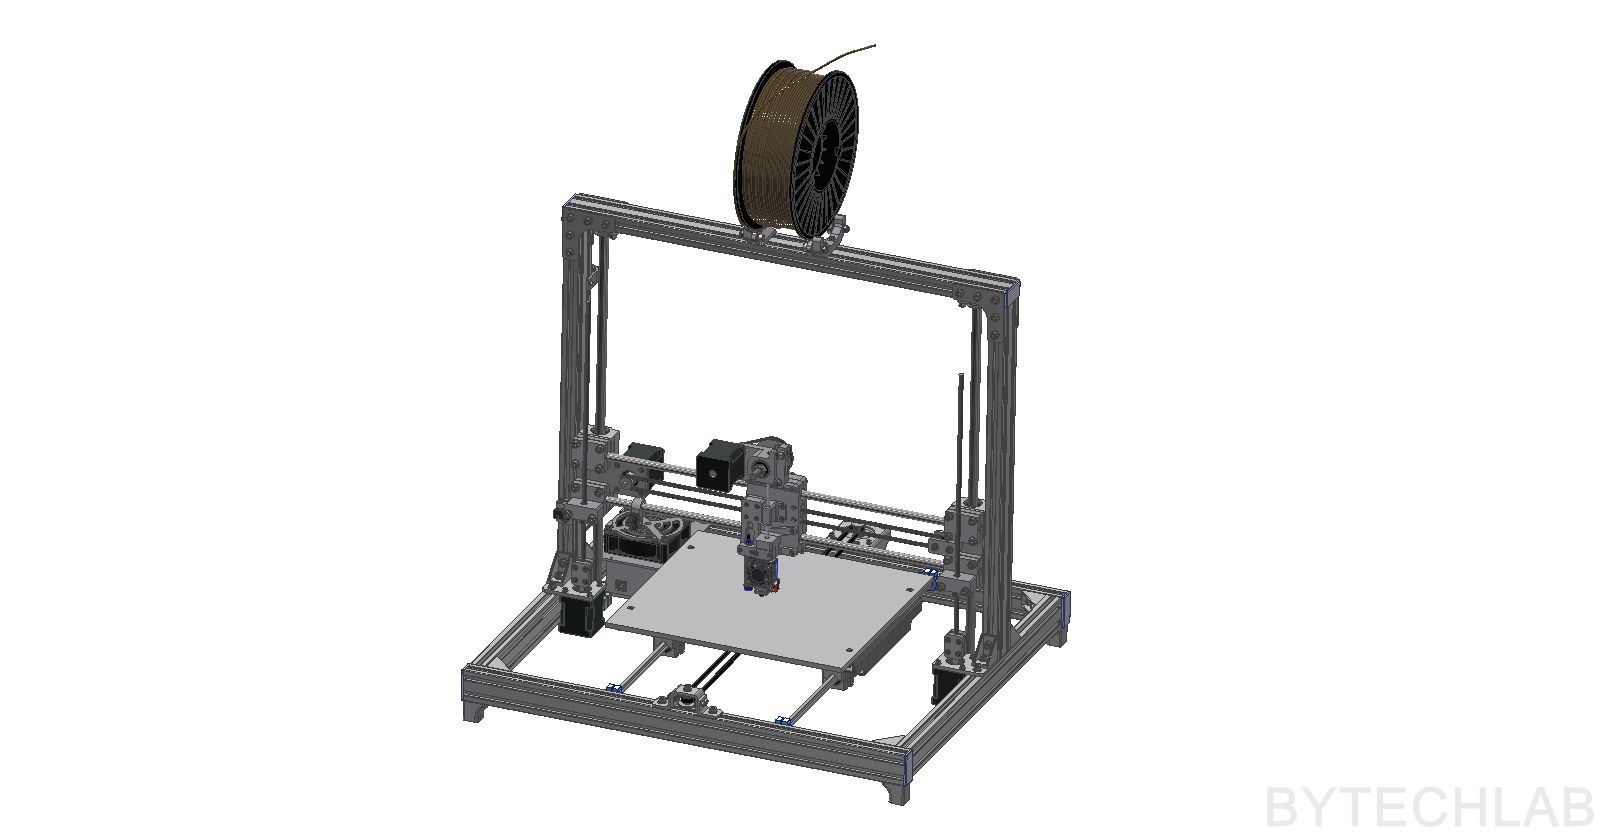
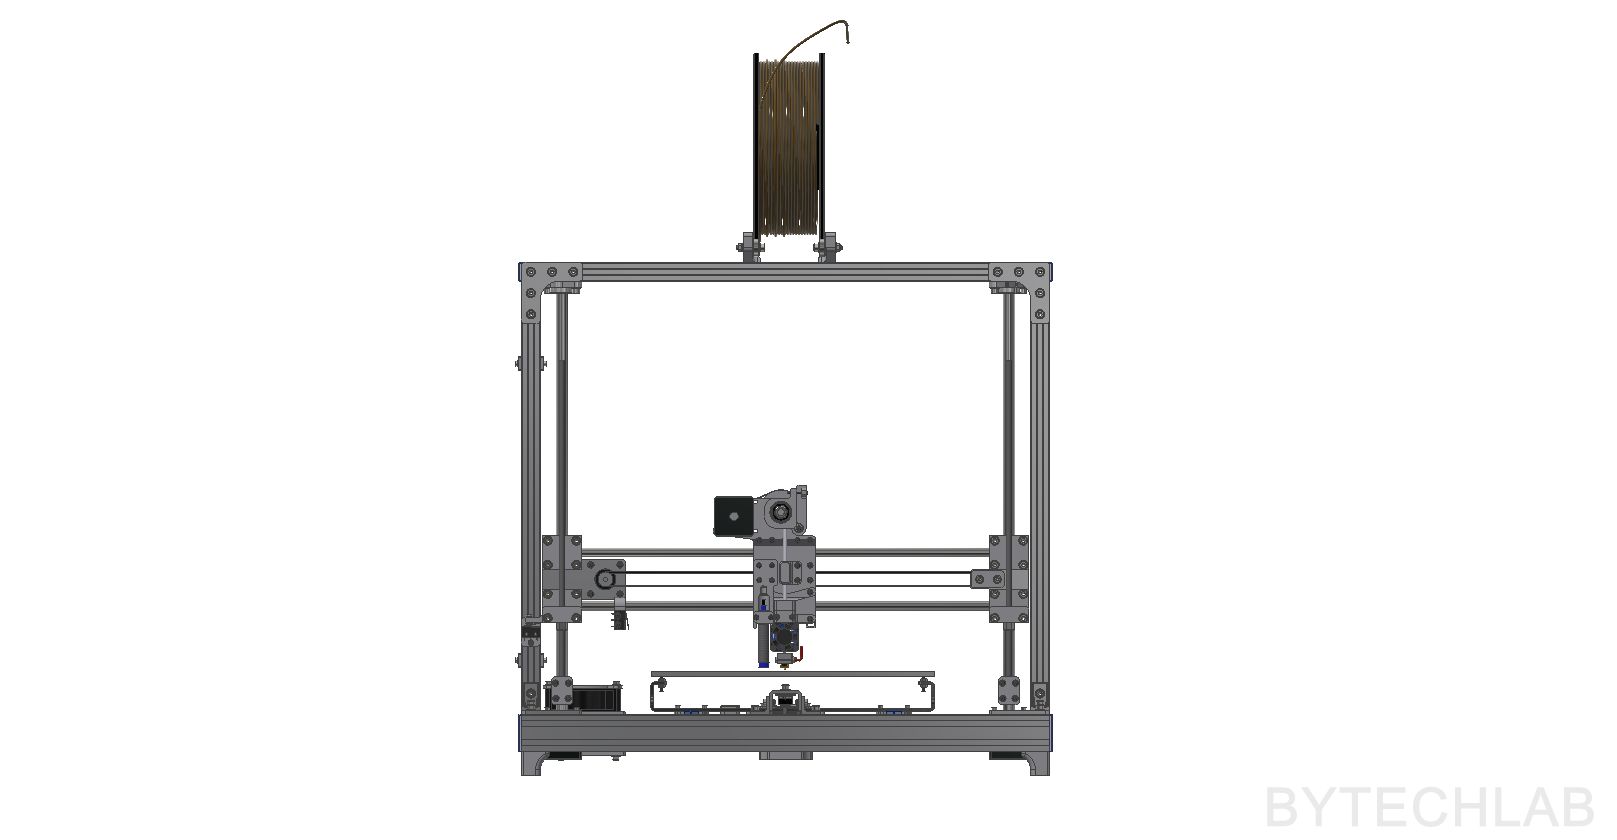
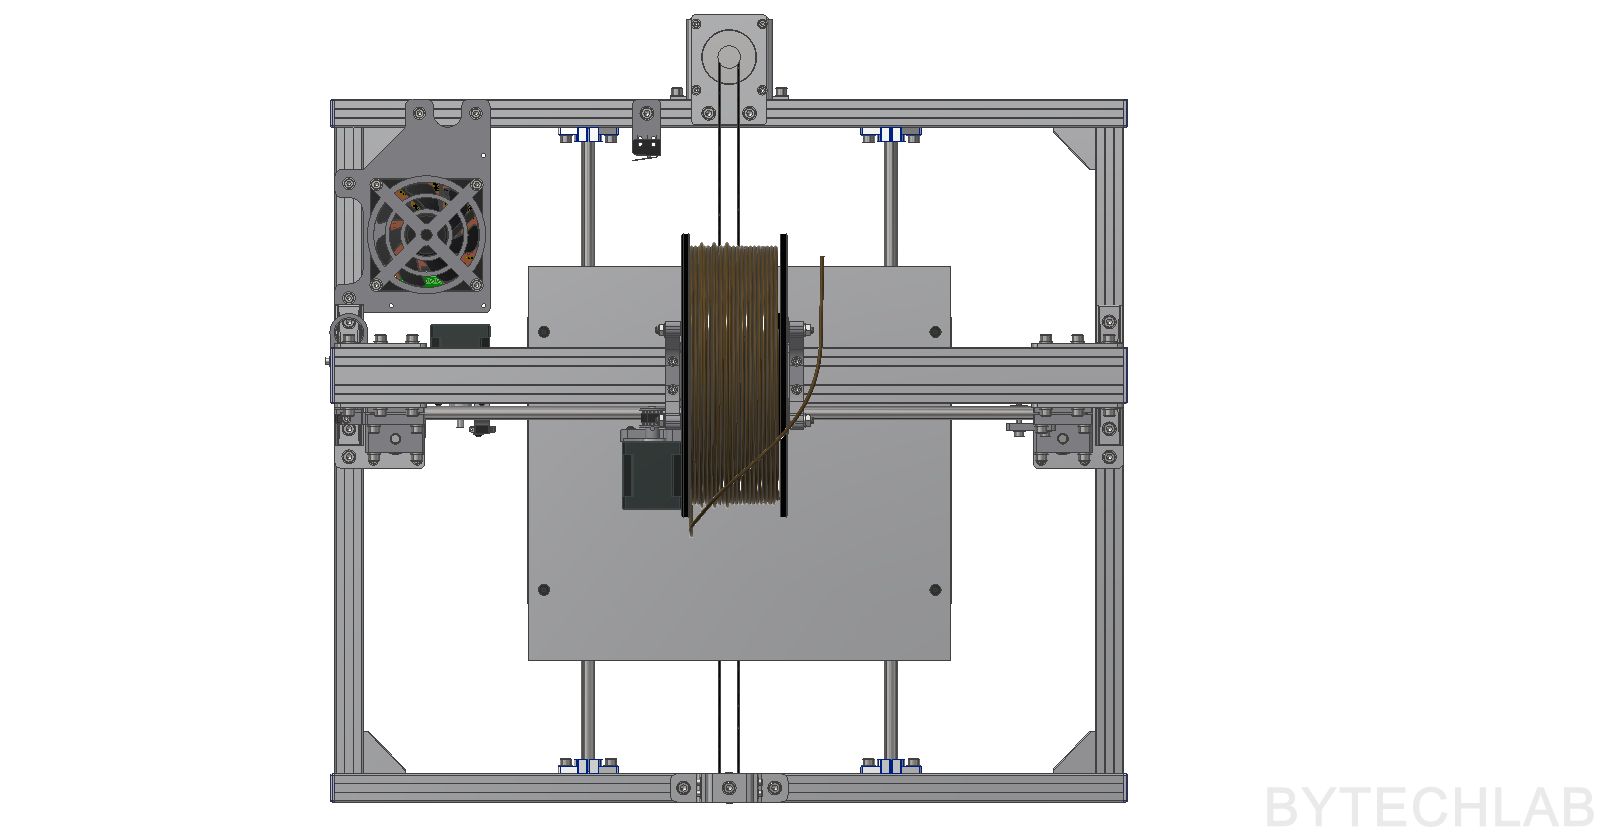
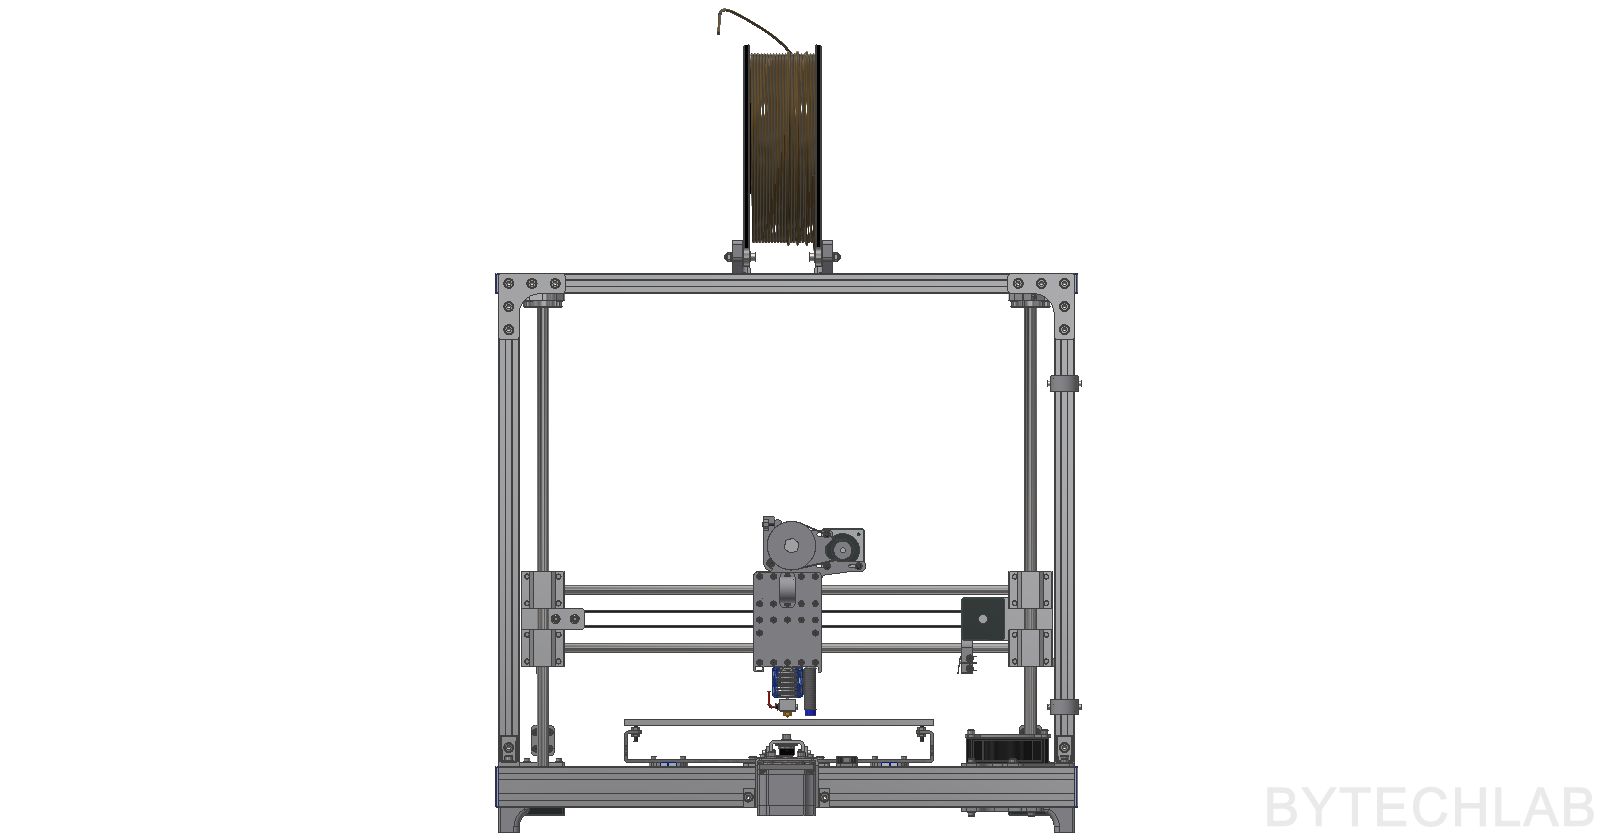
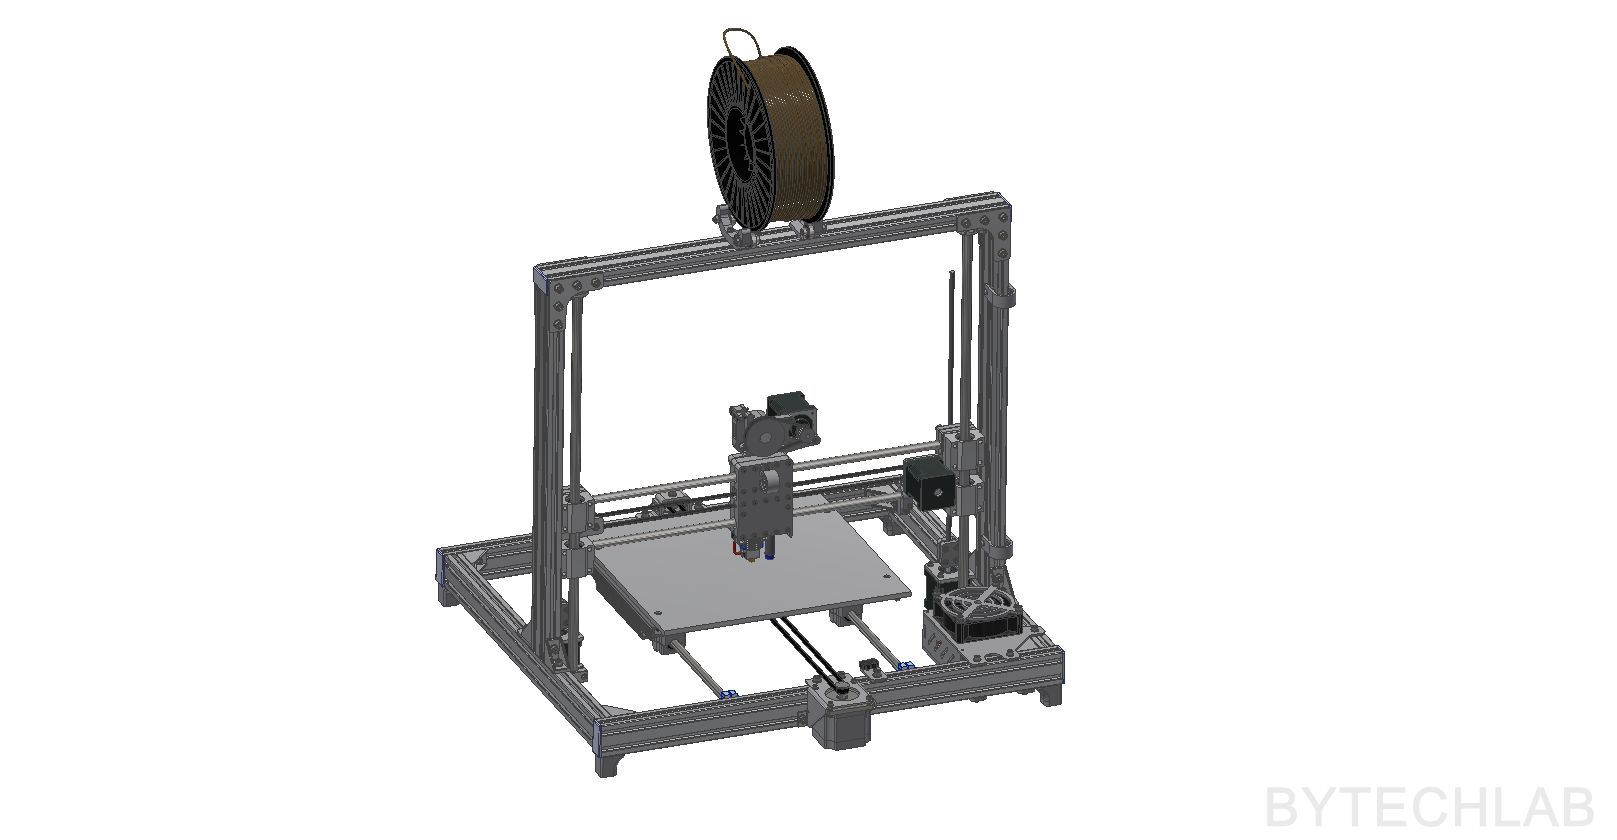
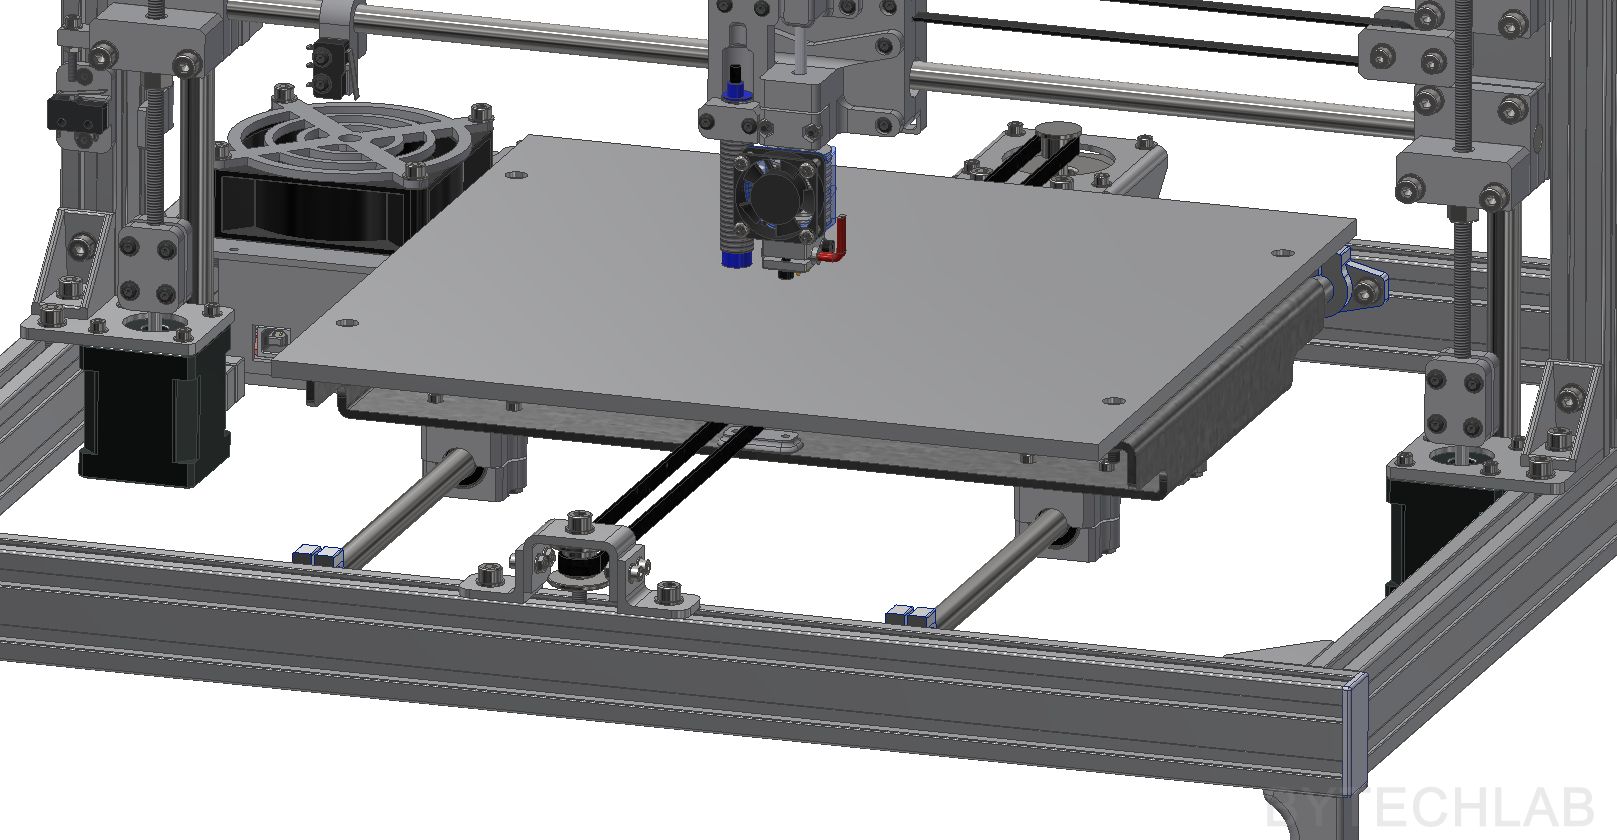
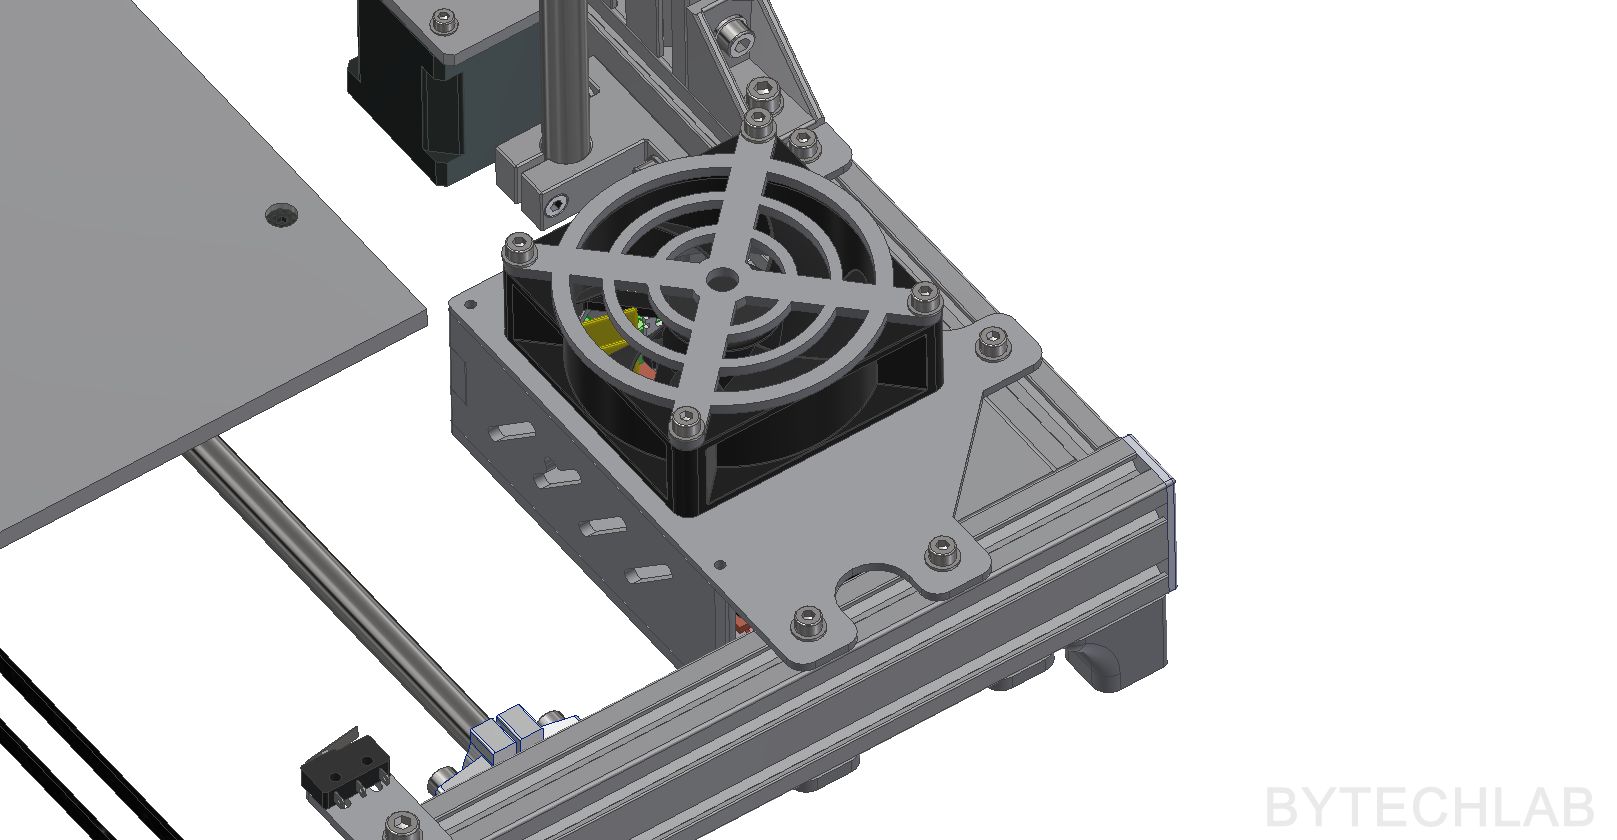
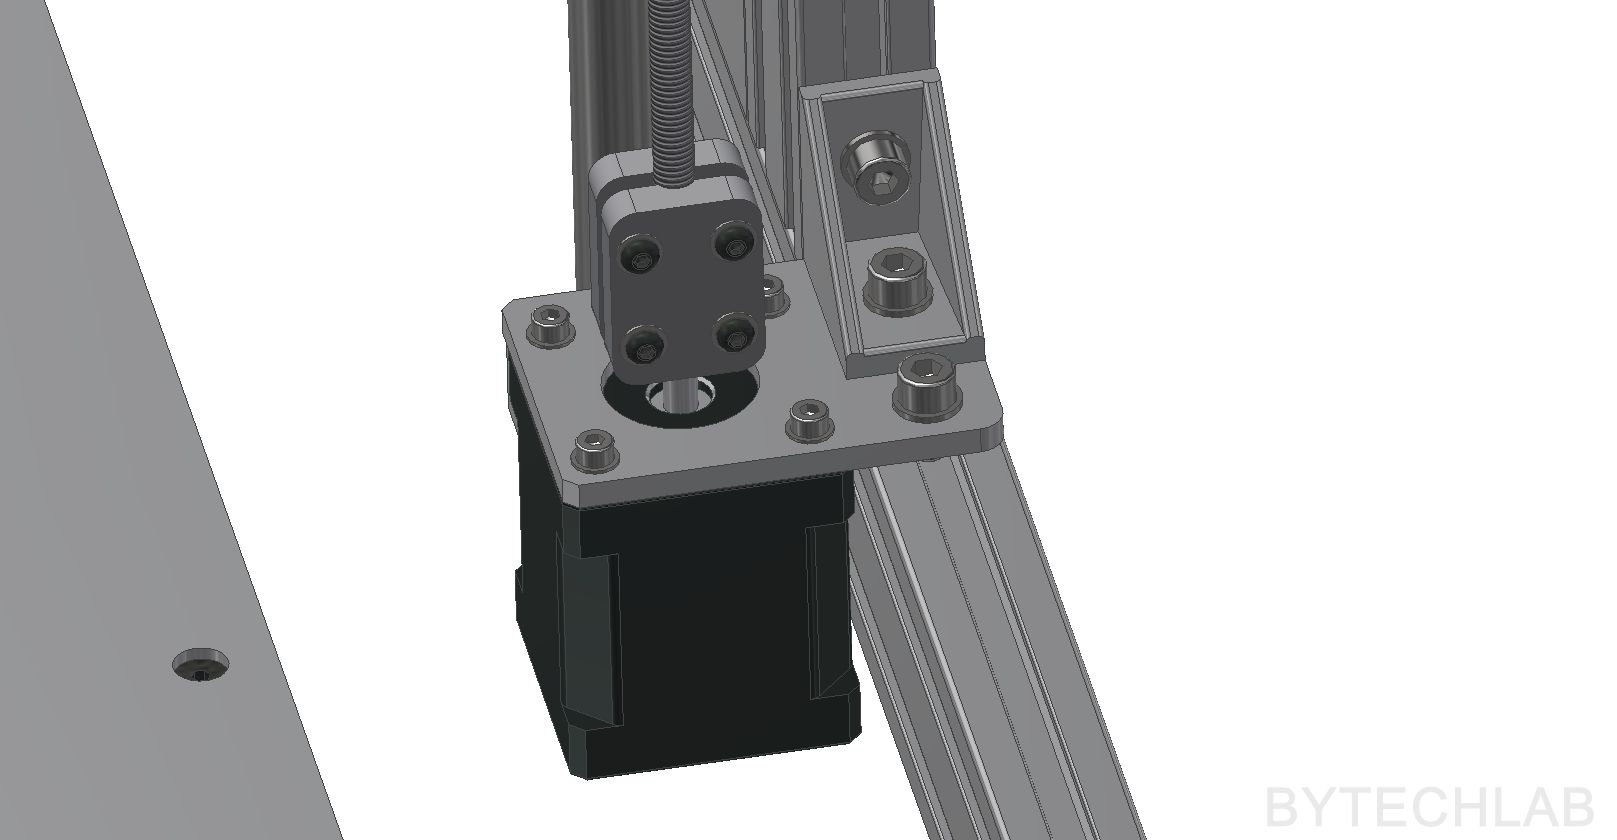
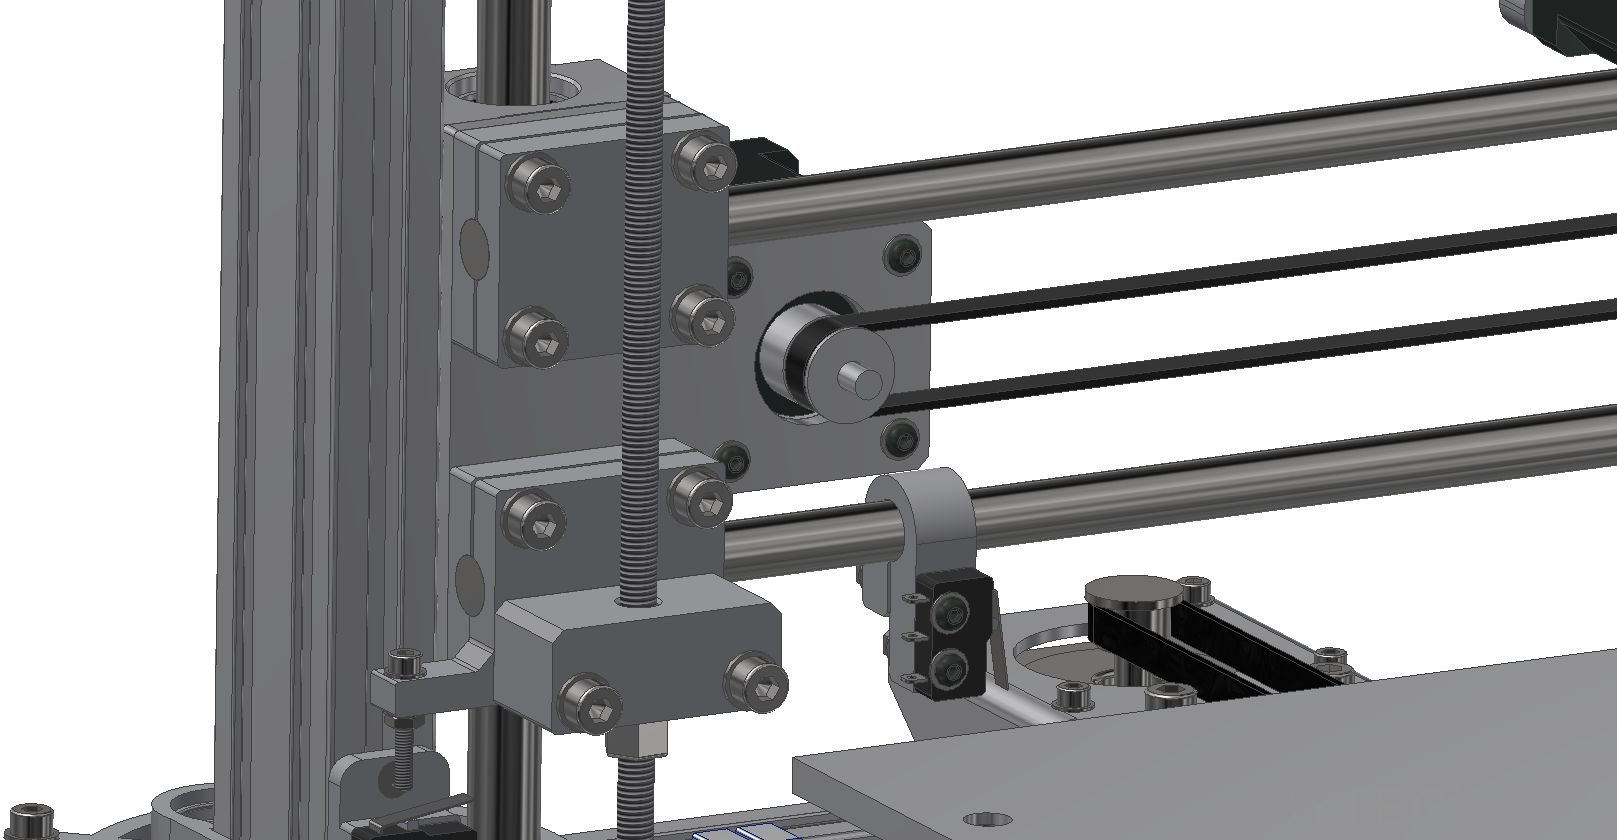
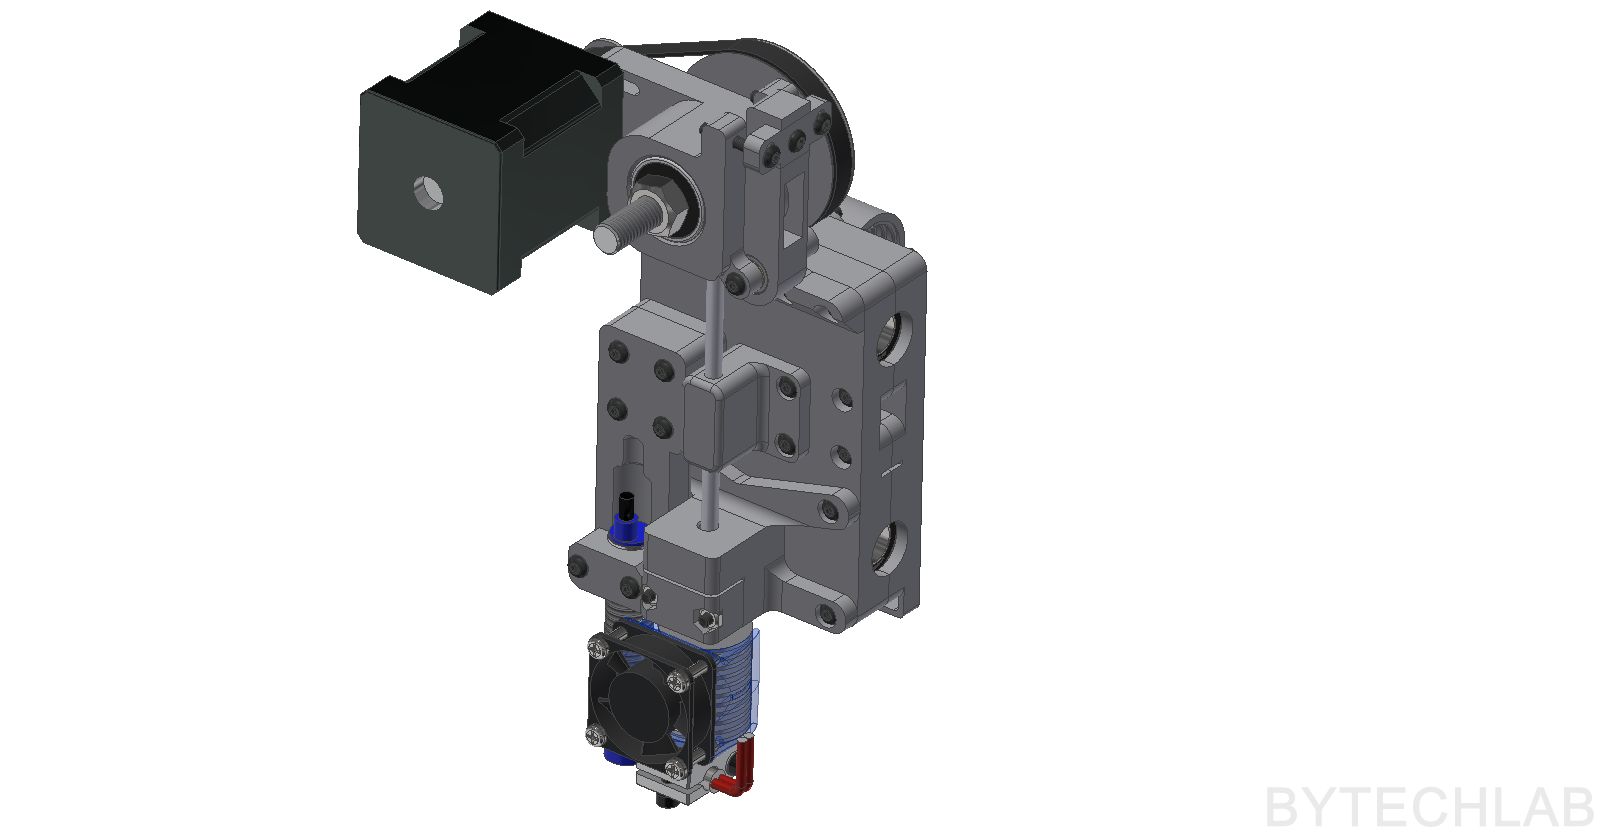
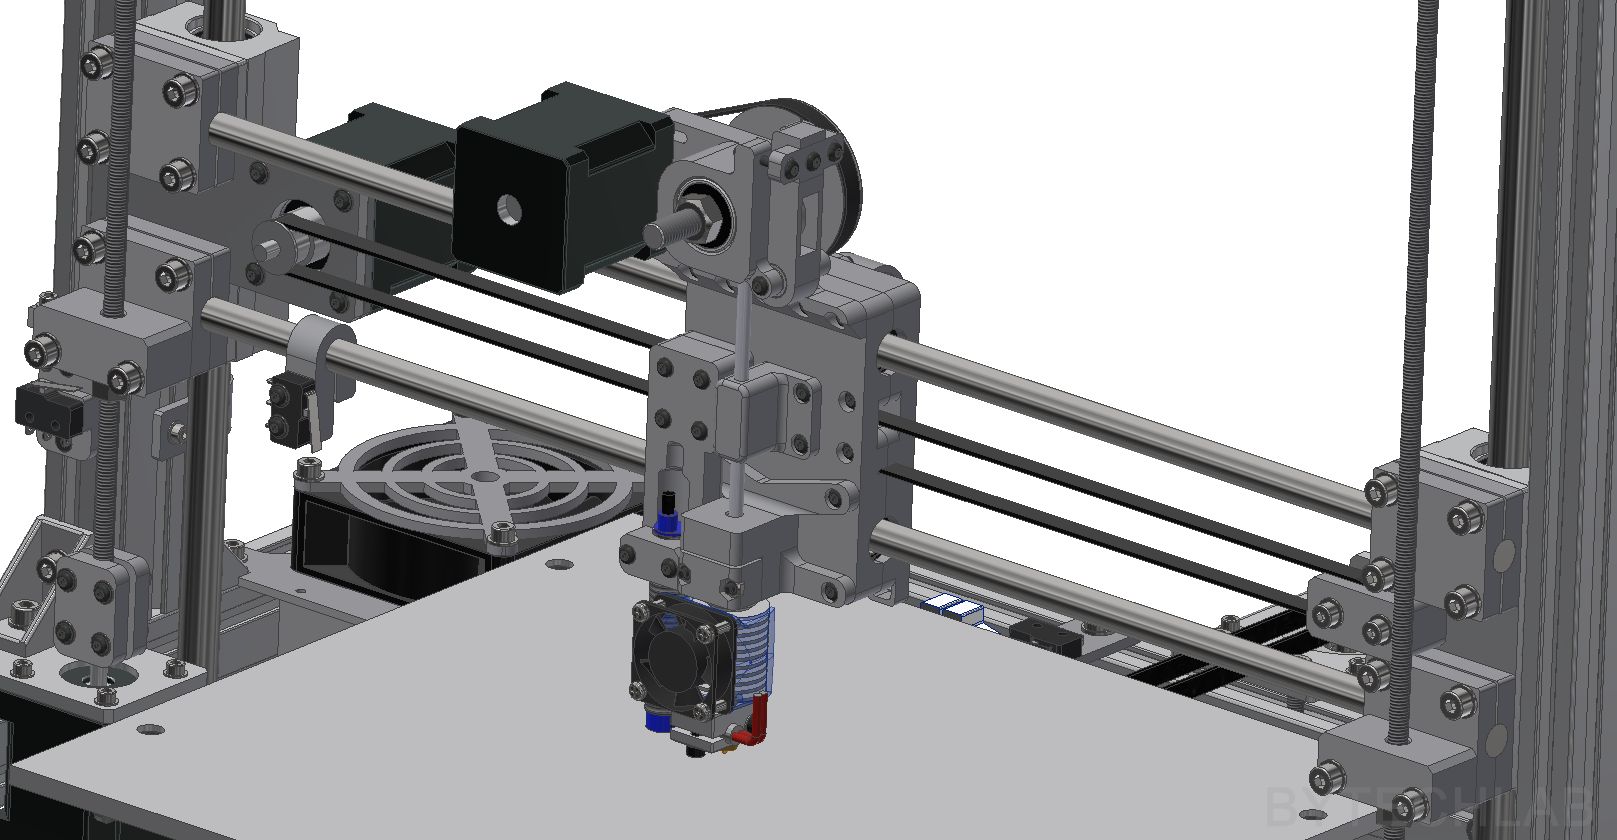
Below you can find some renders of the MCAD design:
MODIFICATIONS LIST
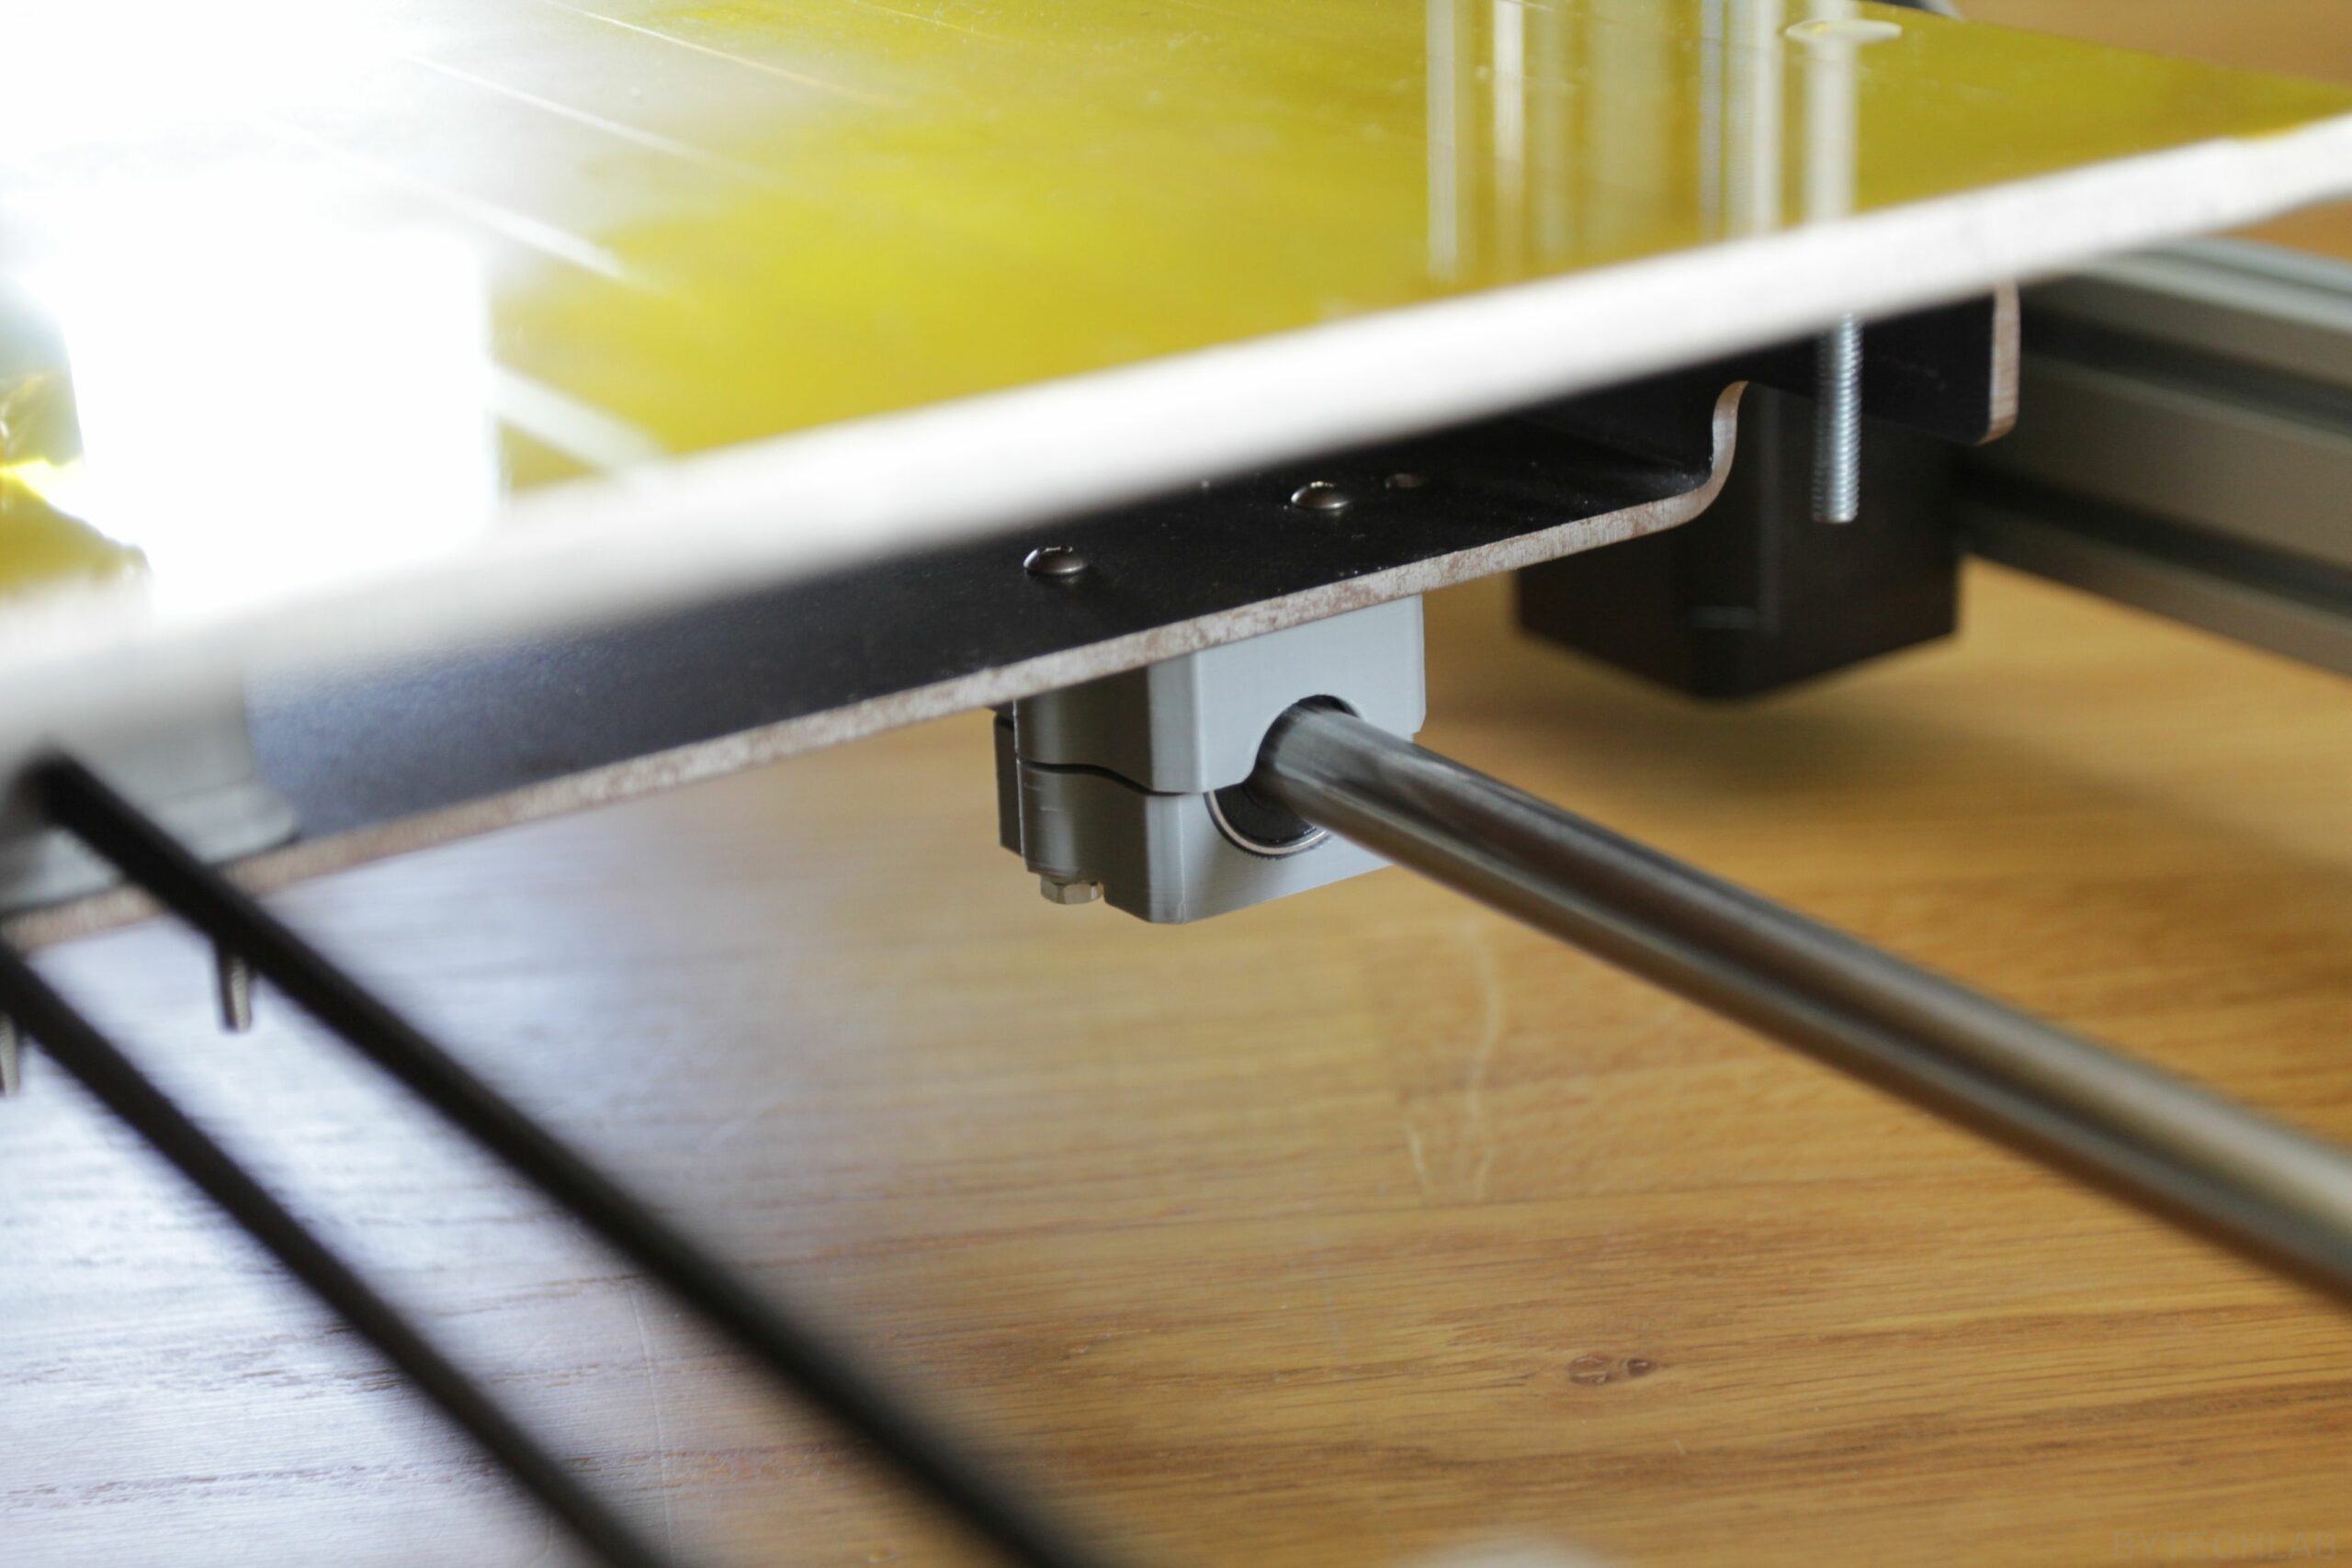
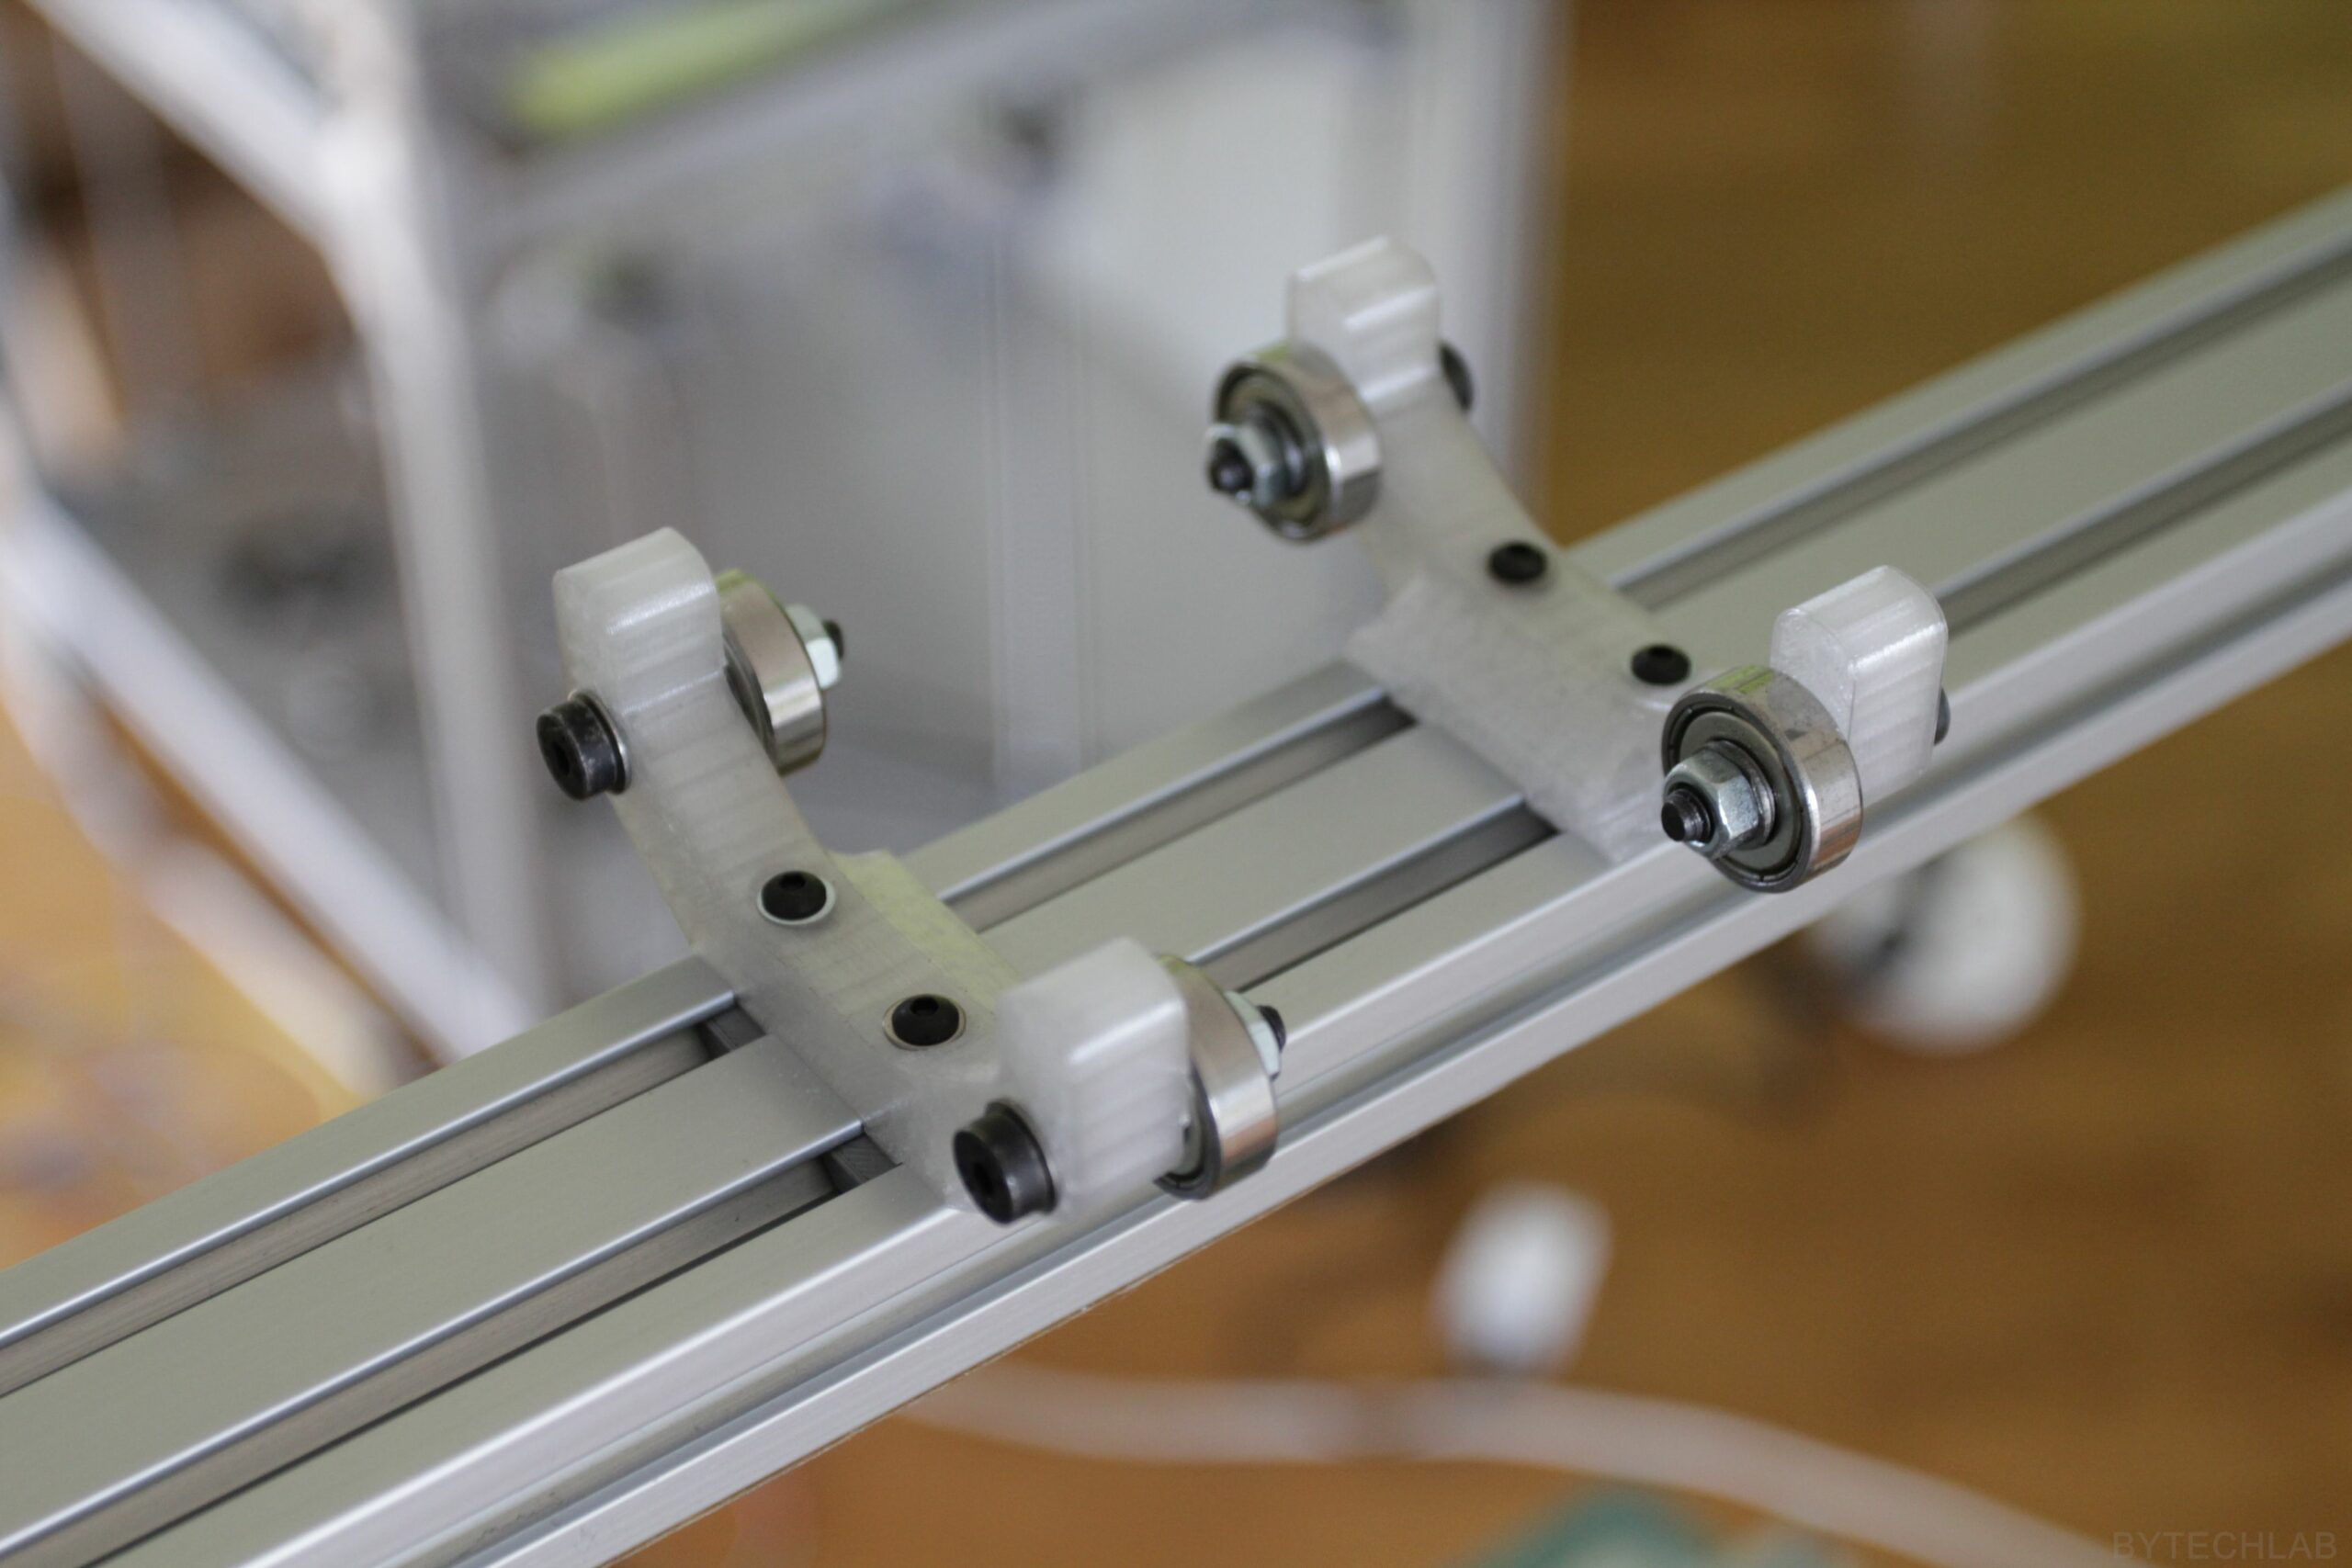
Y-axis platform linear bearings mounting clamps were redesigned, the previous ones were too weak. New two-part clamps effectively stiffen the mechanical connection between steel platform and the bearing itself (3D printed form ABS filament). Everything fits to the old holes in the heatbed steel platform. Additionally, the Y axis platform has been lowered by a few millimeters (build area was expanded in Z-axis direction):
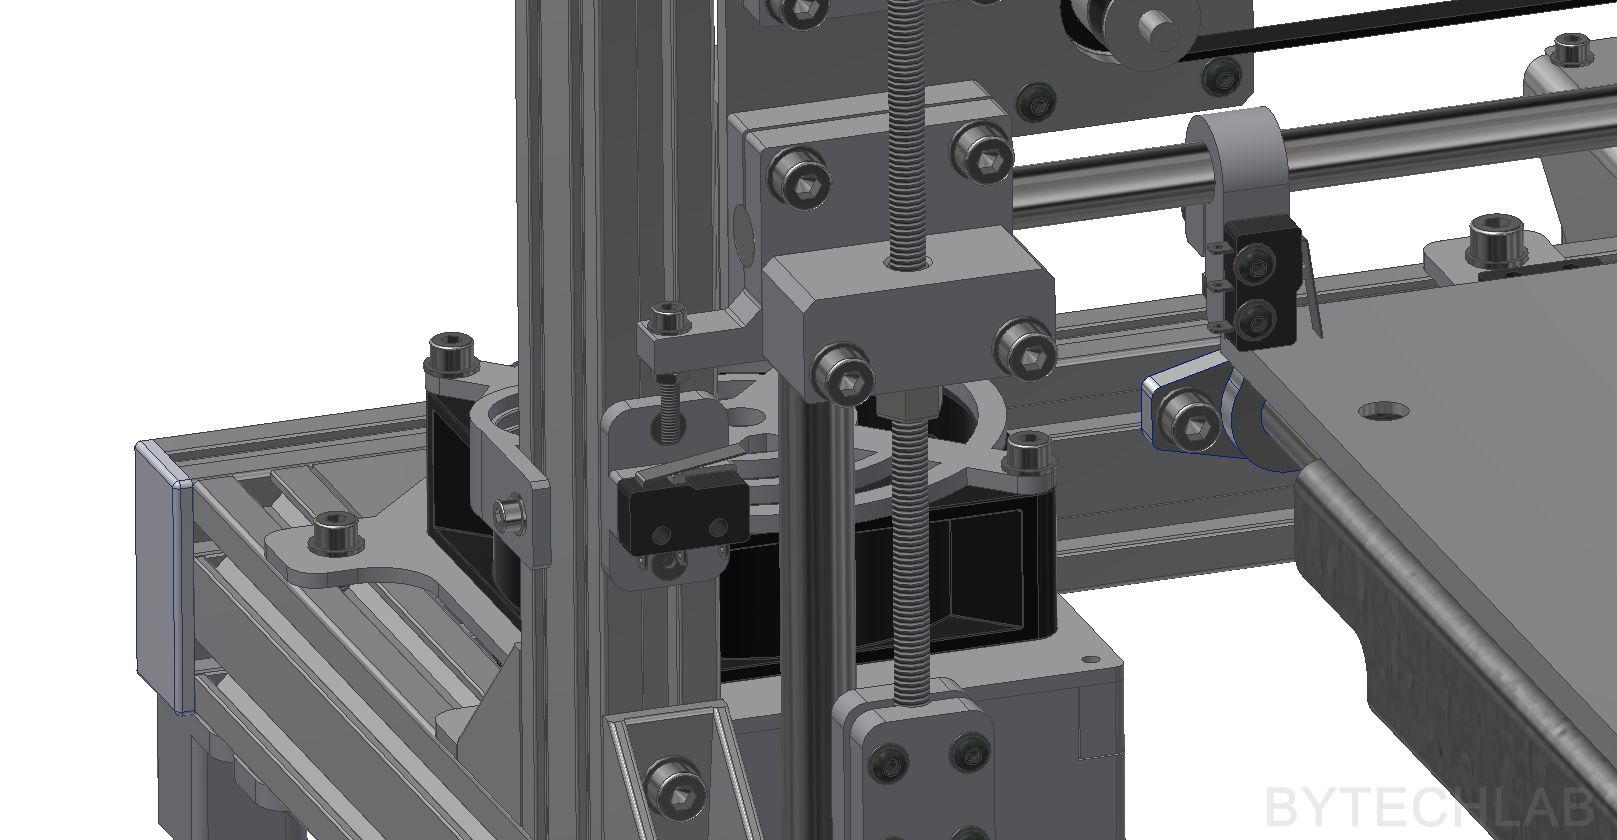
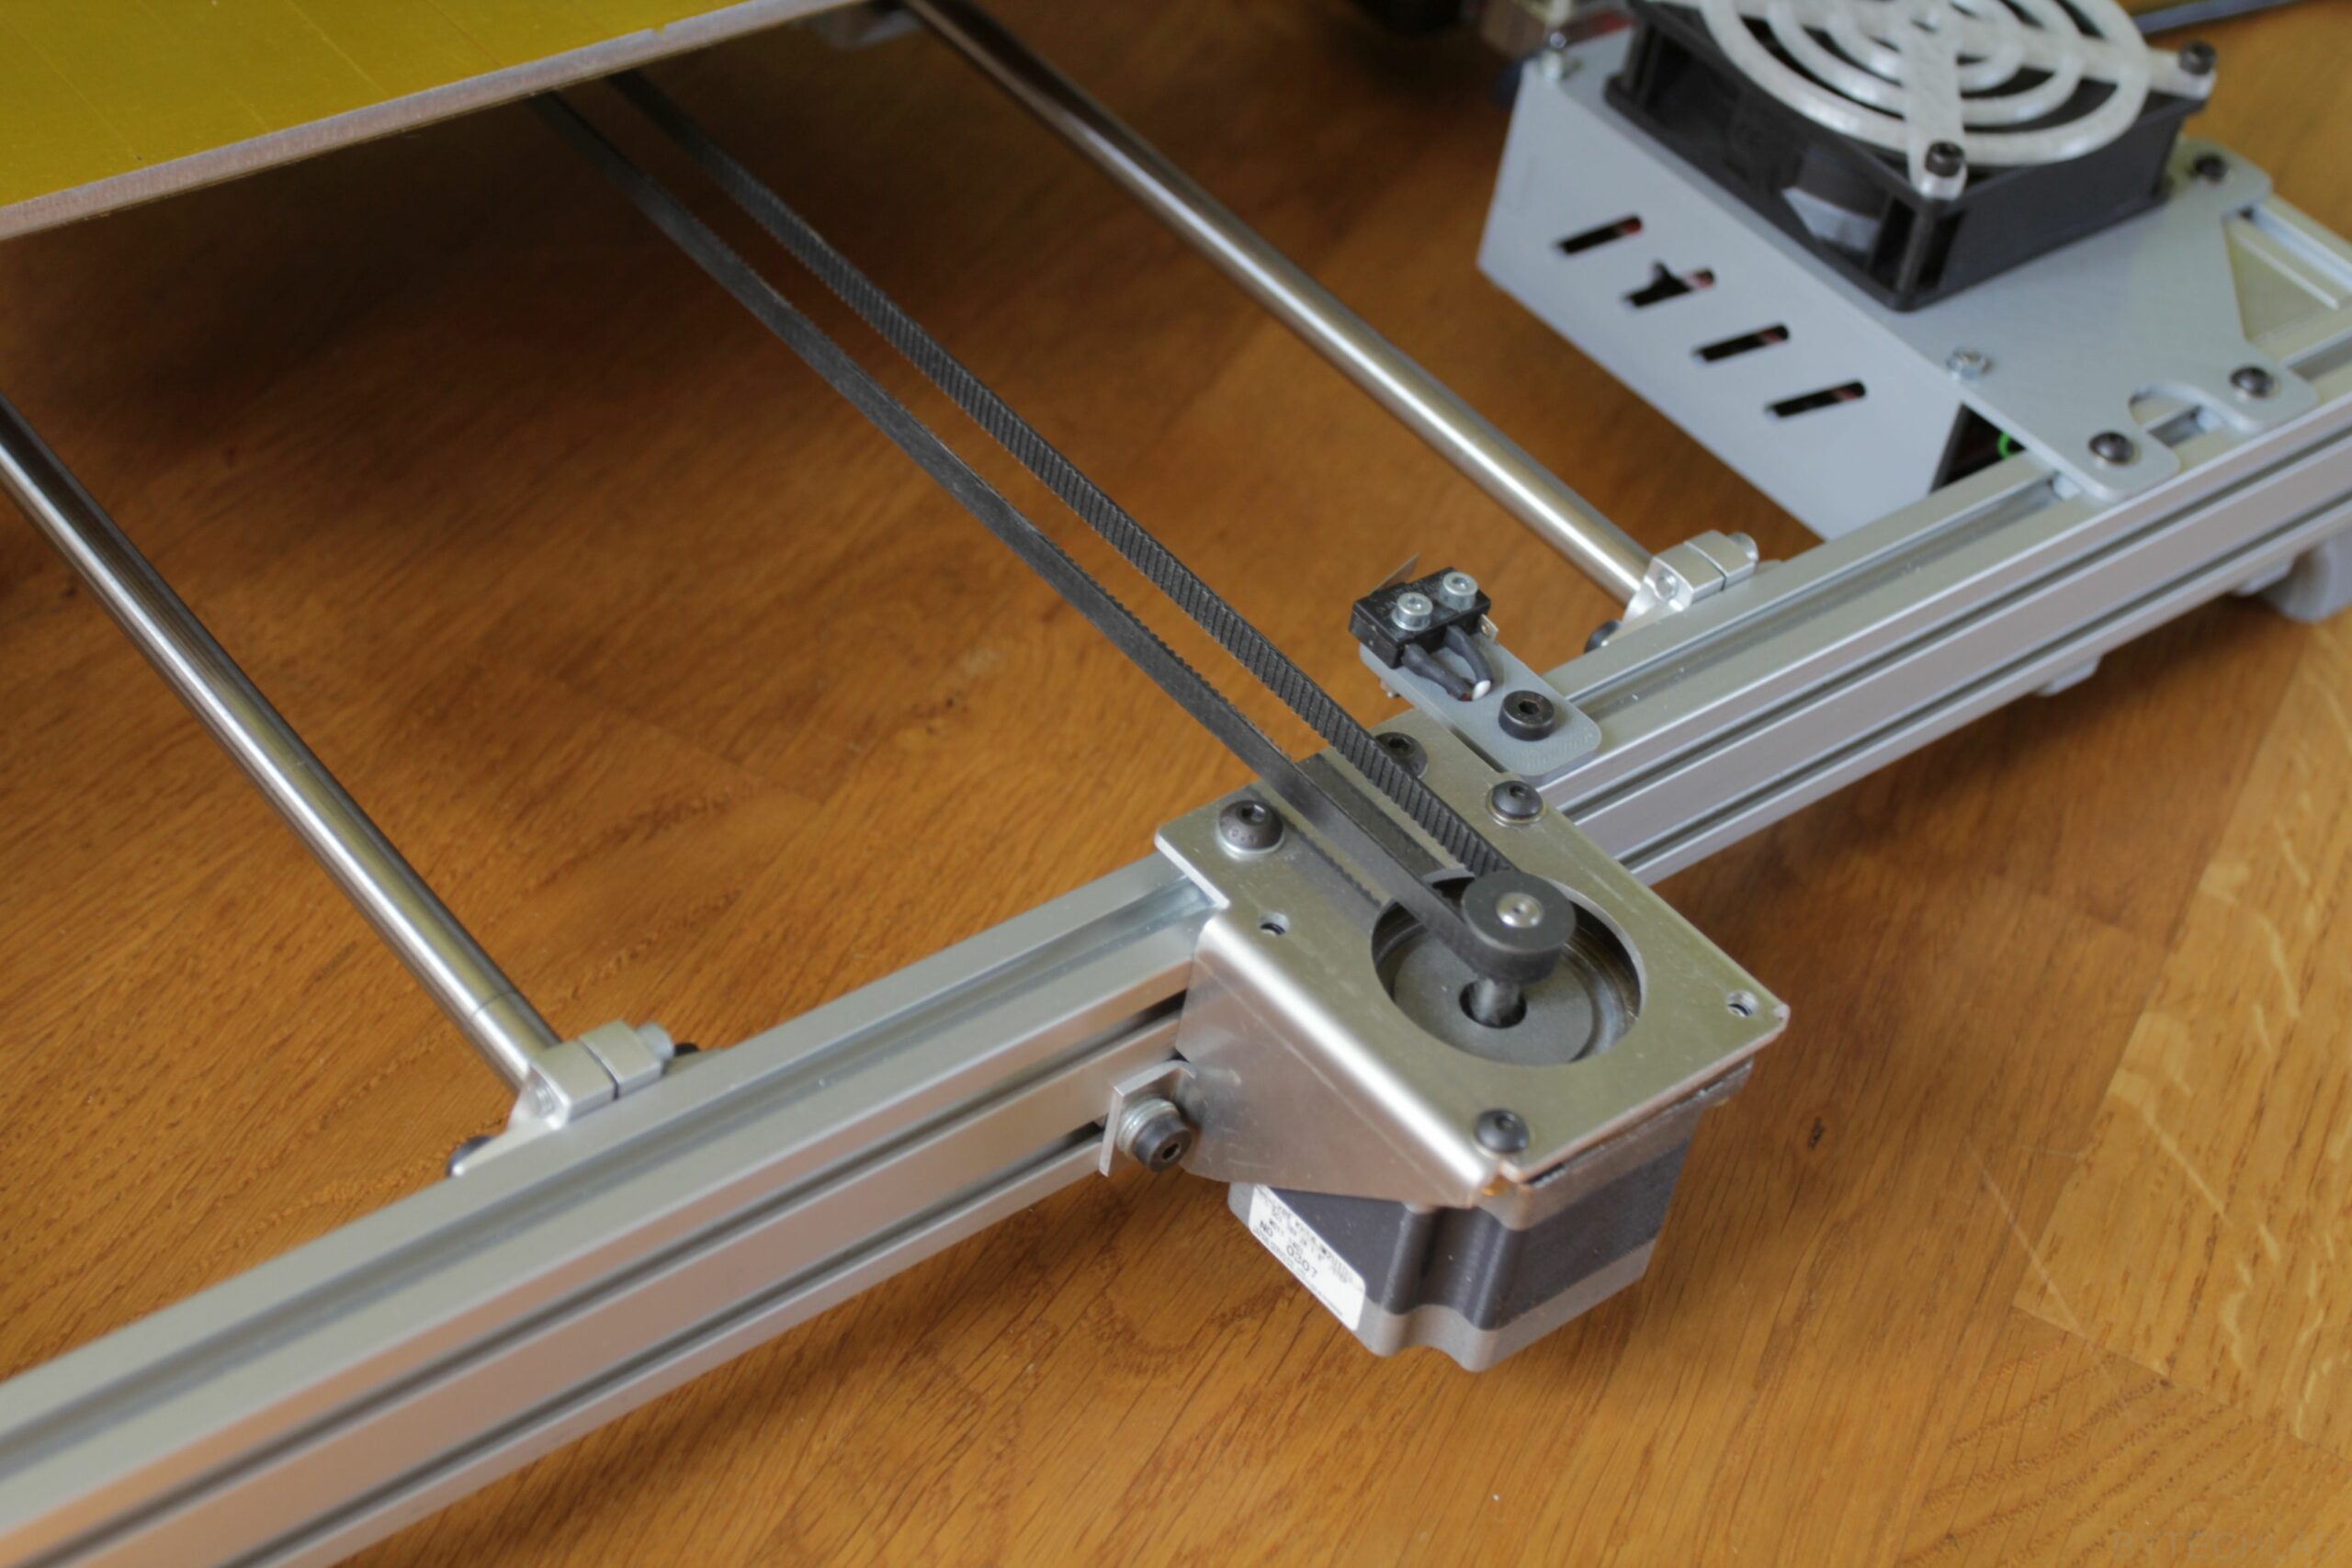
Y-axis belt idler assembly has been reinforced with use of some CNC- milled aluminium angle profiles. Previously, the whole thing was mounted to the frame with use of only one screw (this screw was bending slightly when the belt was fully tensioned ):

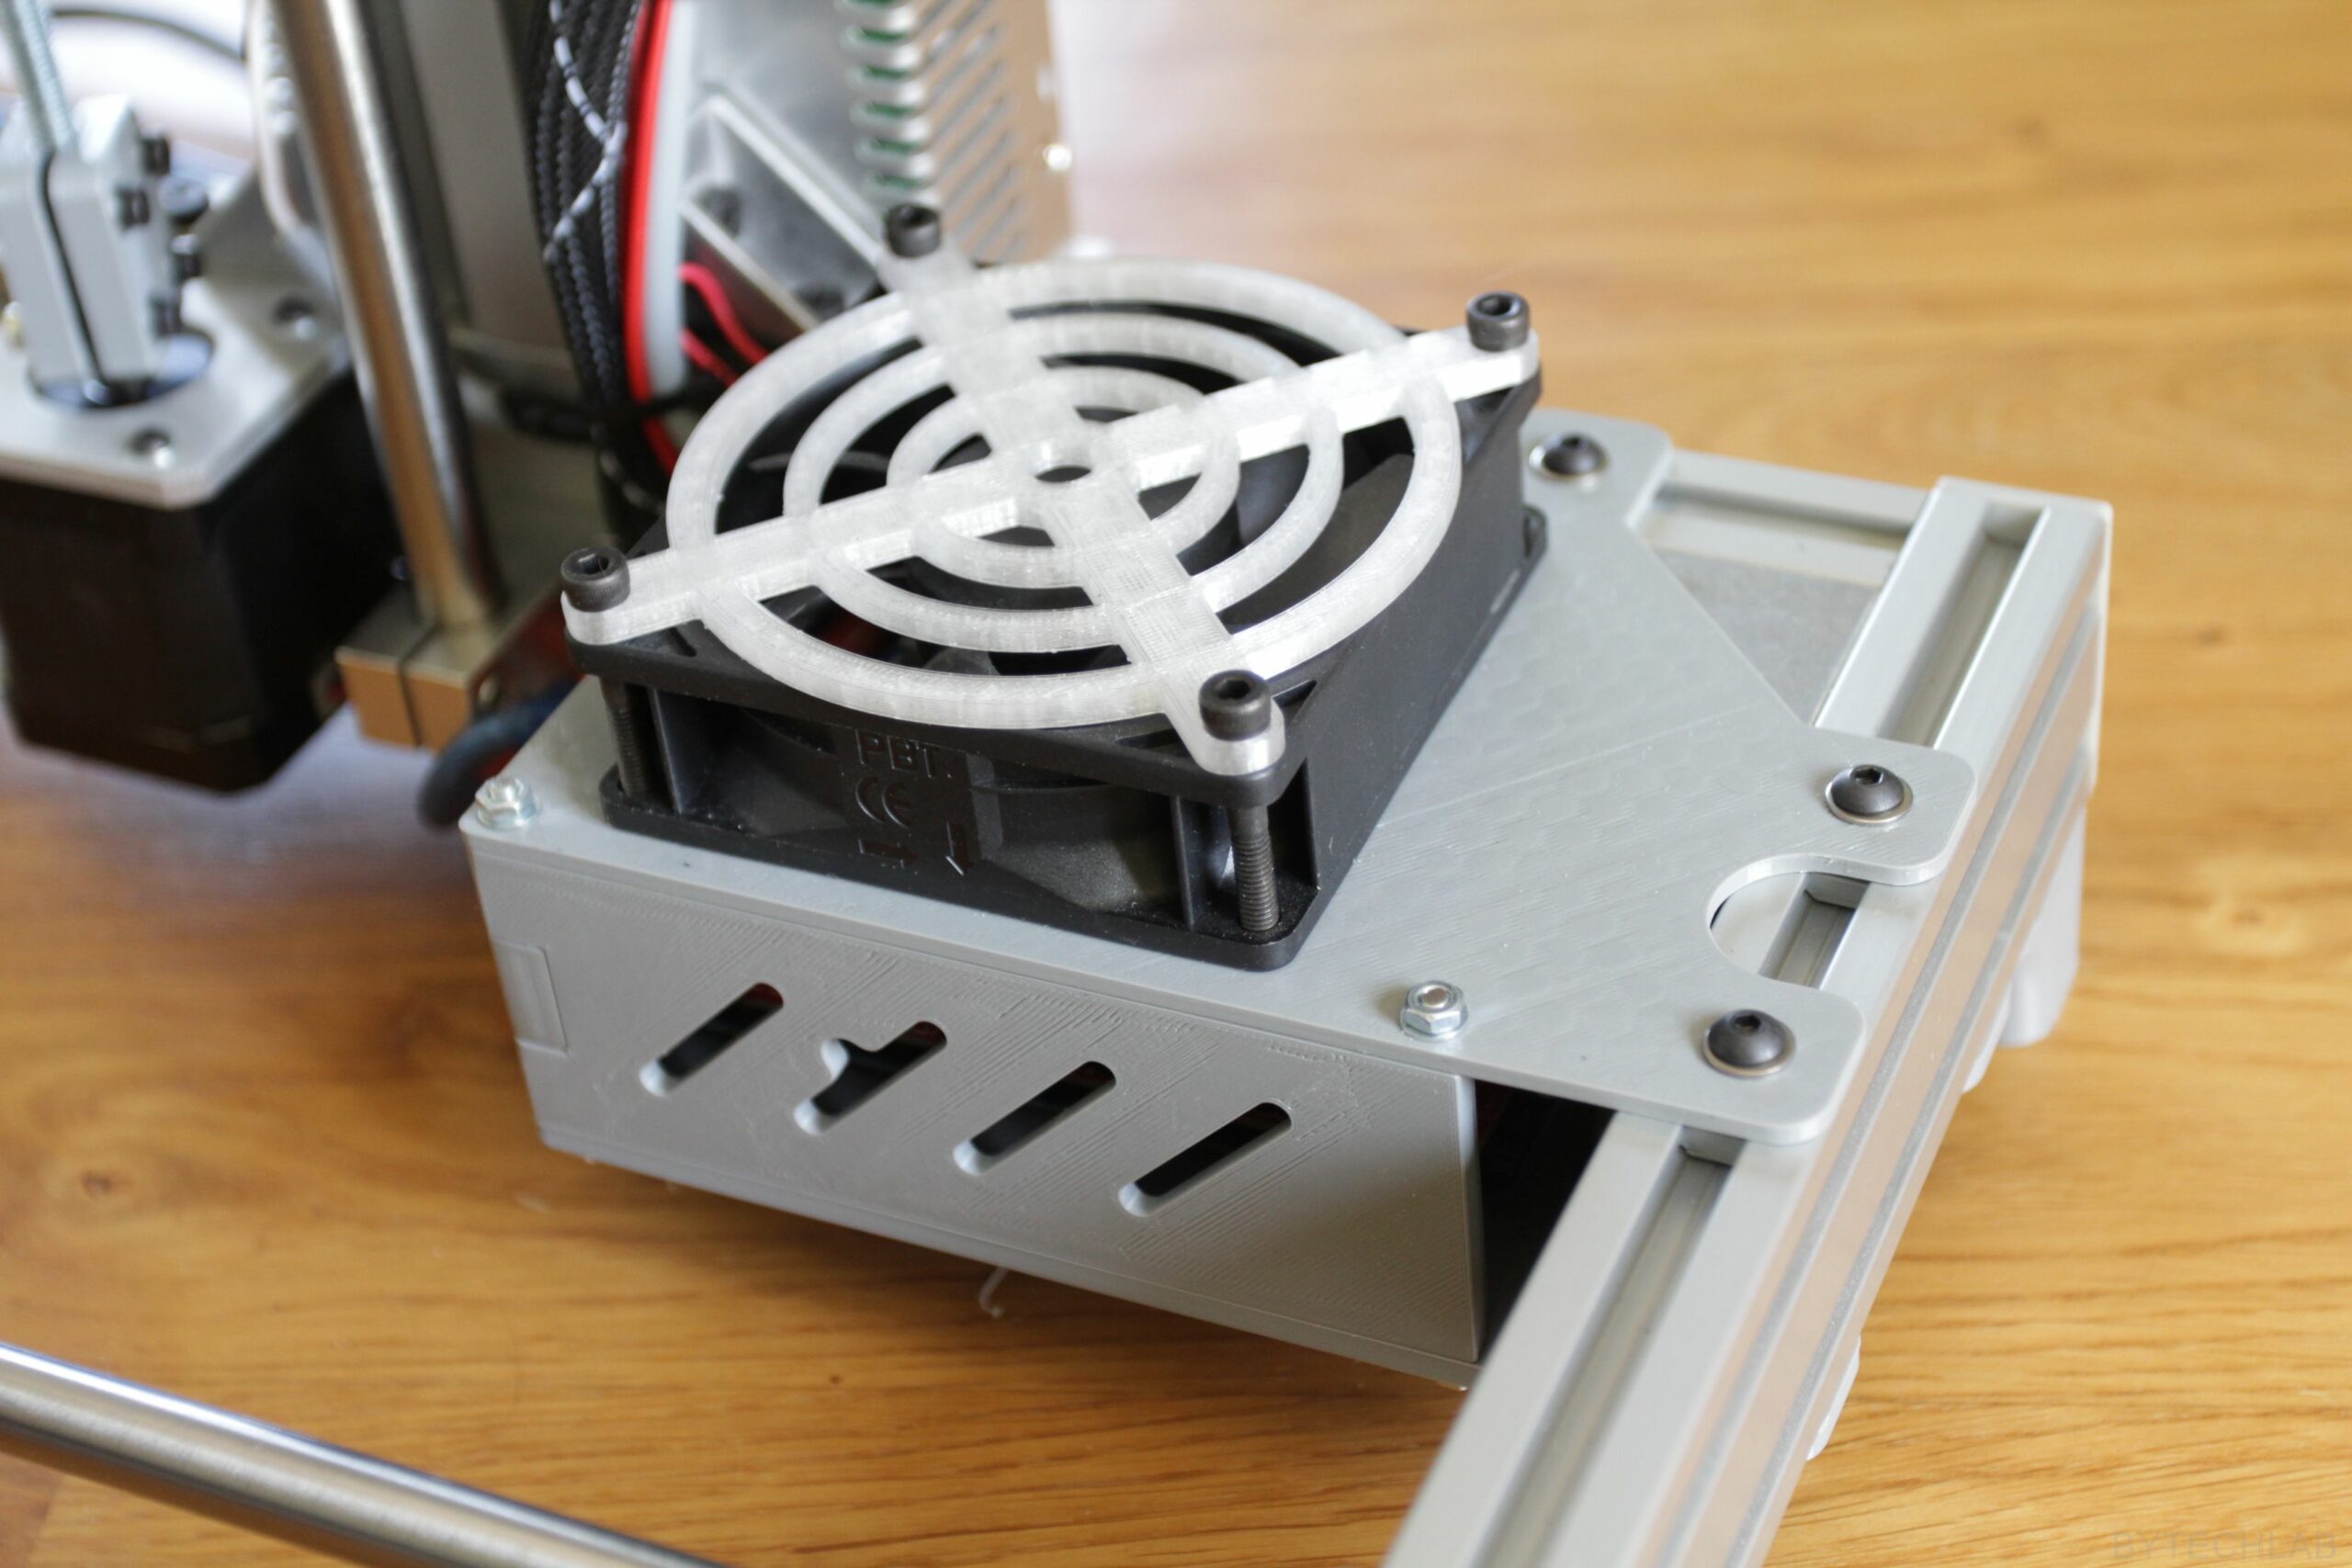
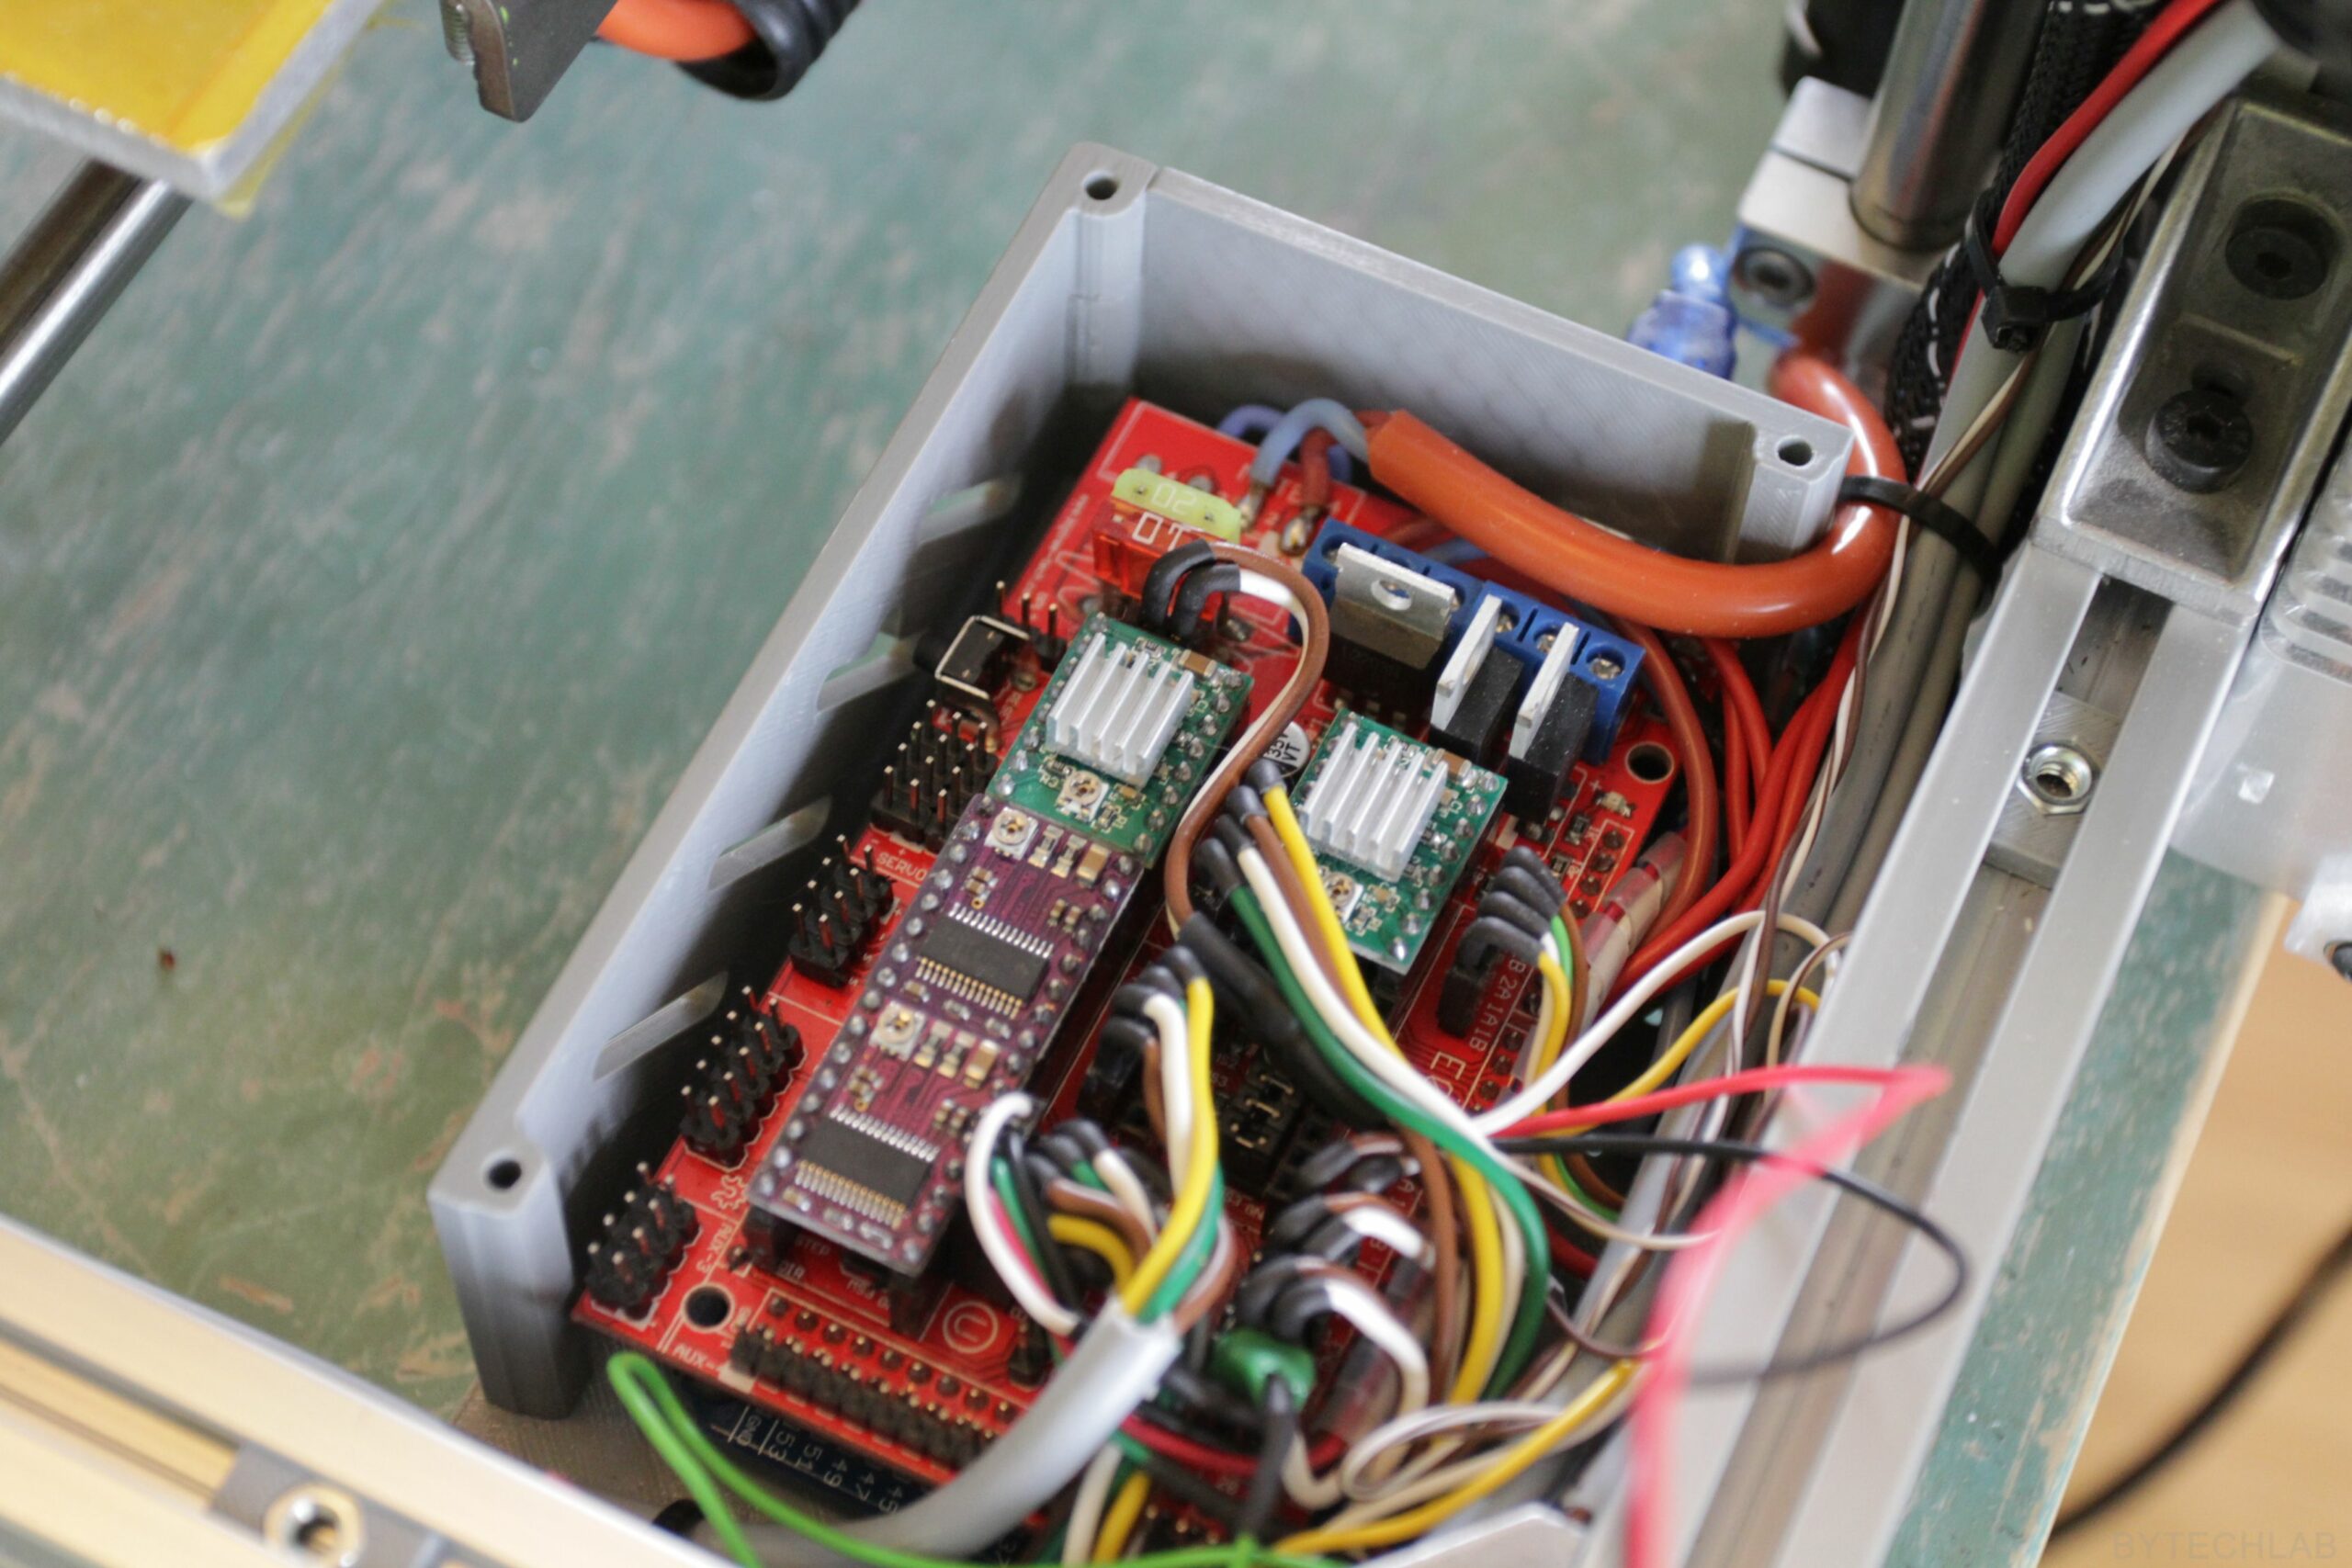
I’ve also designed a new enclosure / case for the Ramps controller PCB so that it fits nicely to the printer frame. All wires can be hidden inside in the way that none of them is visible. I have also added some vent holes and a place for 120 mm fan just to improve the cooling of some active parts (Mosfets etc.). Everything is assembled together with use of some M3 screws.
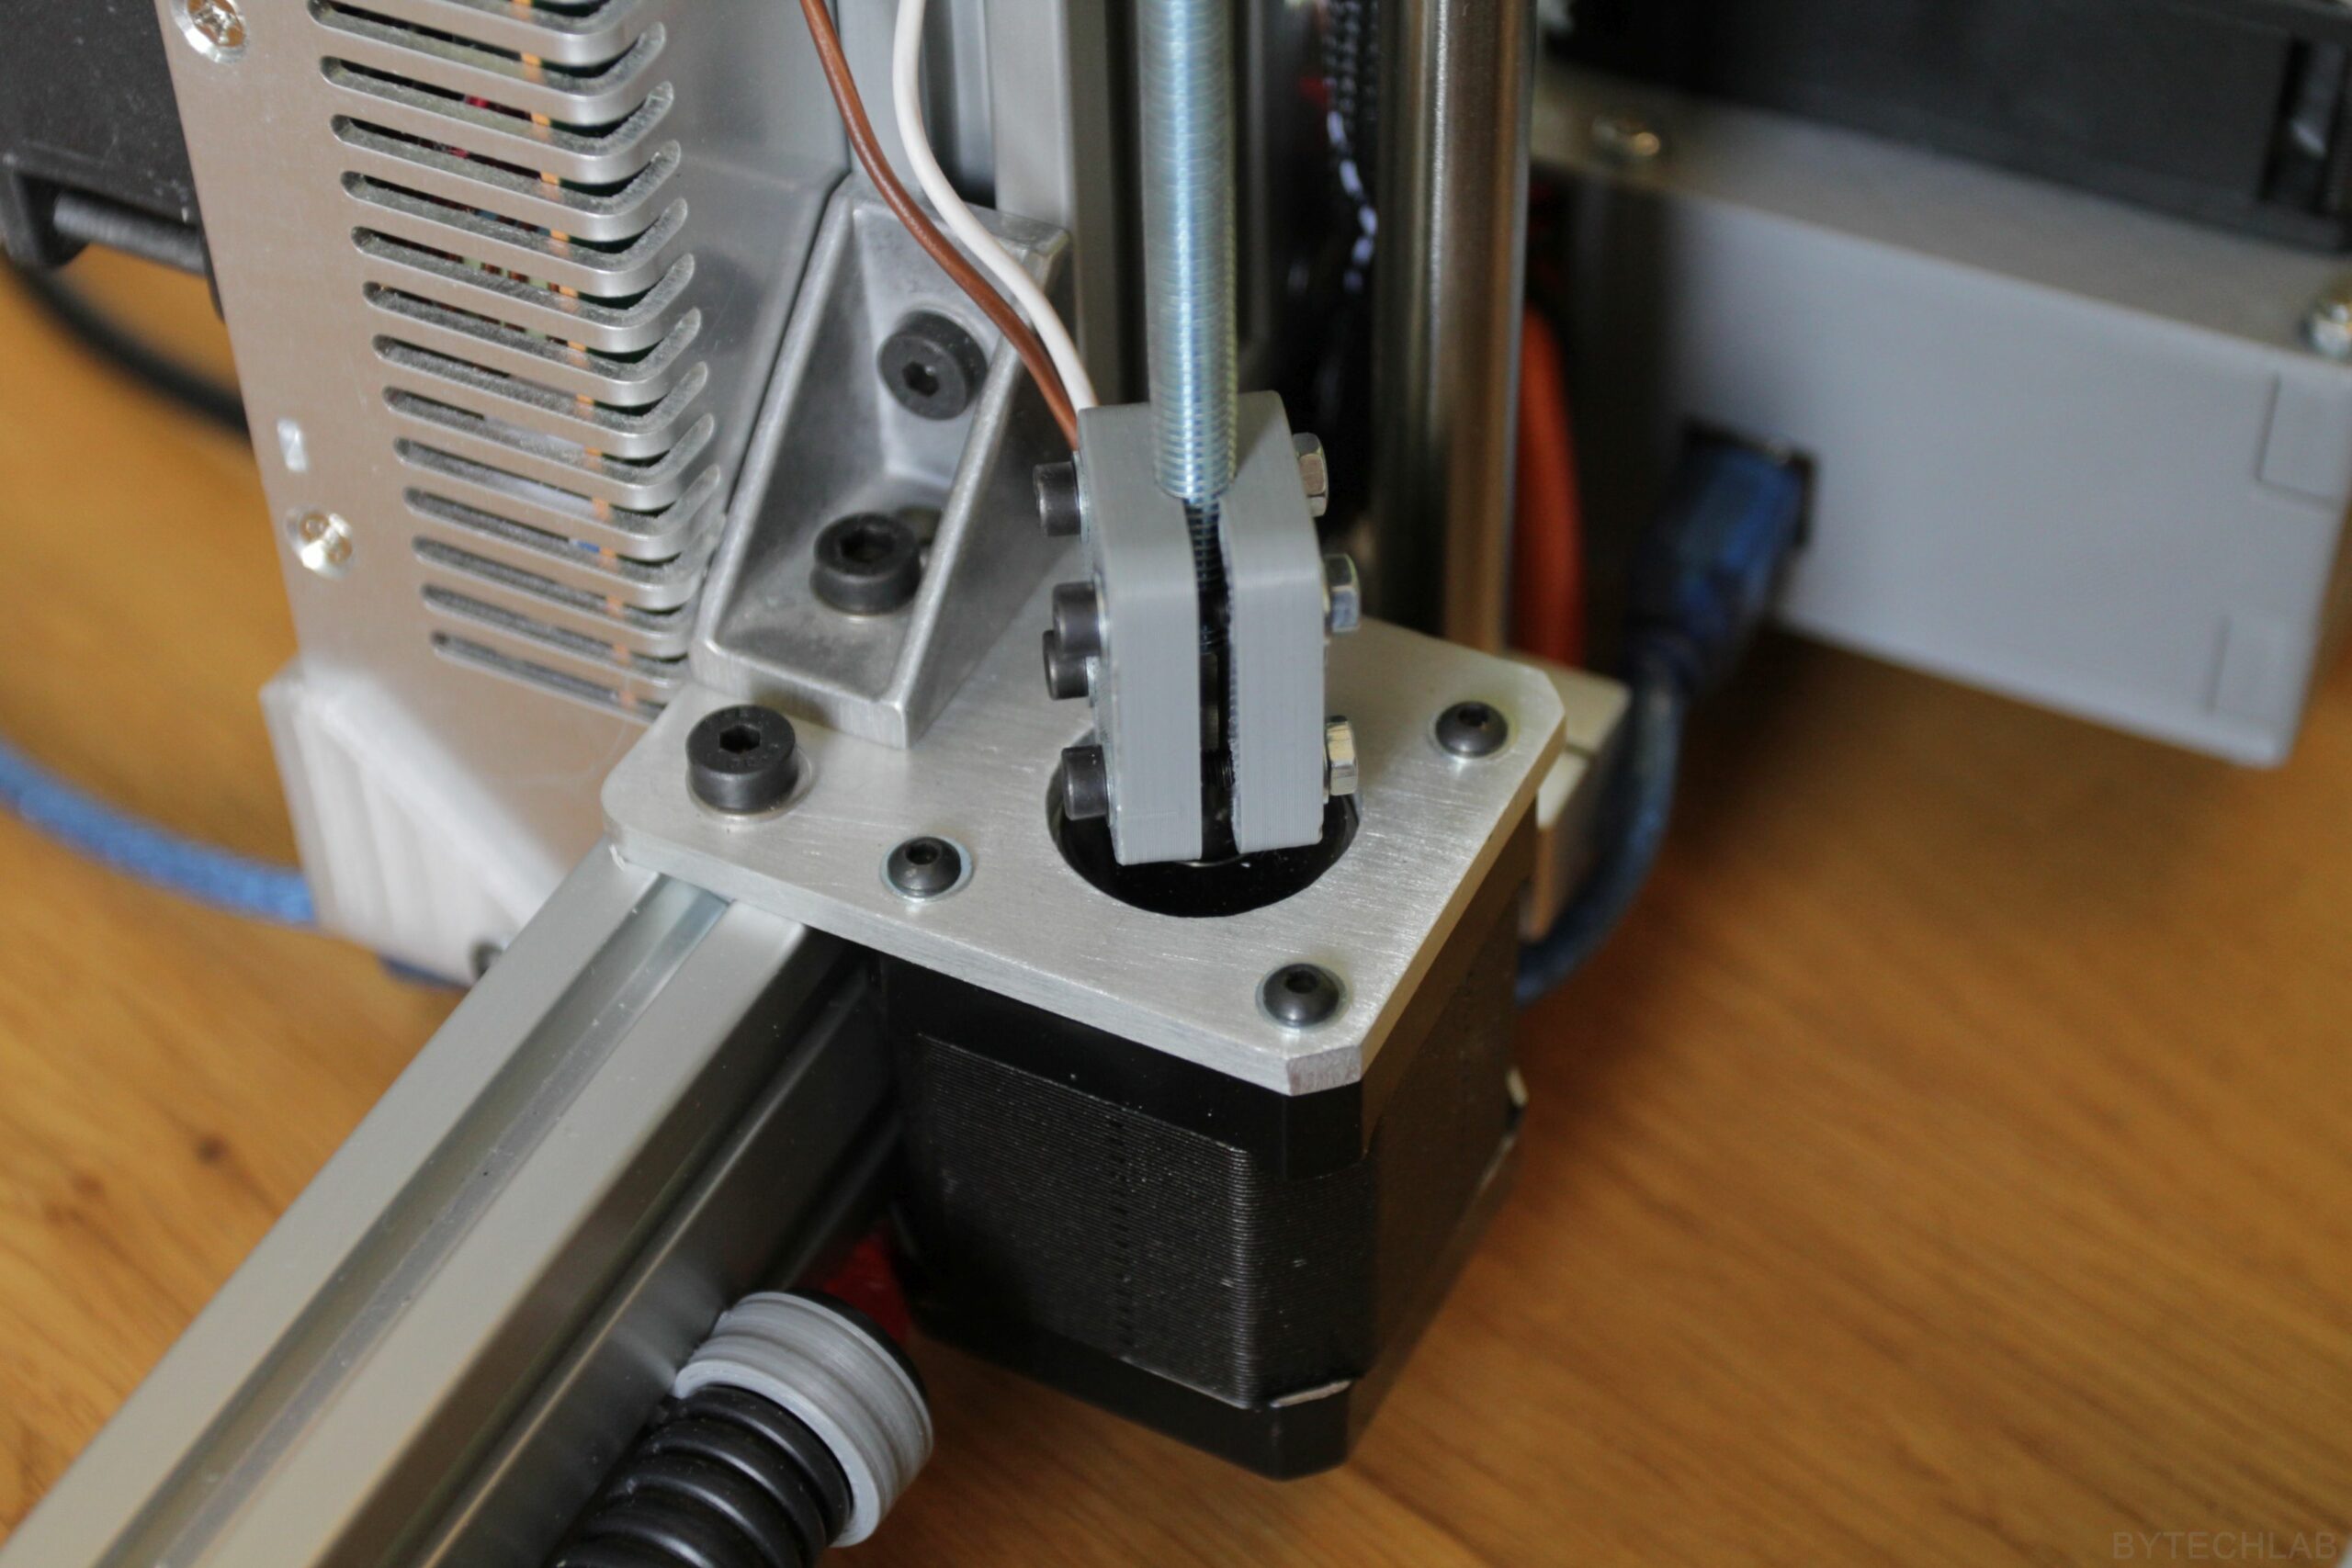
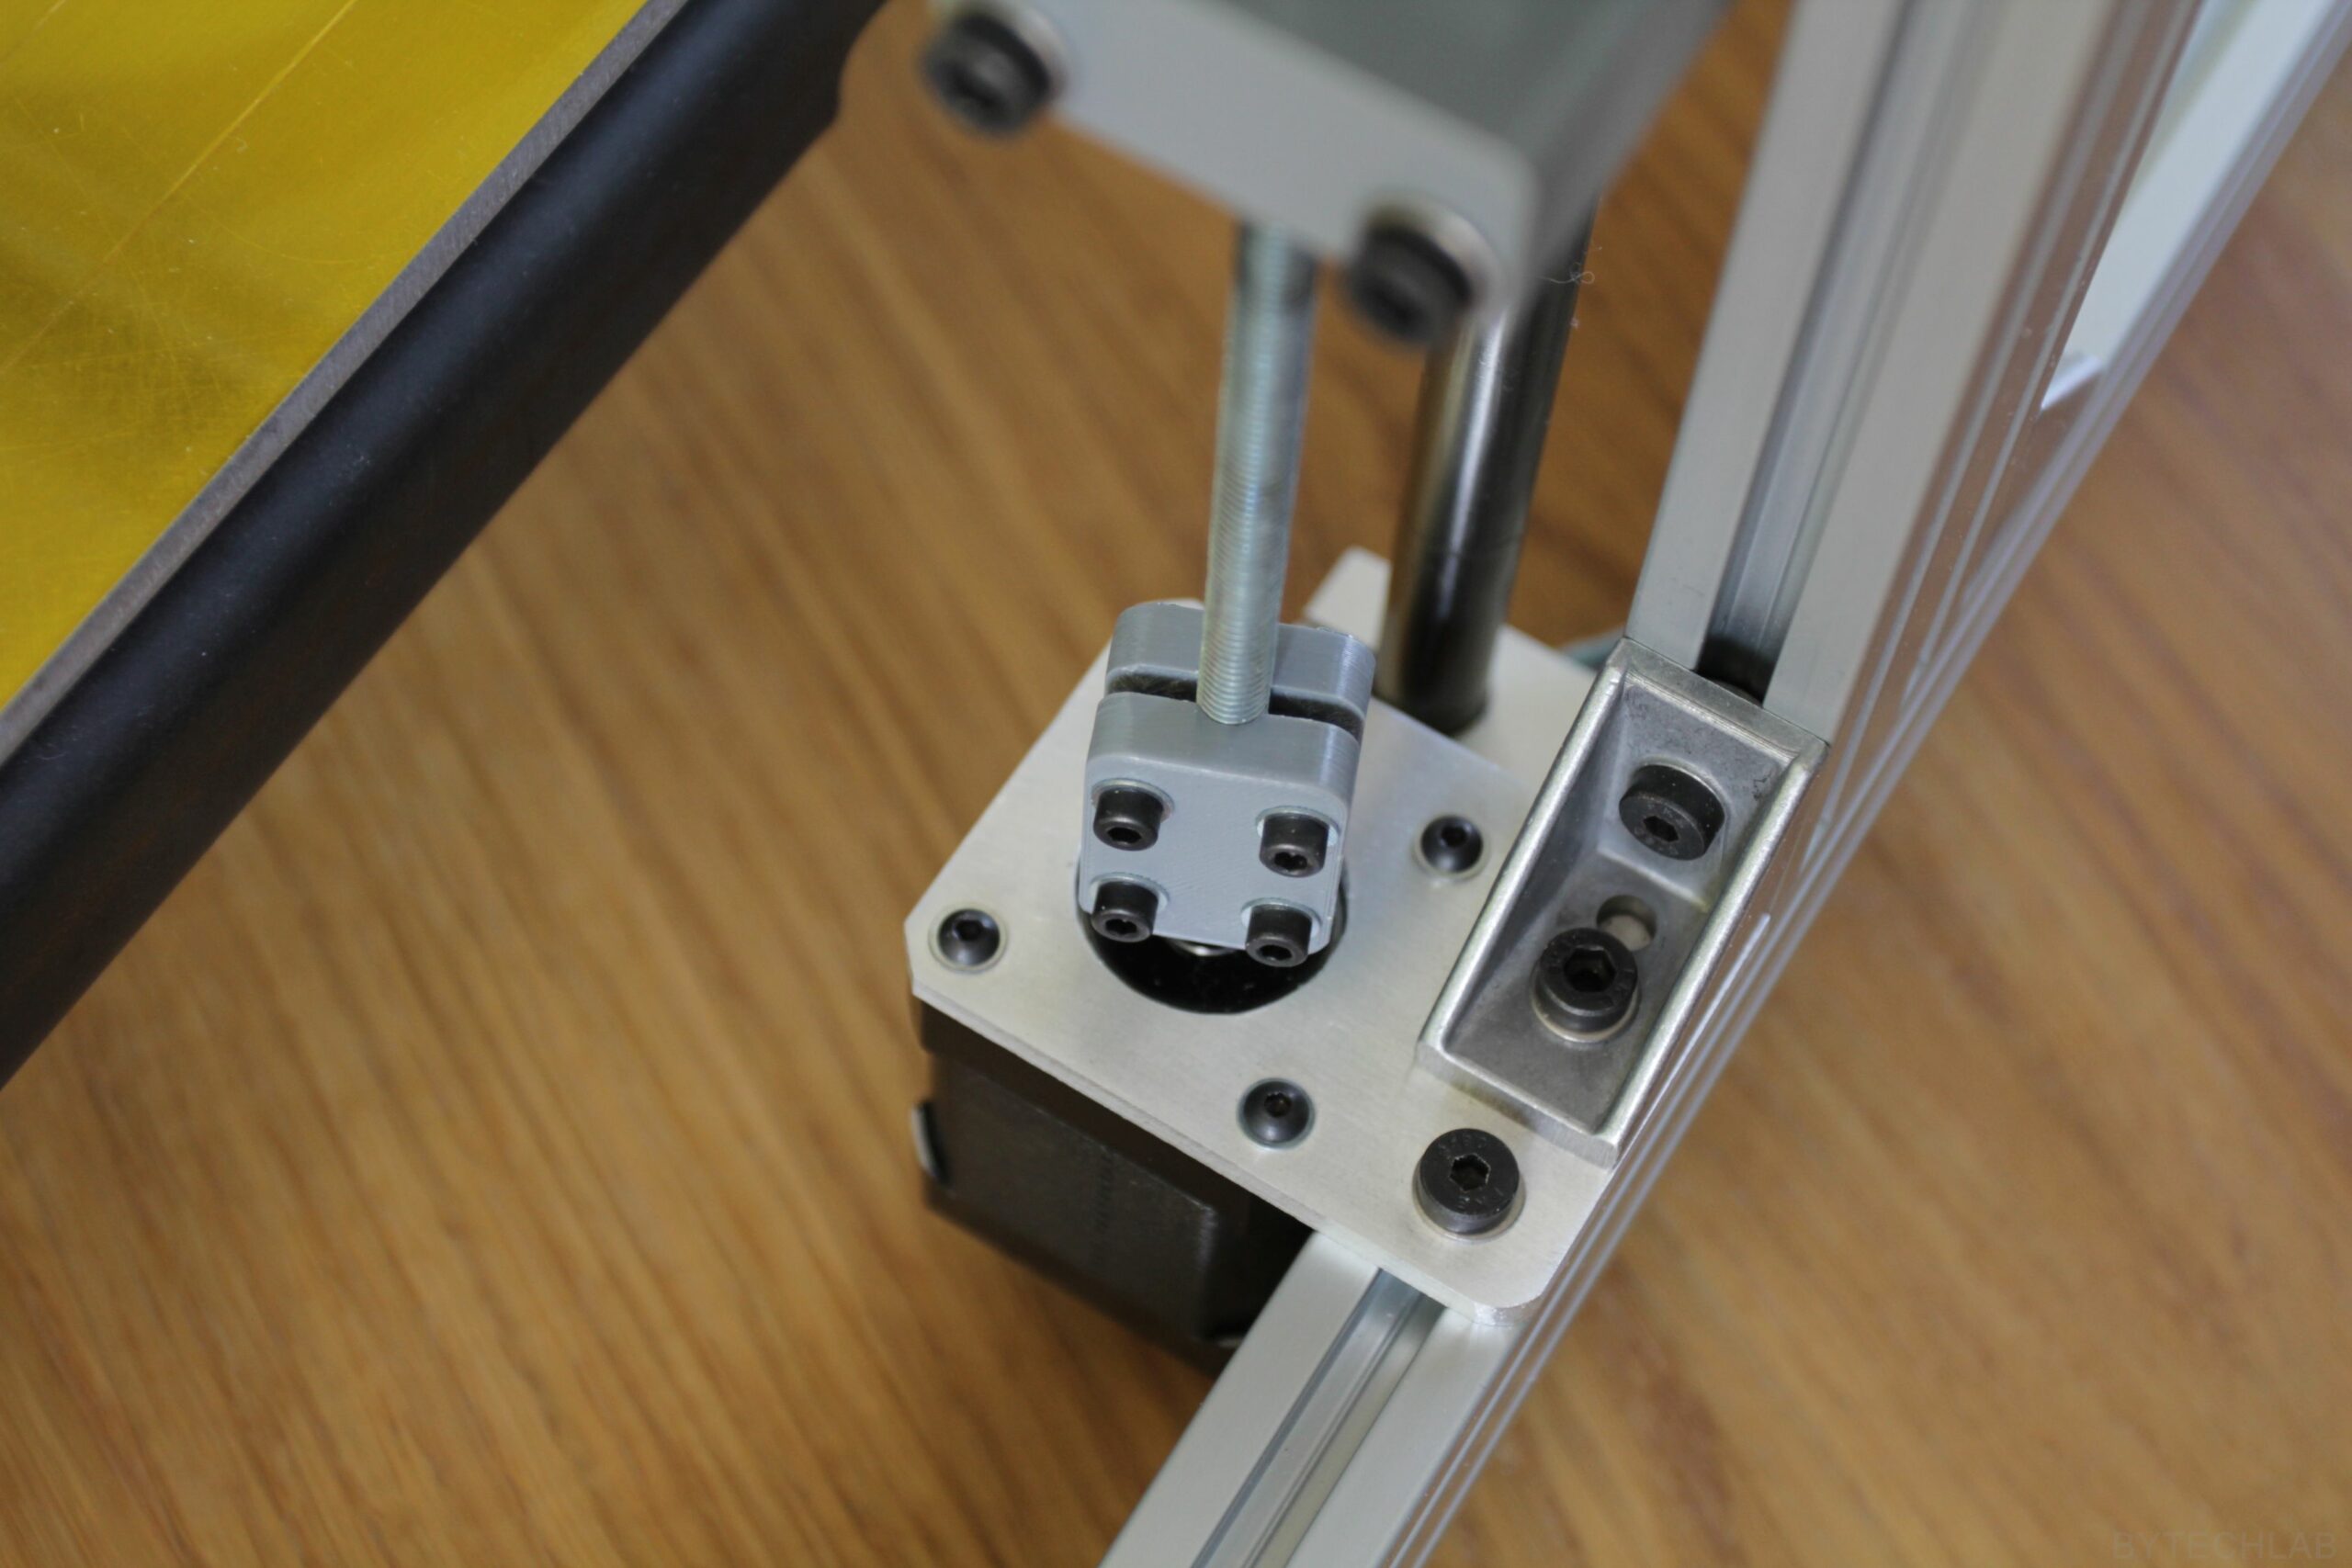
I’ve designed a new Z-axis stepper motors mounting brackets. They are made of 3 mm thick laser cut aluminium plate. Previous 3D printed mounting brackets were bending too much.
I have redesigned both X-end’s to make them stiffer when comparing with the old 3D printed solution. Everything is mounted to the laser cut aluminium backplates. X axis stepper motor mount bracket was also integrated into the X-end backplate (it isn’t bending when the belt is fully tensioned)
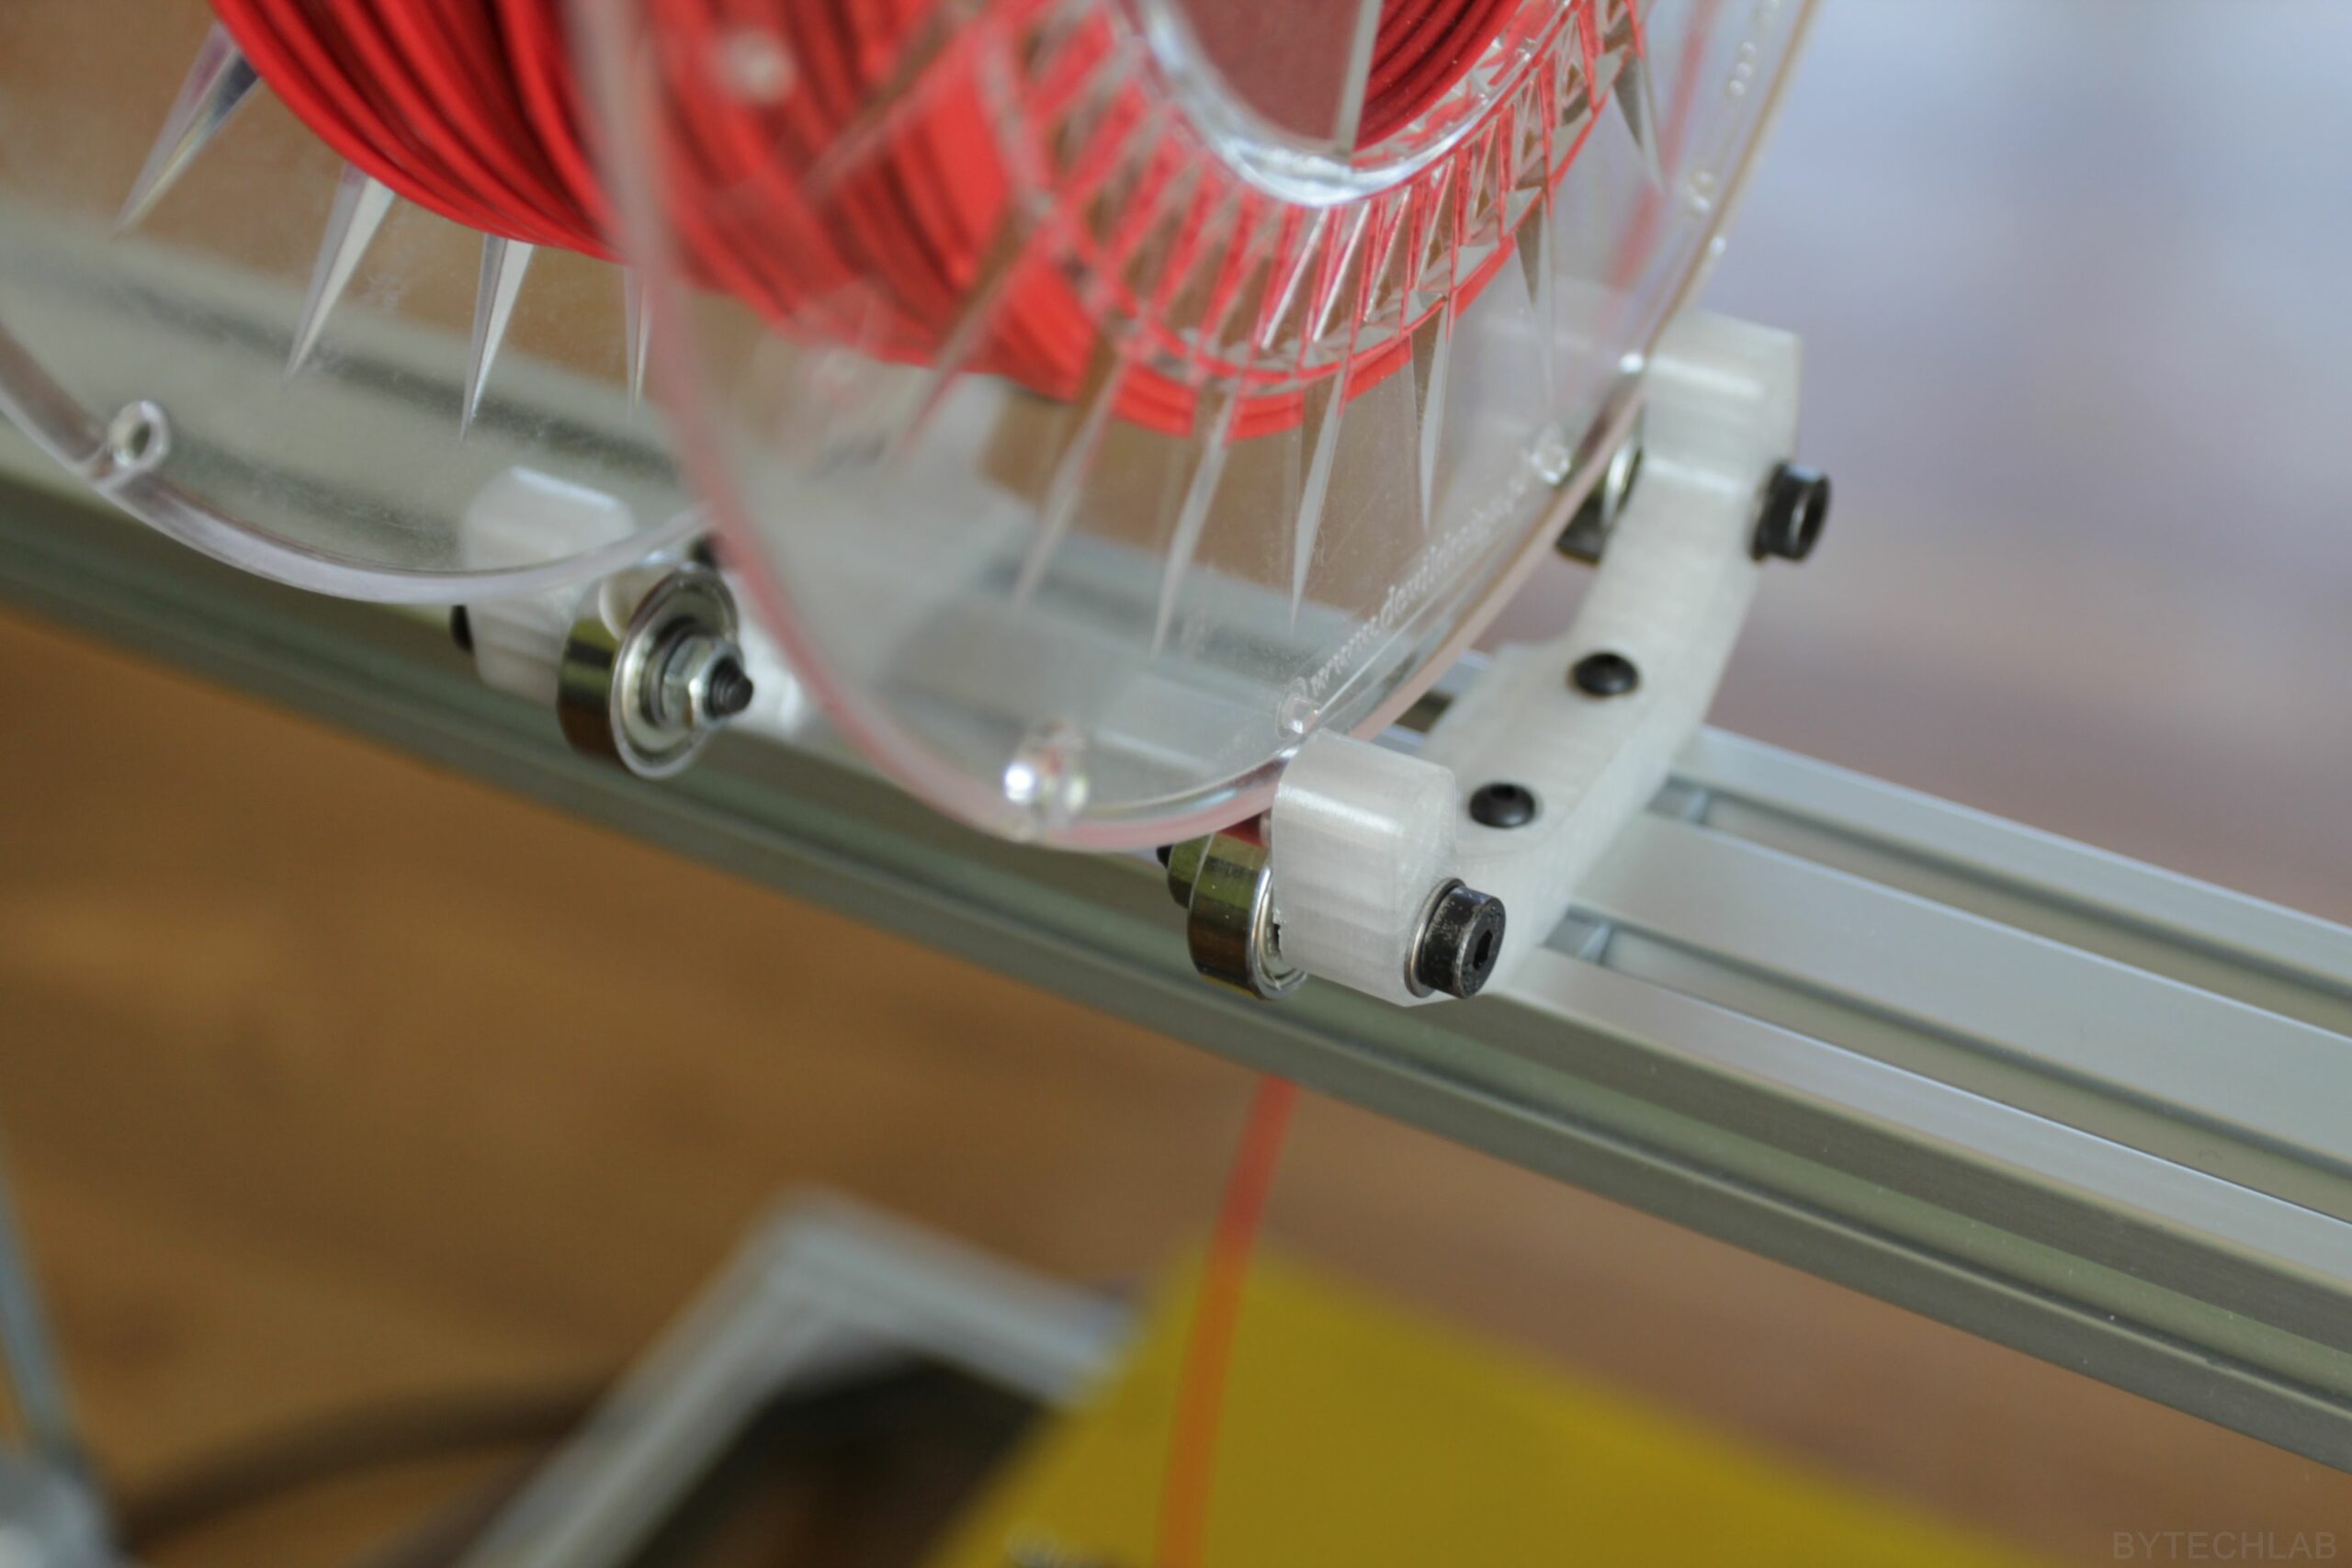
I have designed a nice spool holder which can be easily adjusted to fit almost any filament spool width. Friction between the spool and the holder can be adjusted so that filament doesn’t unwind by itself.
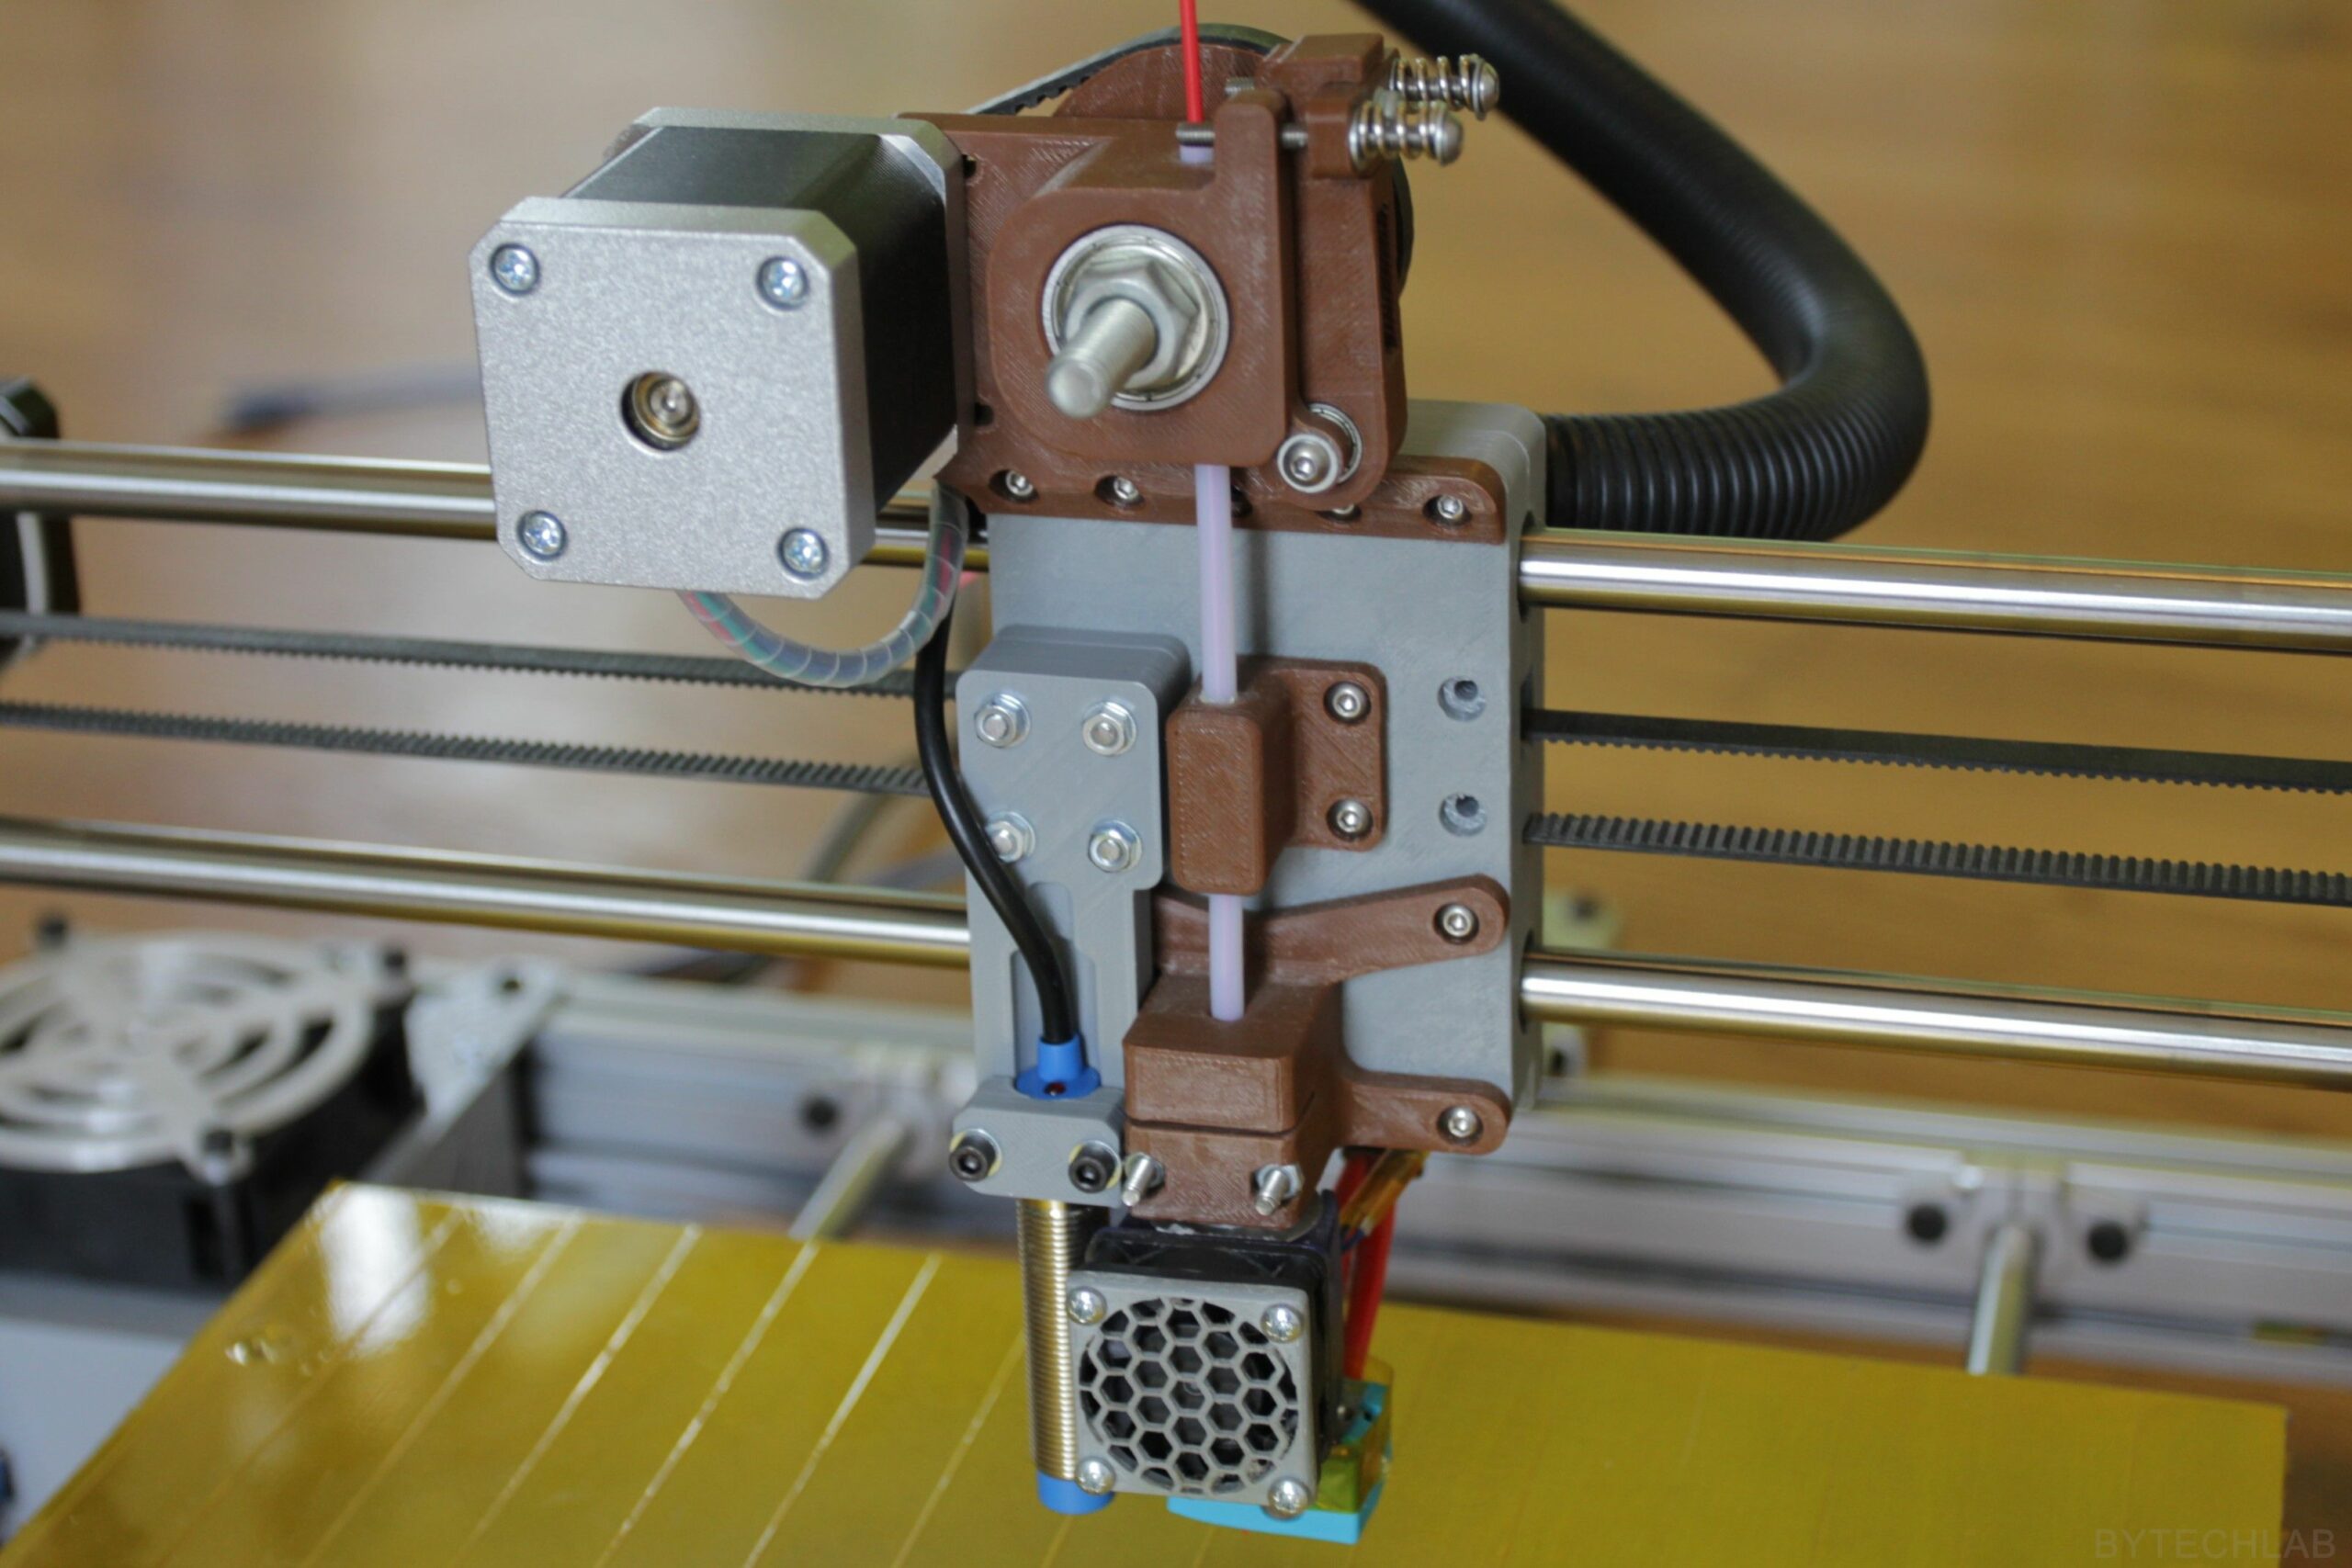
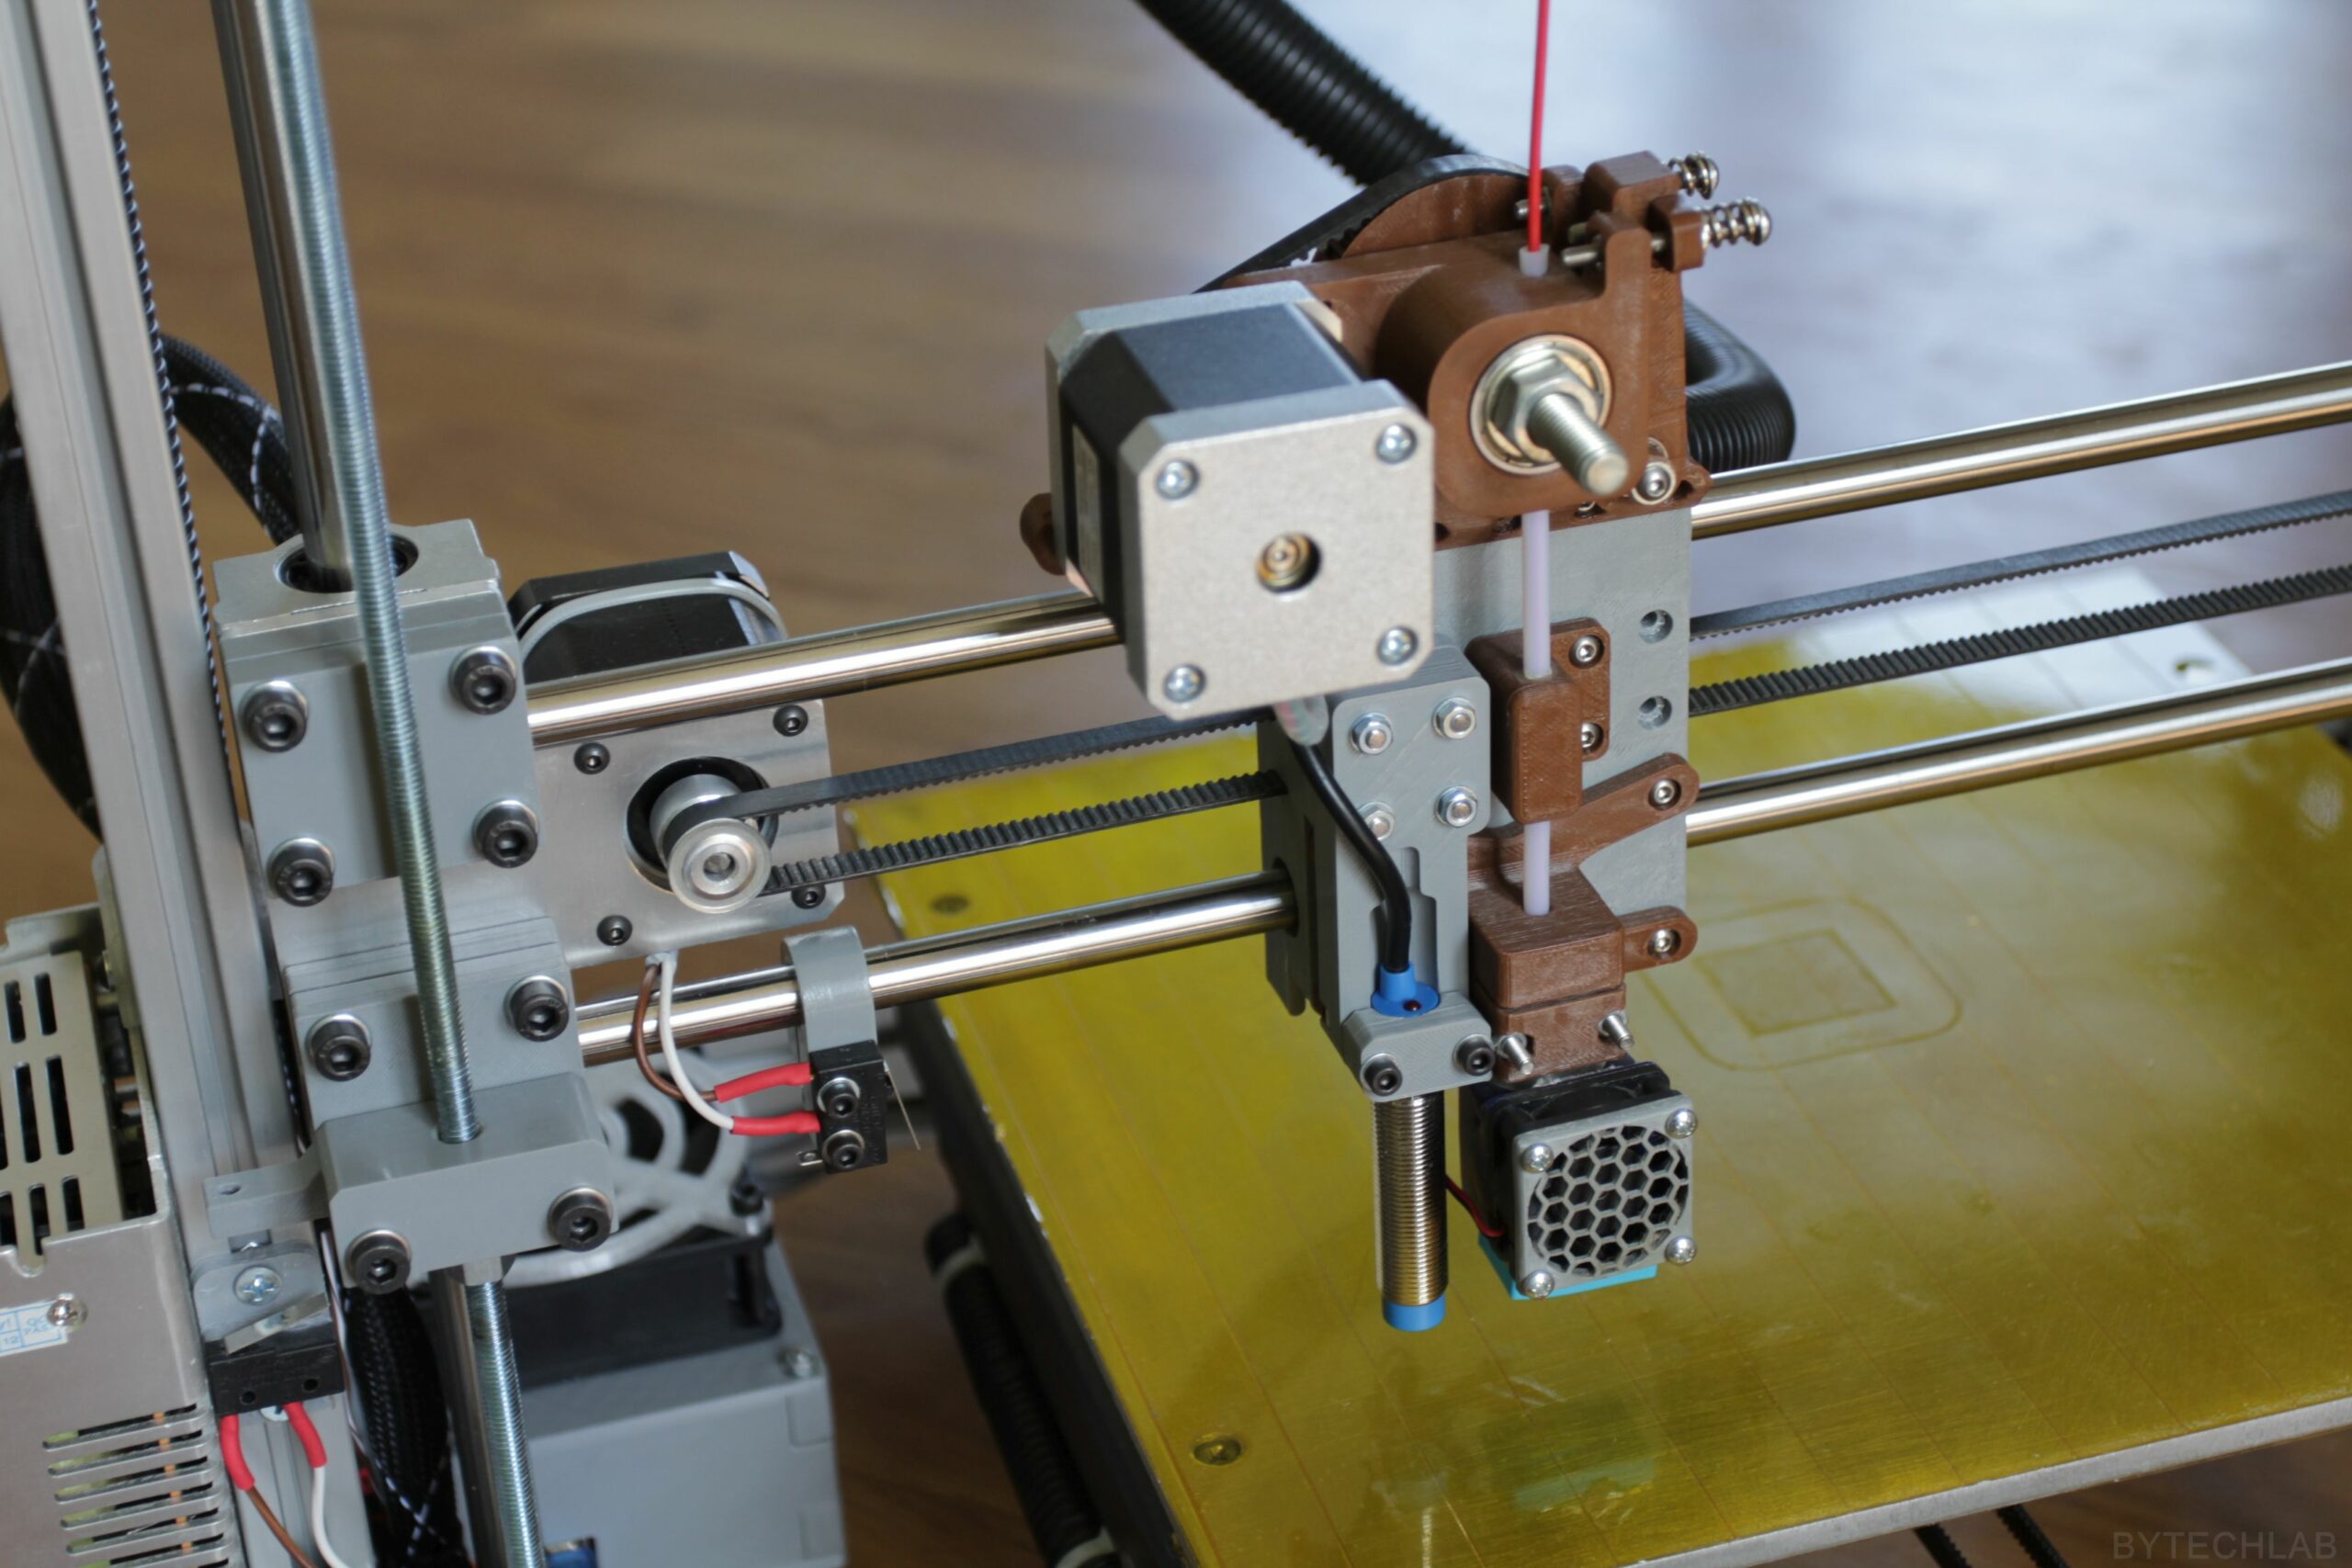
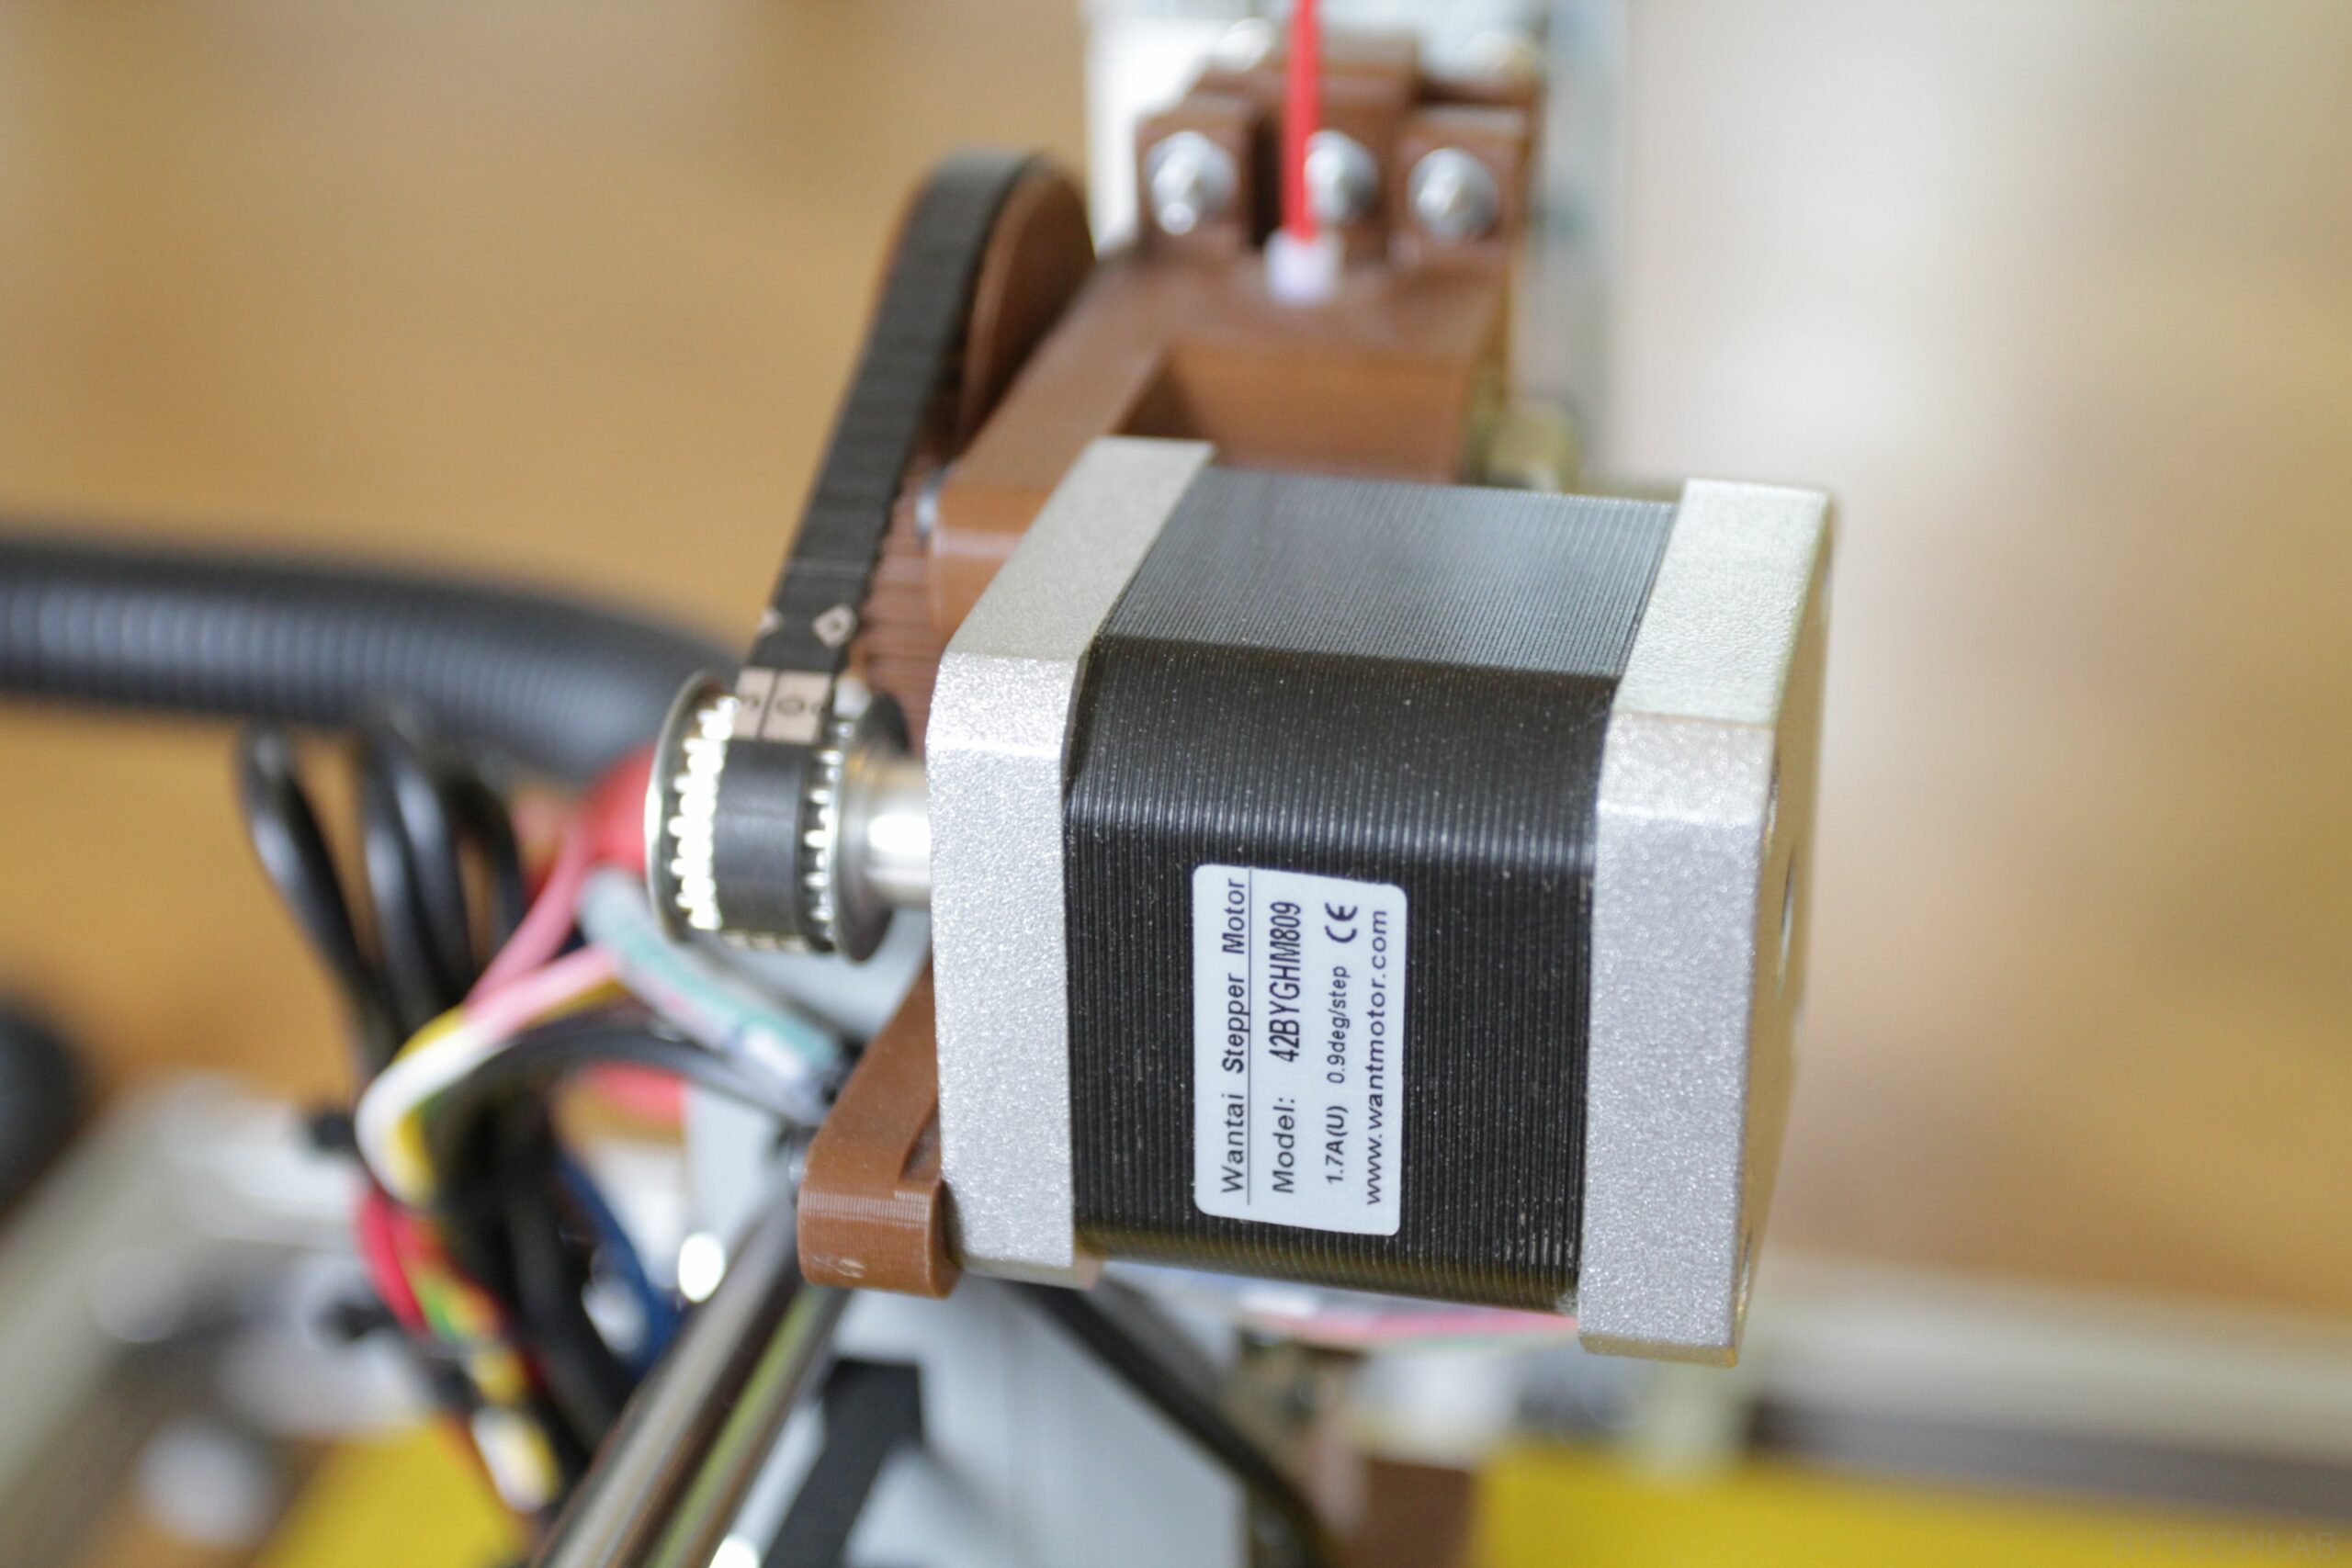
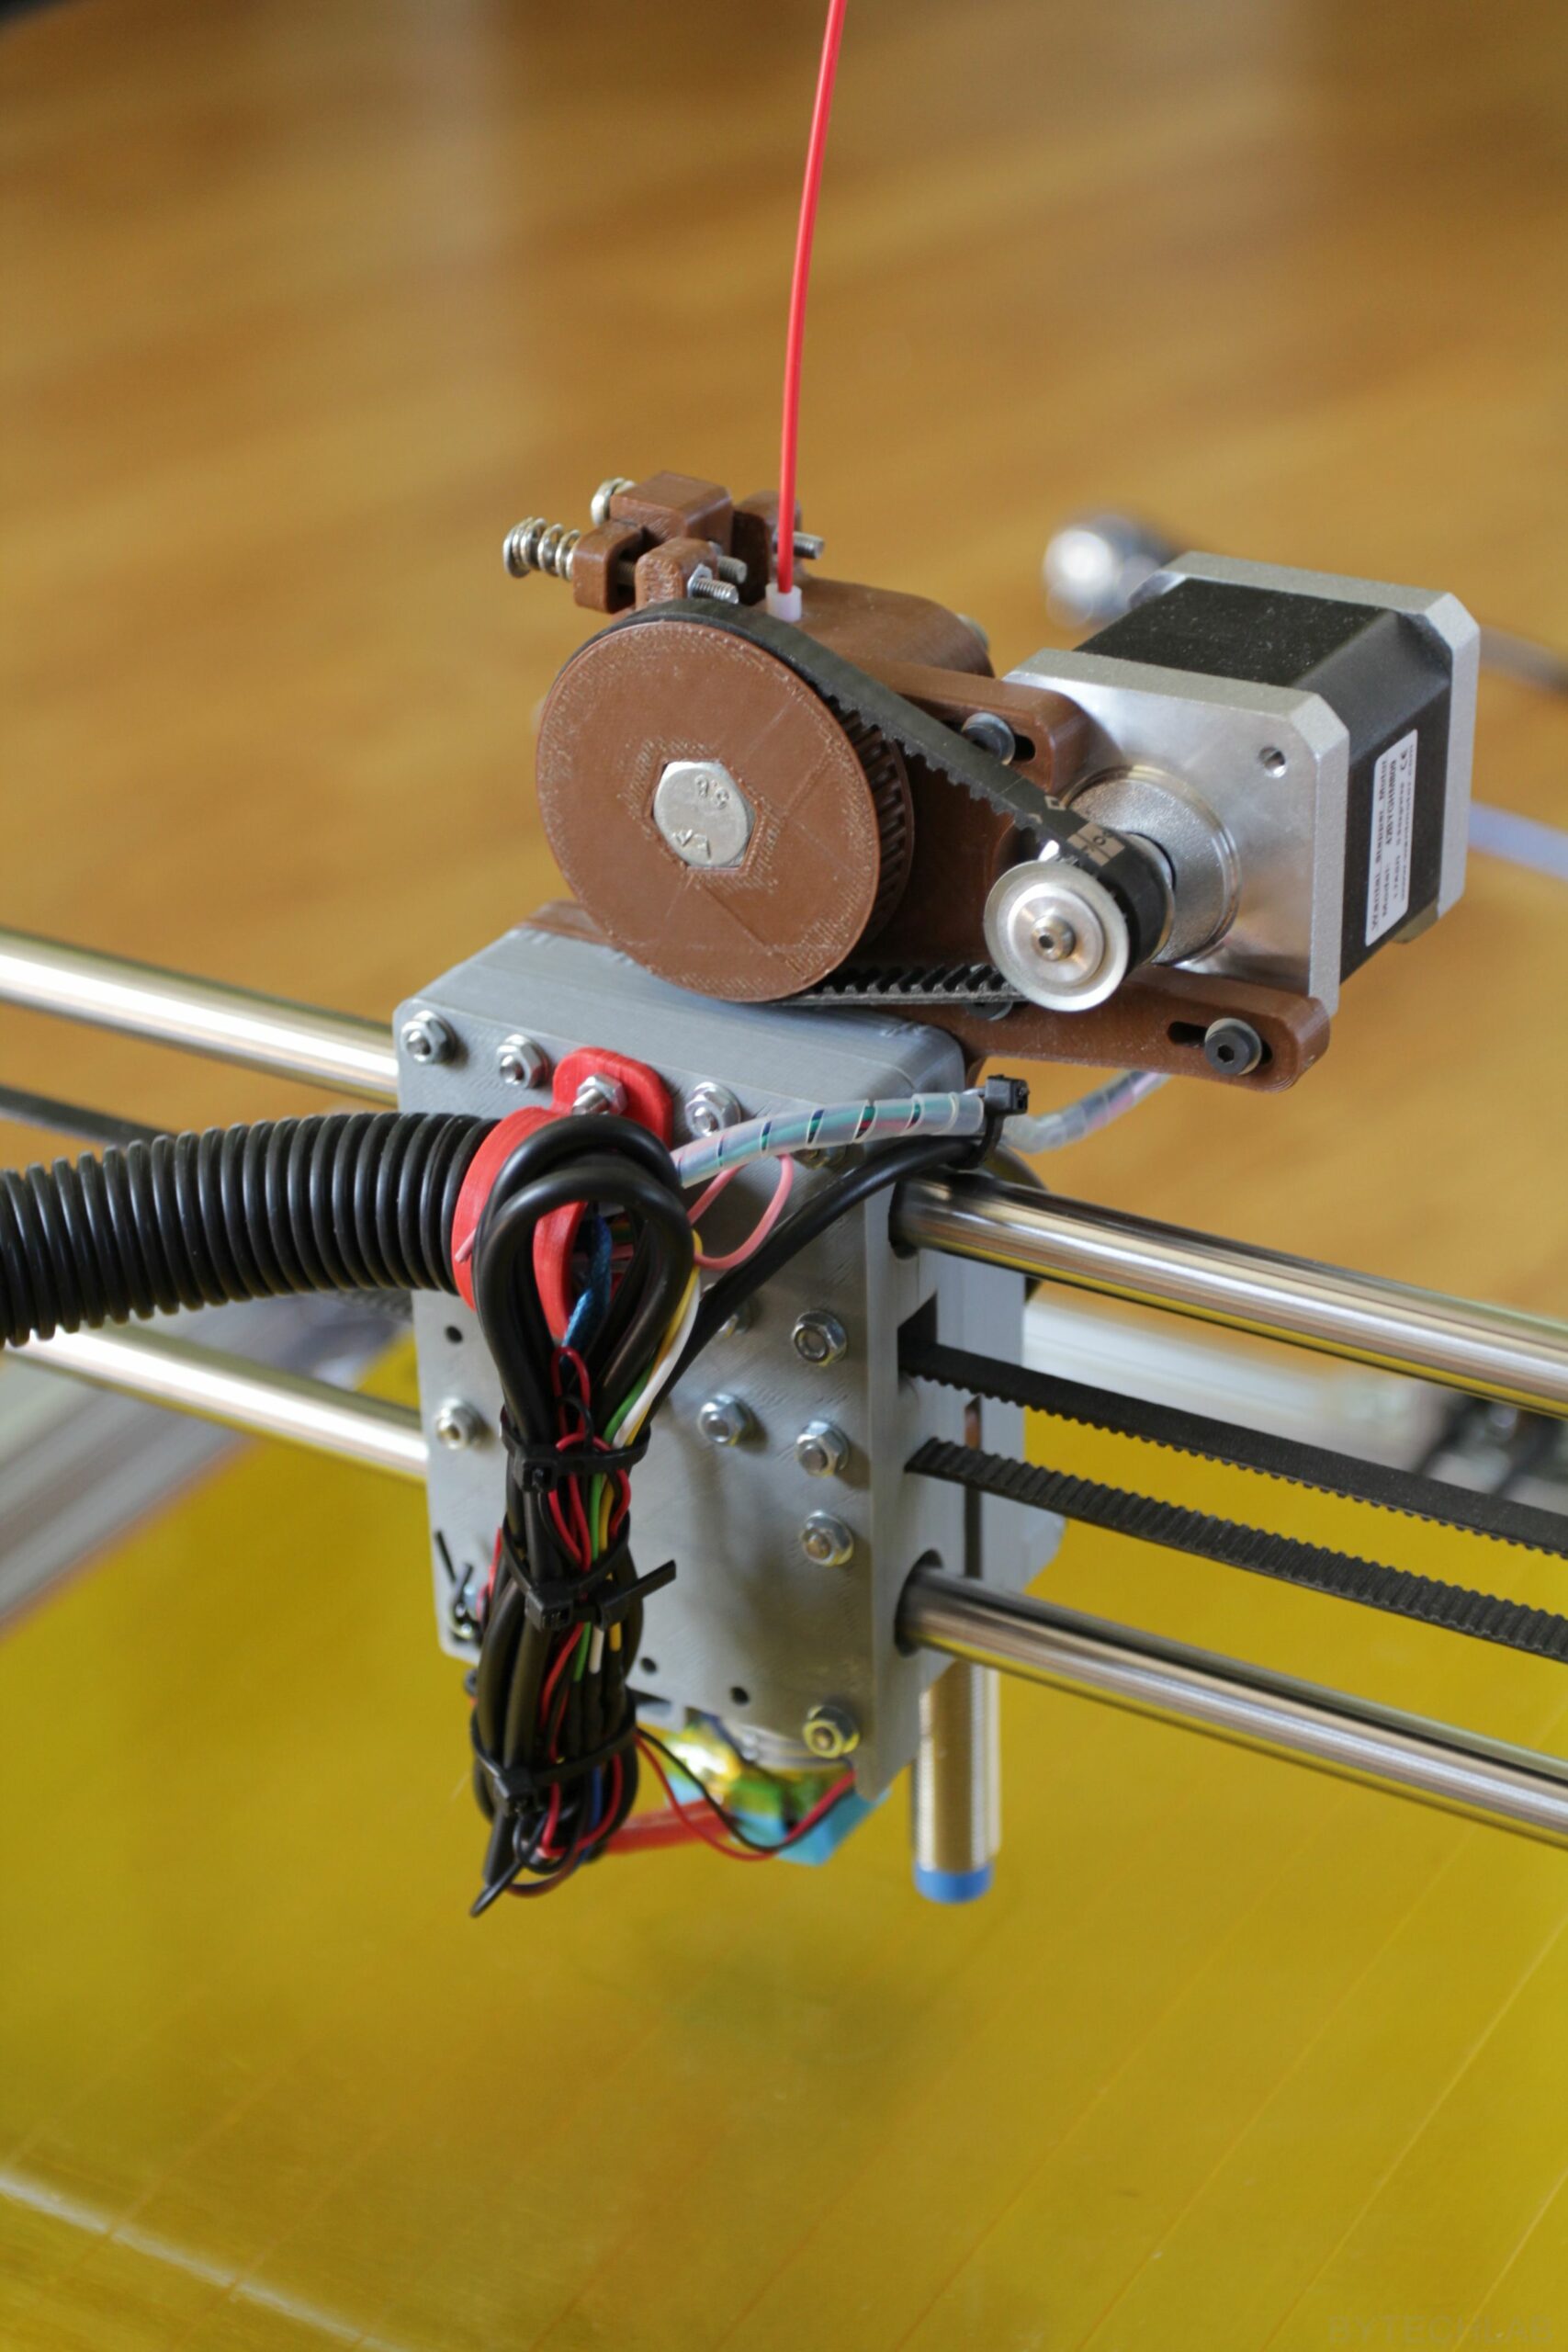
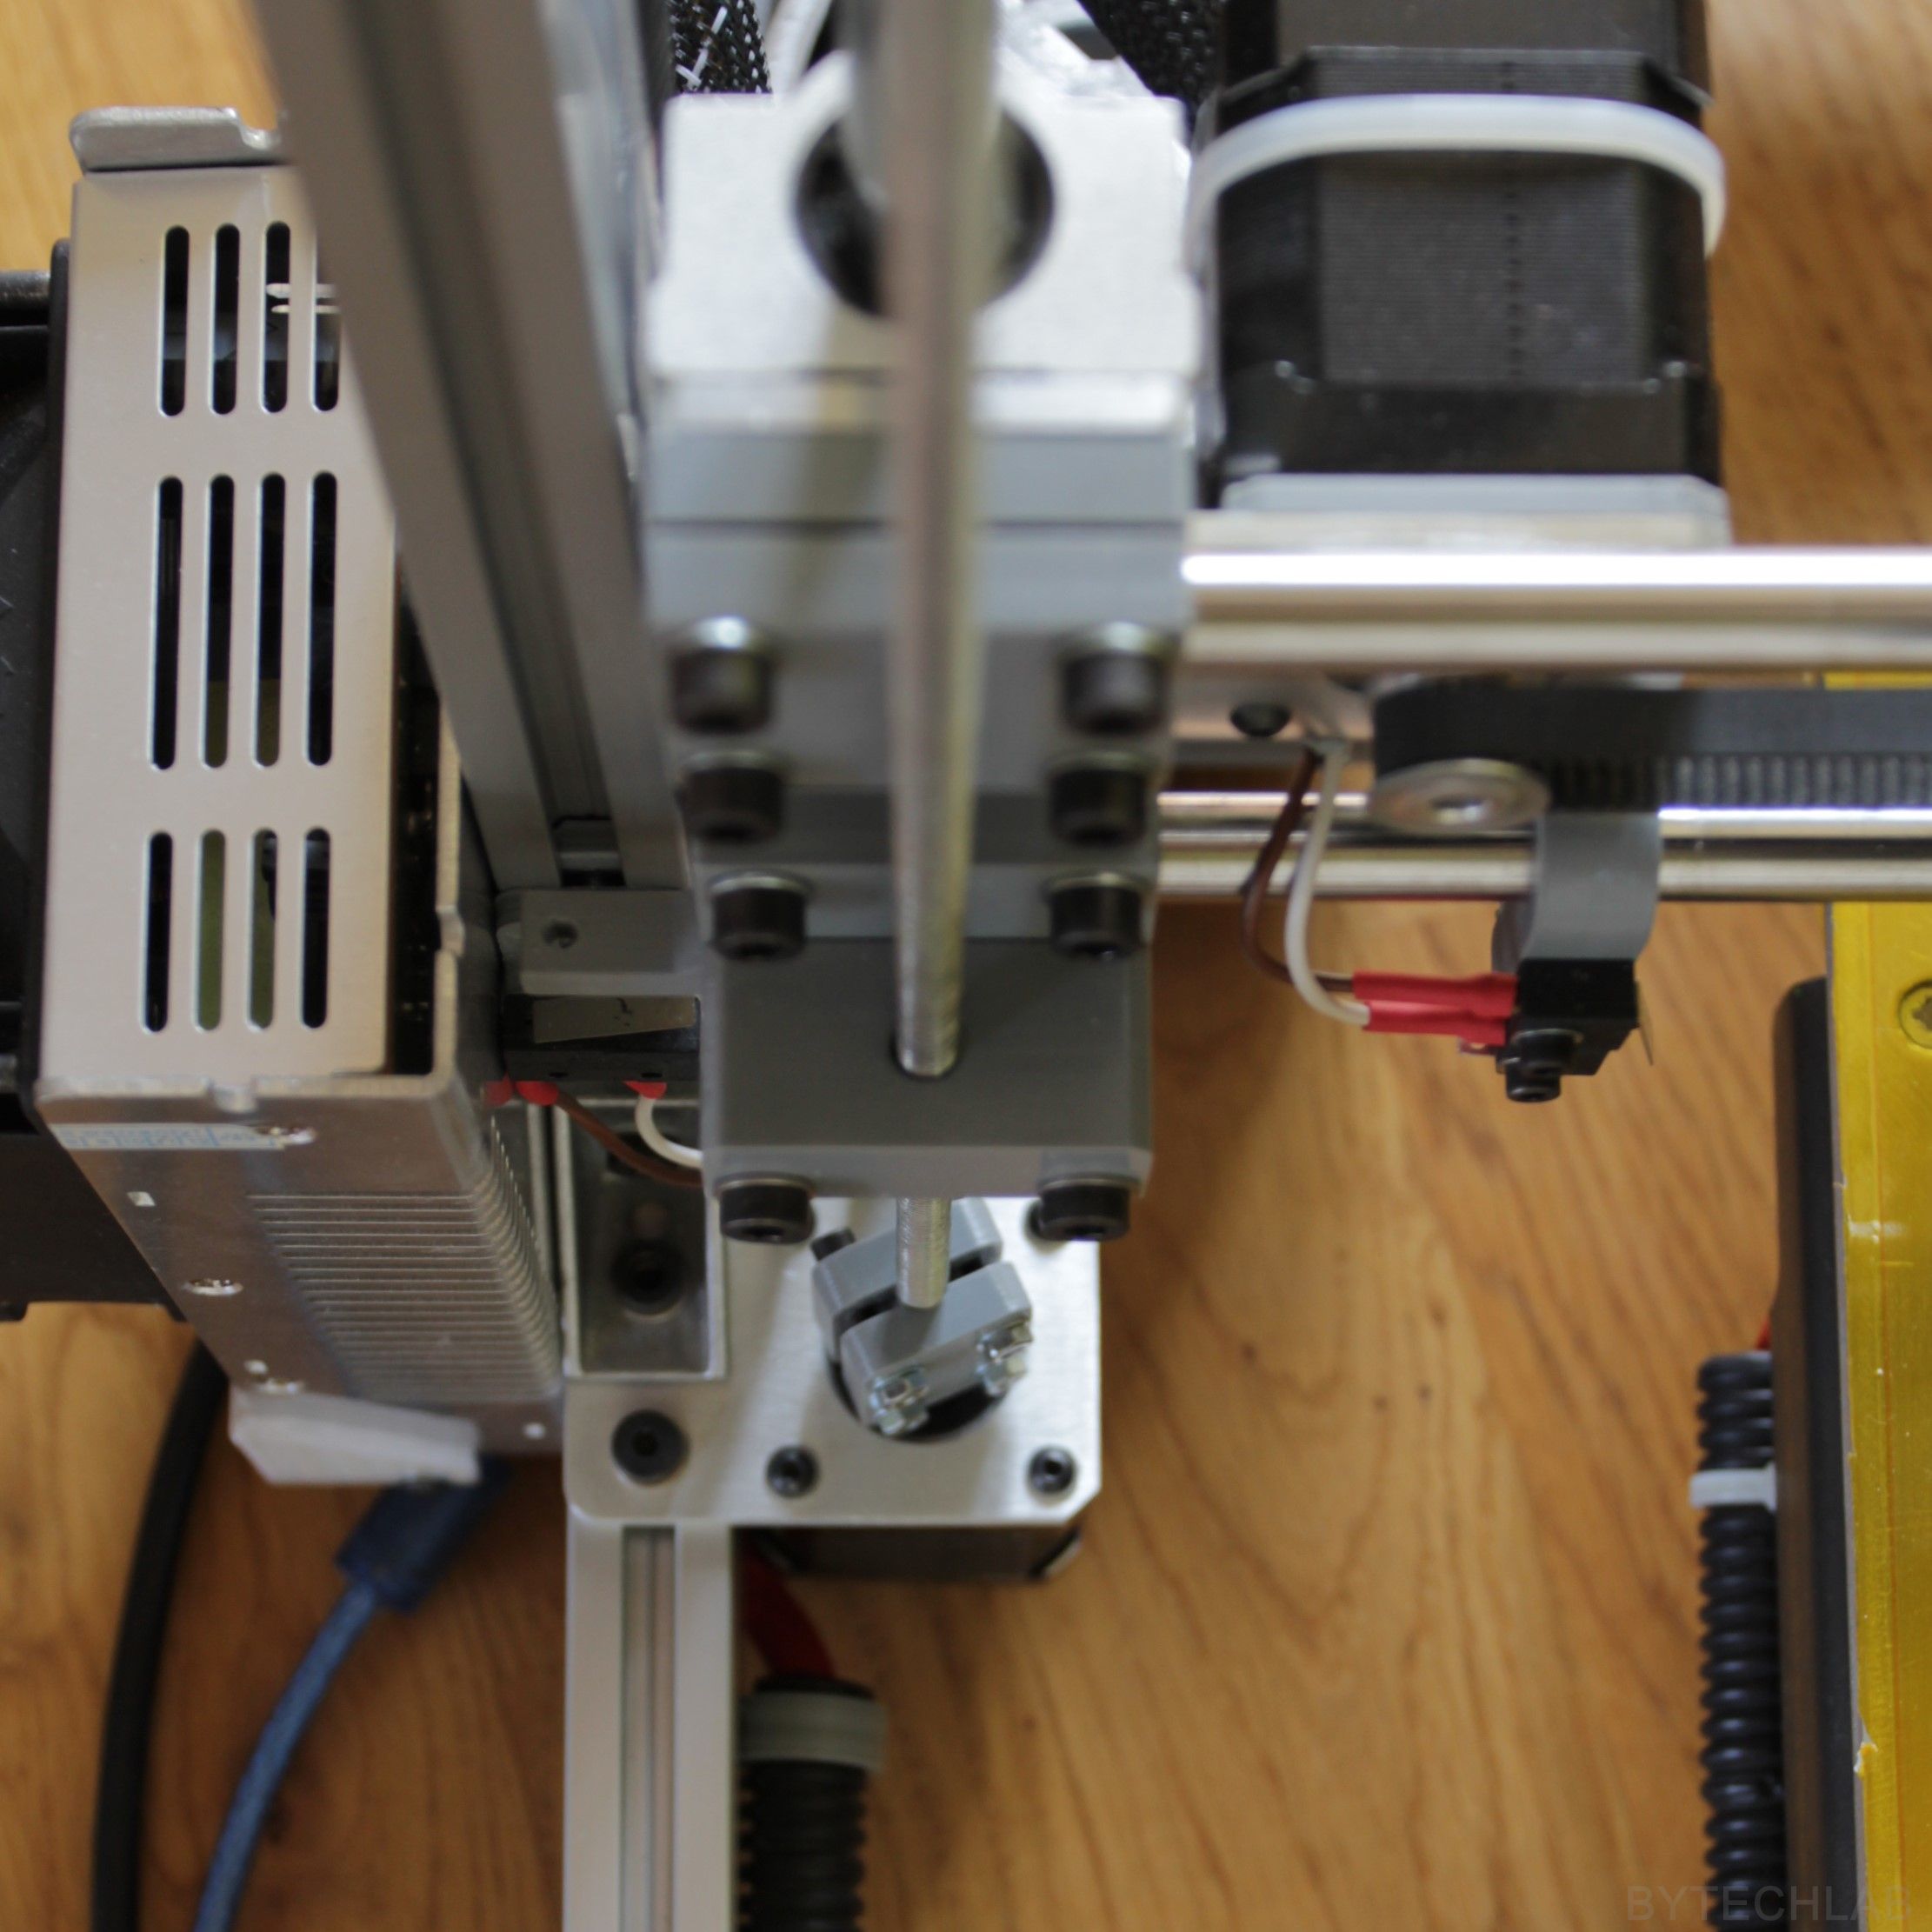
Extruder assembly has been completely redesigned. I’ve added a 3:1 HTD3M timing belt gearbox to increase the torque and step resolution available at the output. Everything was designed in the way that no build volume was lost (without interference / collisions with old parts). Extruder was designed to fit a genuine E3D V6 hotend. The filament is pressed against the hobbed bolt with use of two springs and a ball bearing. Tension of these springs can be easily adjusted with 2 M3 screws.
New modular X-axis carriage is based on four linear bearings. In the previous design there were only 3 linear bearings which were a little bit loose. X axis carriage is made of two 3D printed halves that are mounted together with use of 6 M3 screws.
On the new X-axis carriage there are many holes that allow you to attach many accessories very easily (for ex. a laser,cooling fan,leveling sensor,servo etc.):
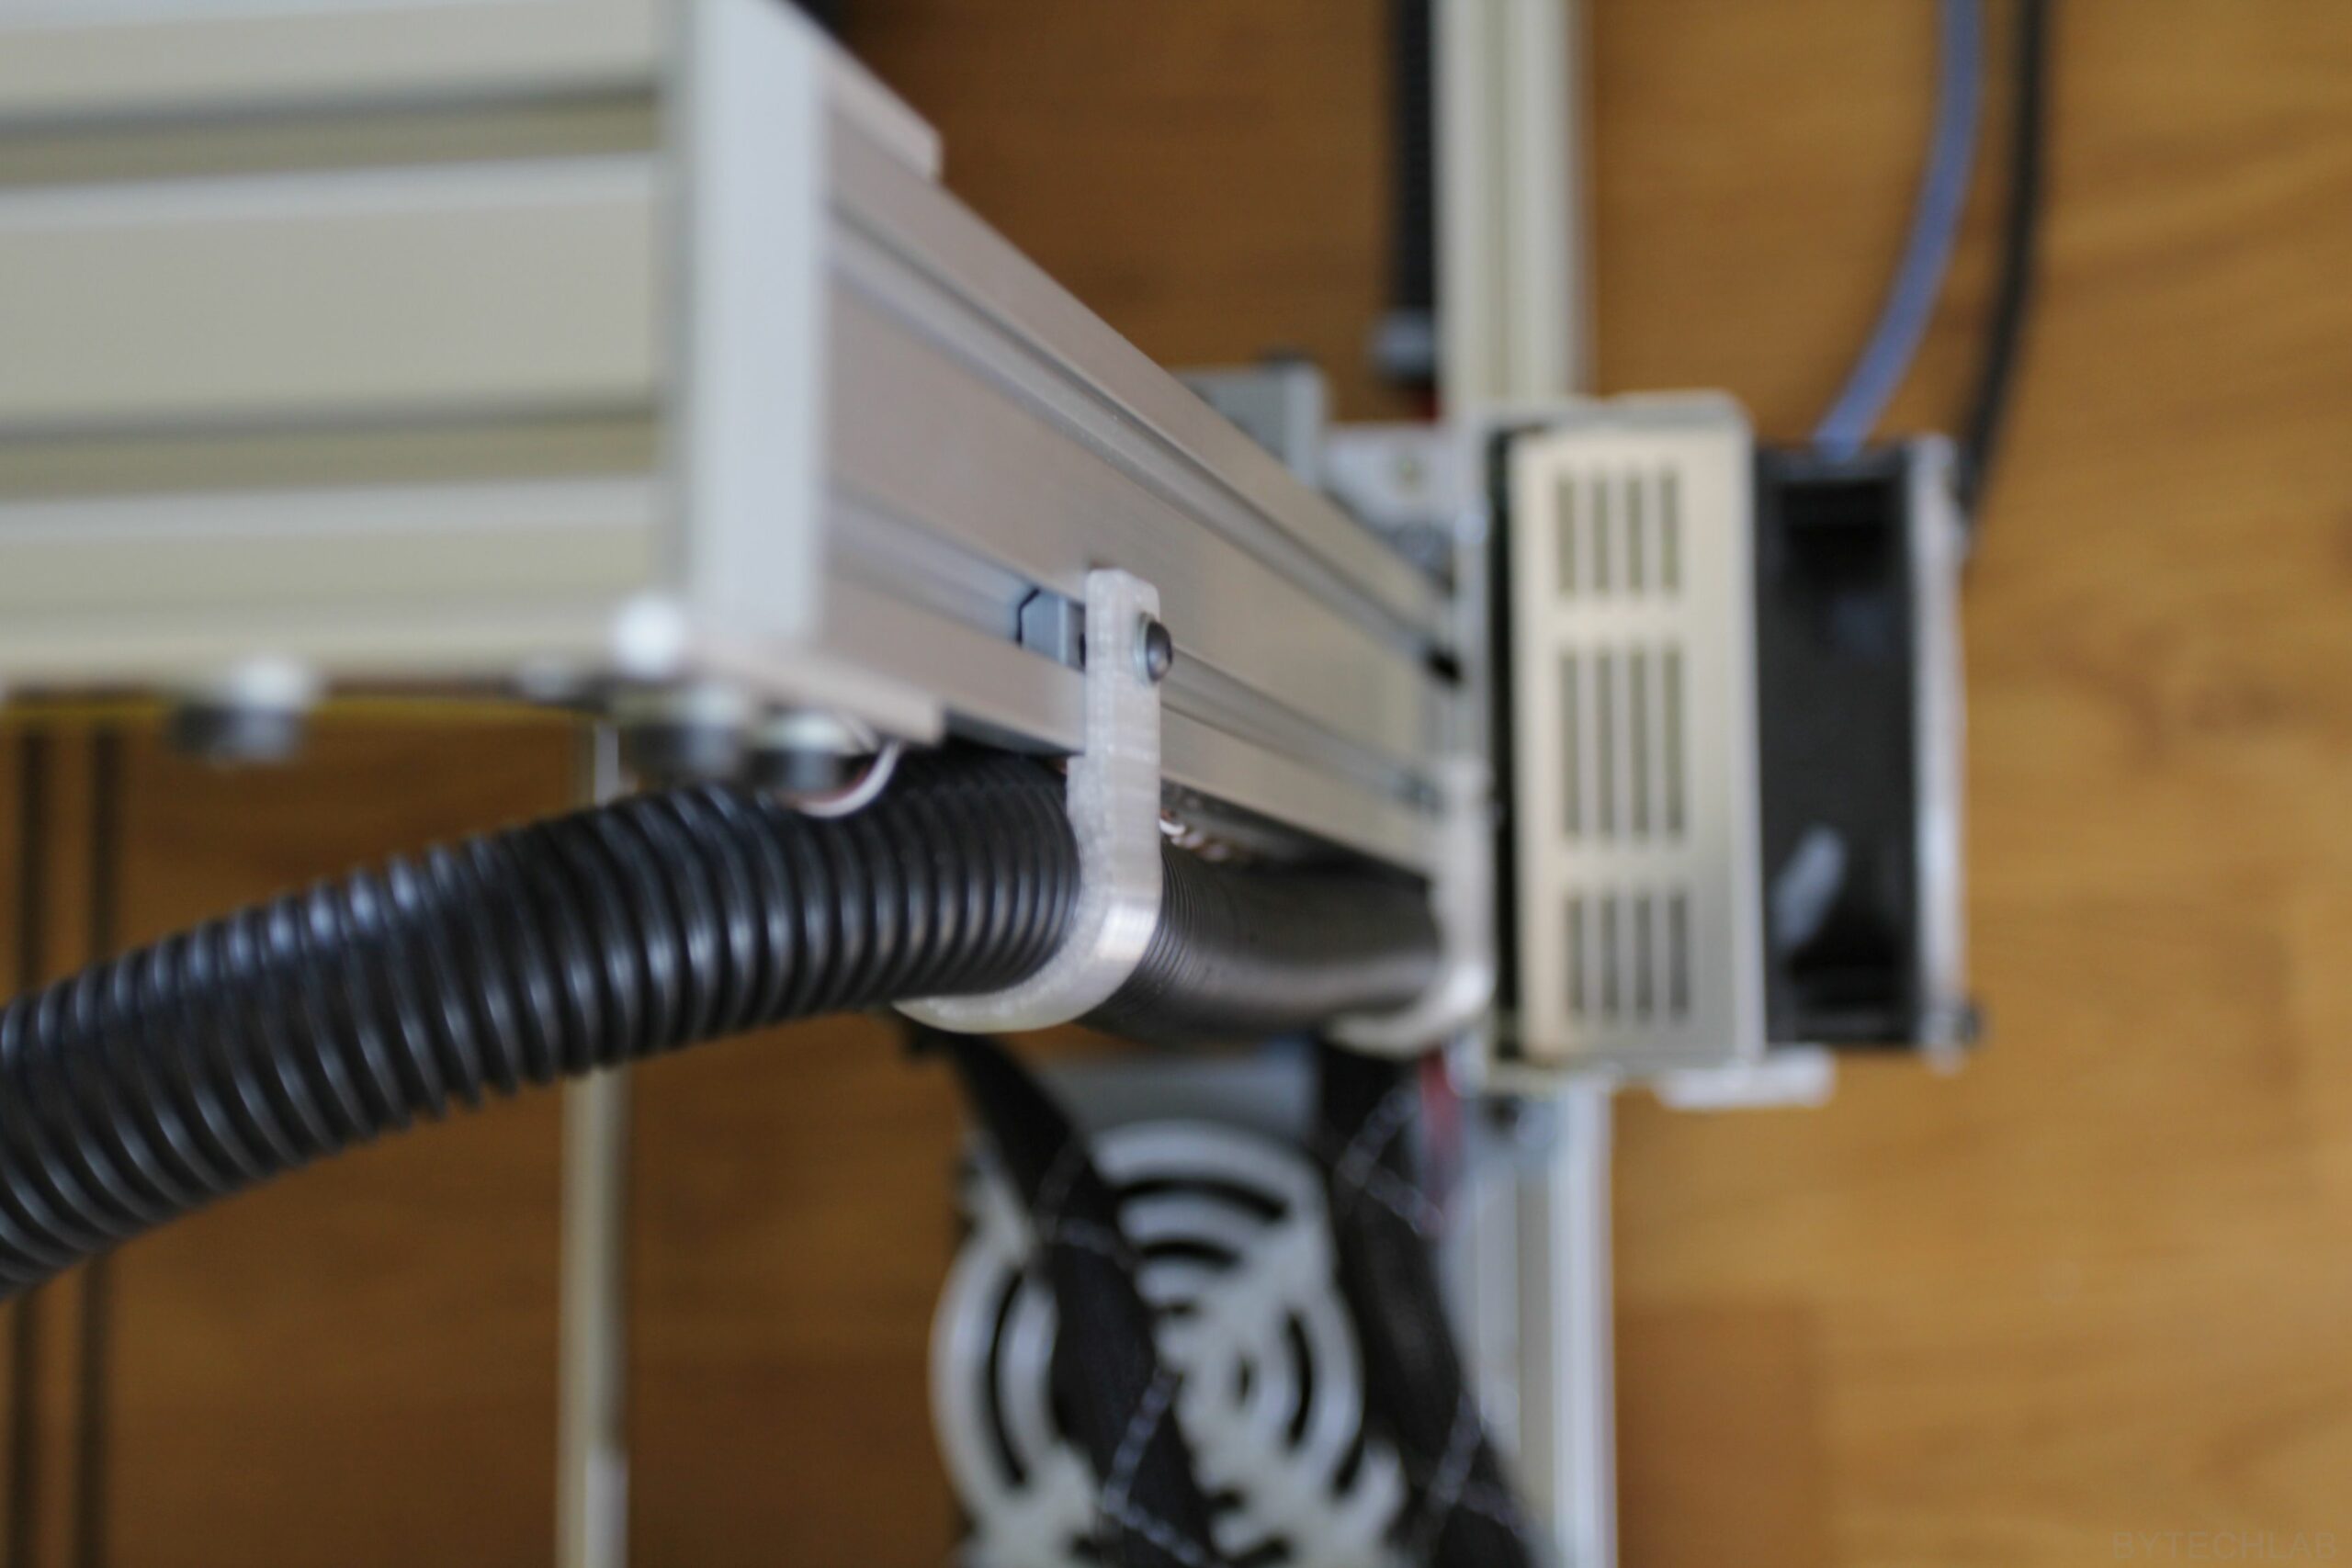
New cable pipe mounting brackets were added to clean up the cable spaghetti.
New Z-axis mechanical endstop mount was added. Z axis homing height can be adjusted easily by changing the position of a single screw.
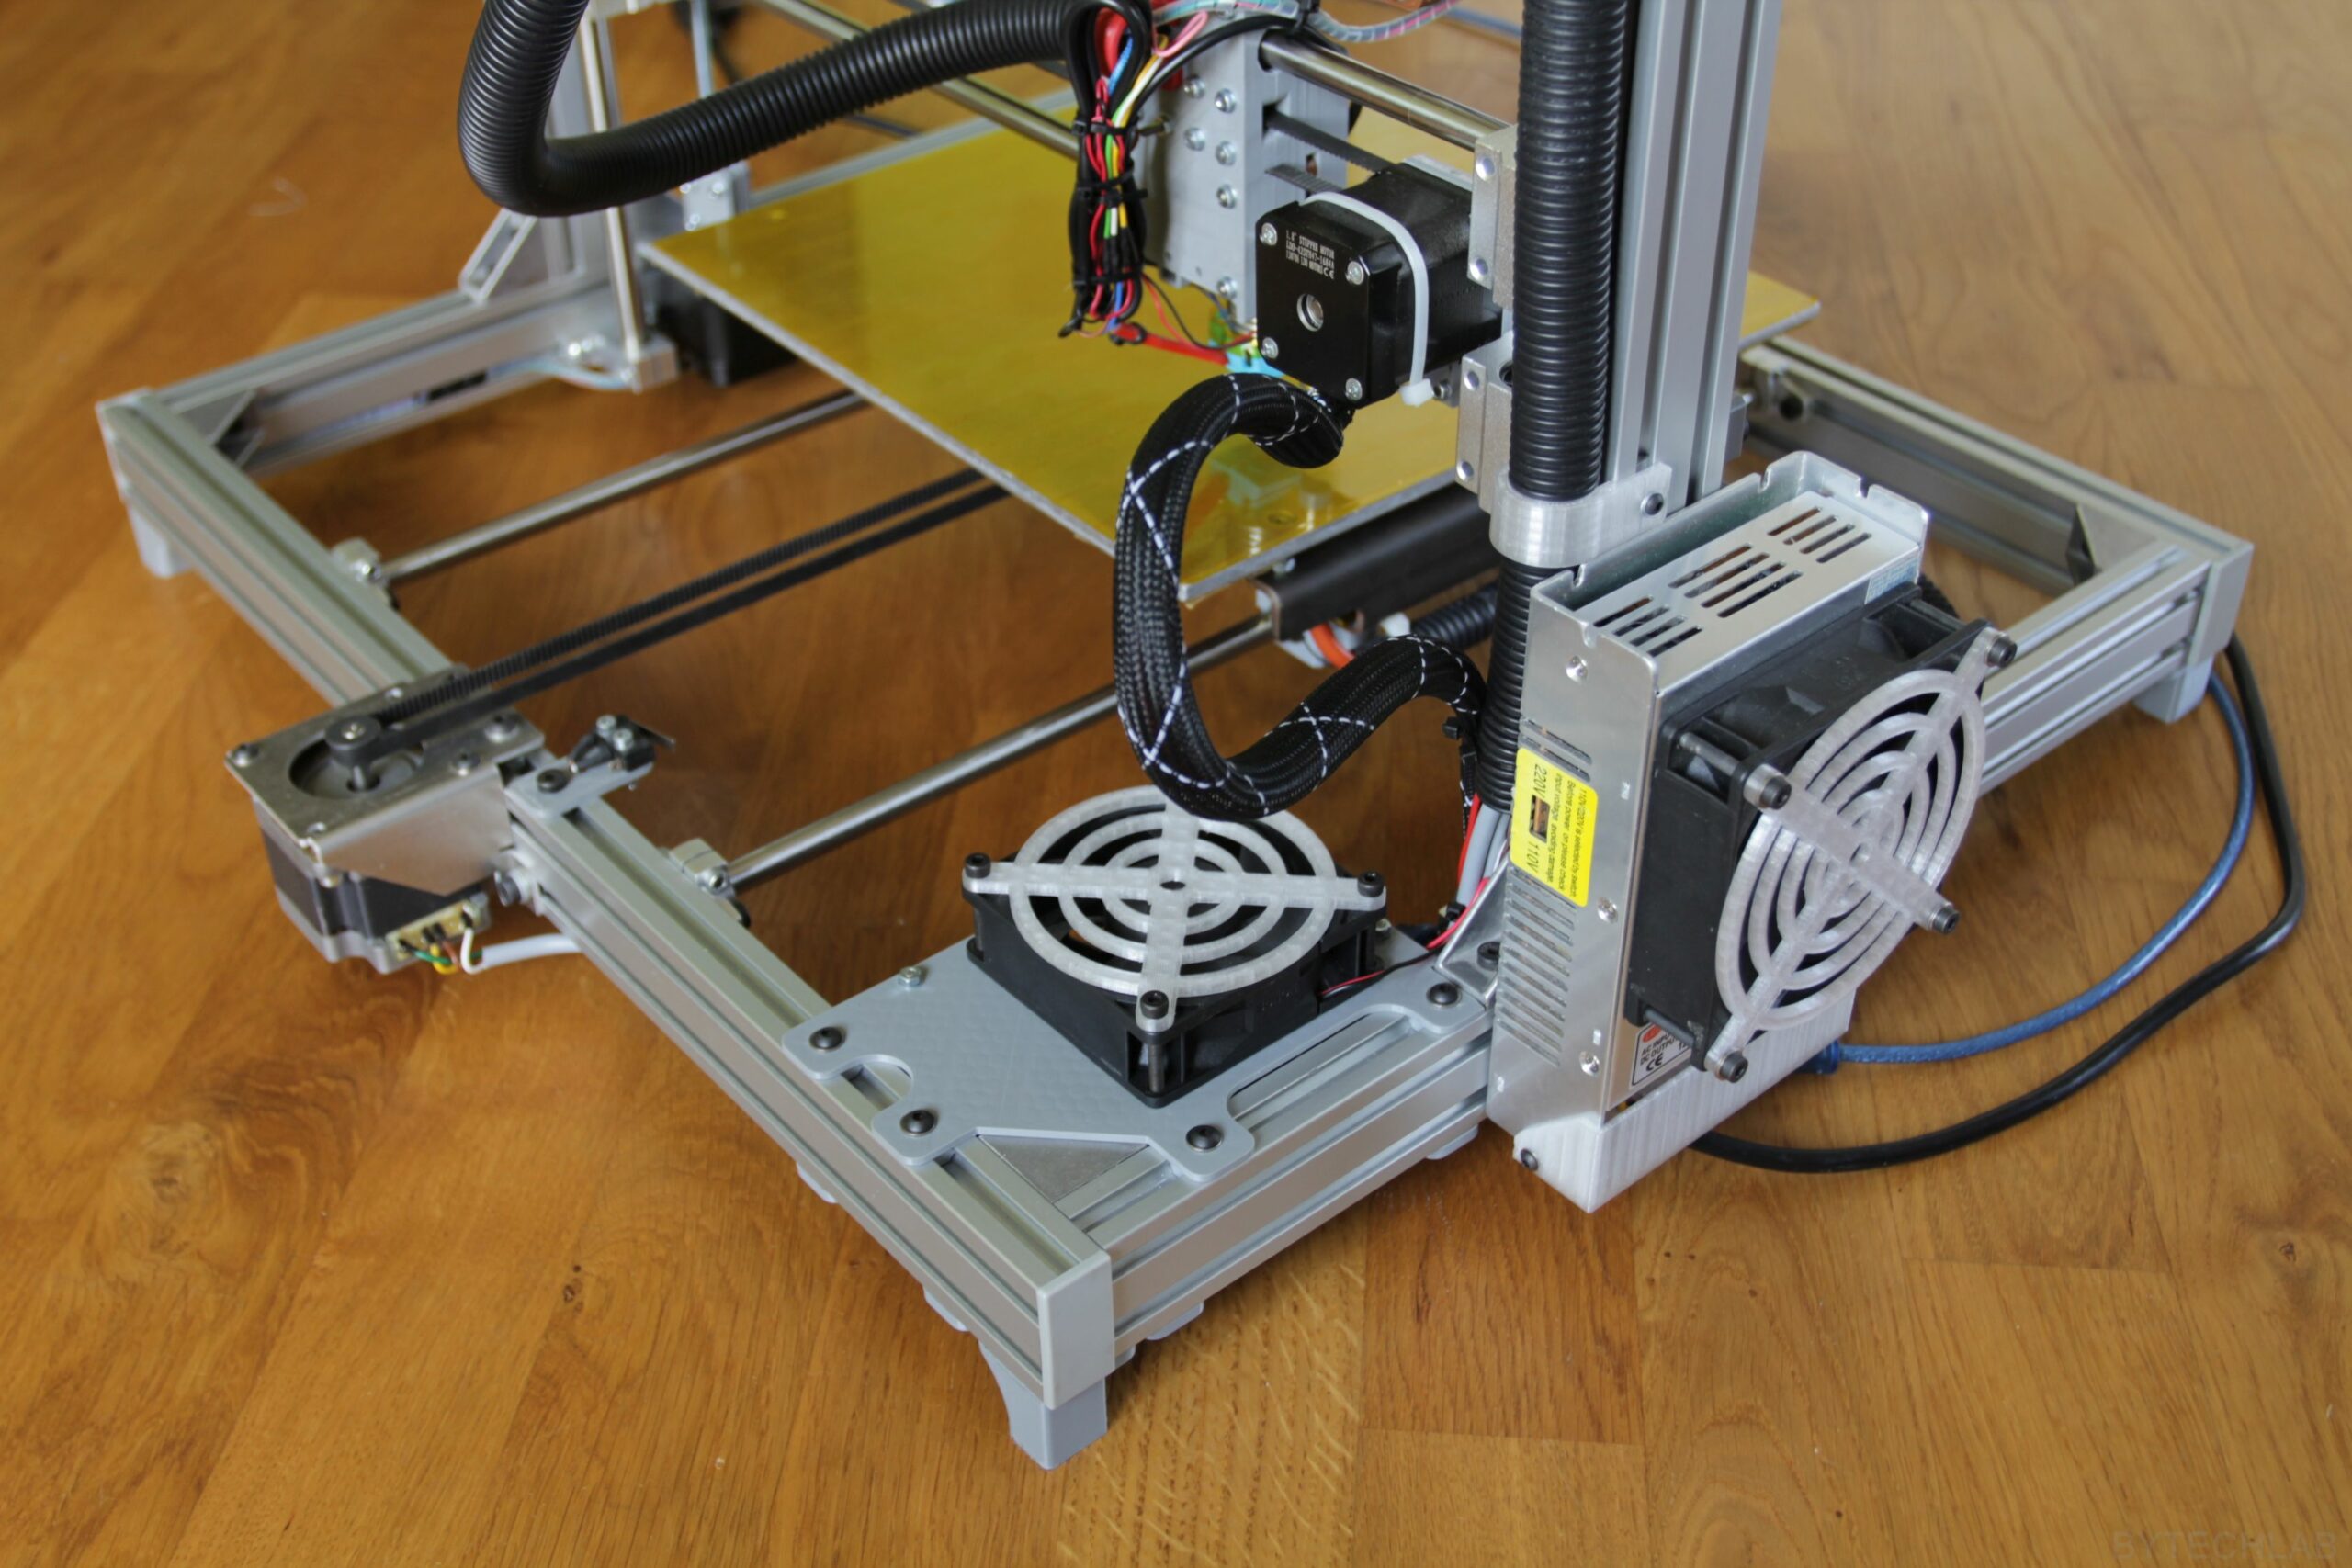
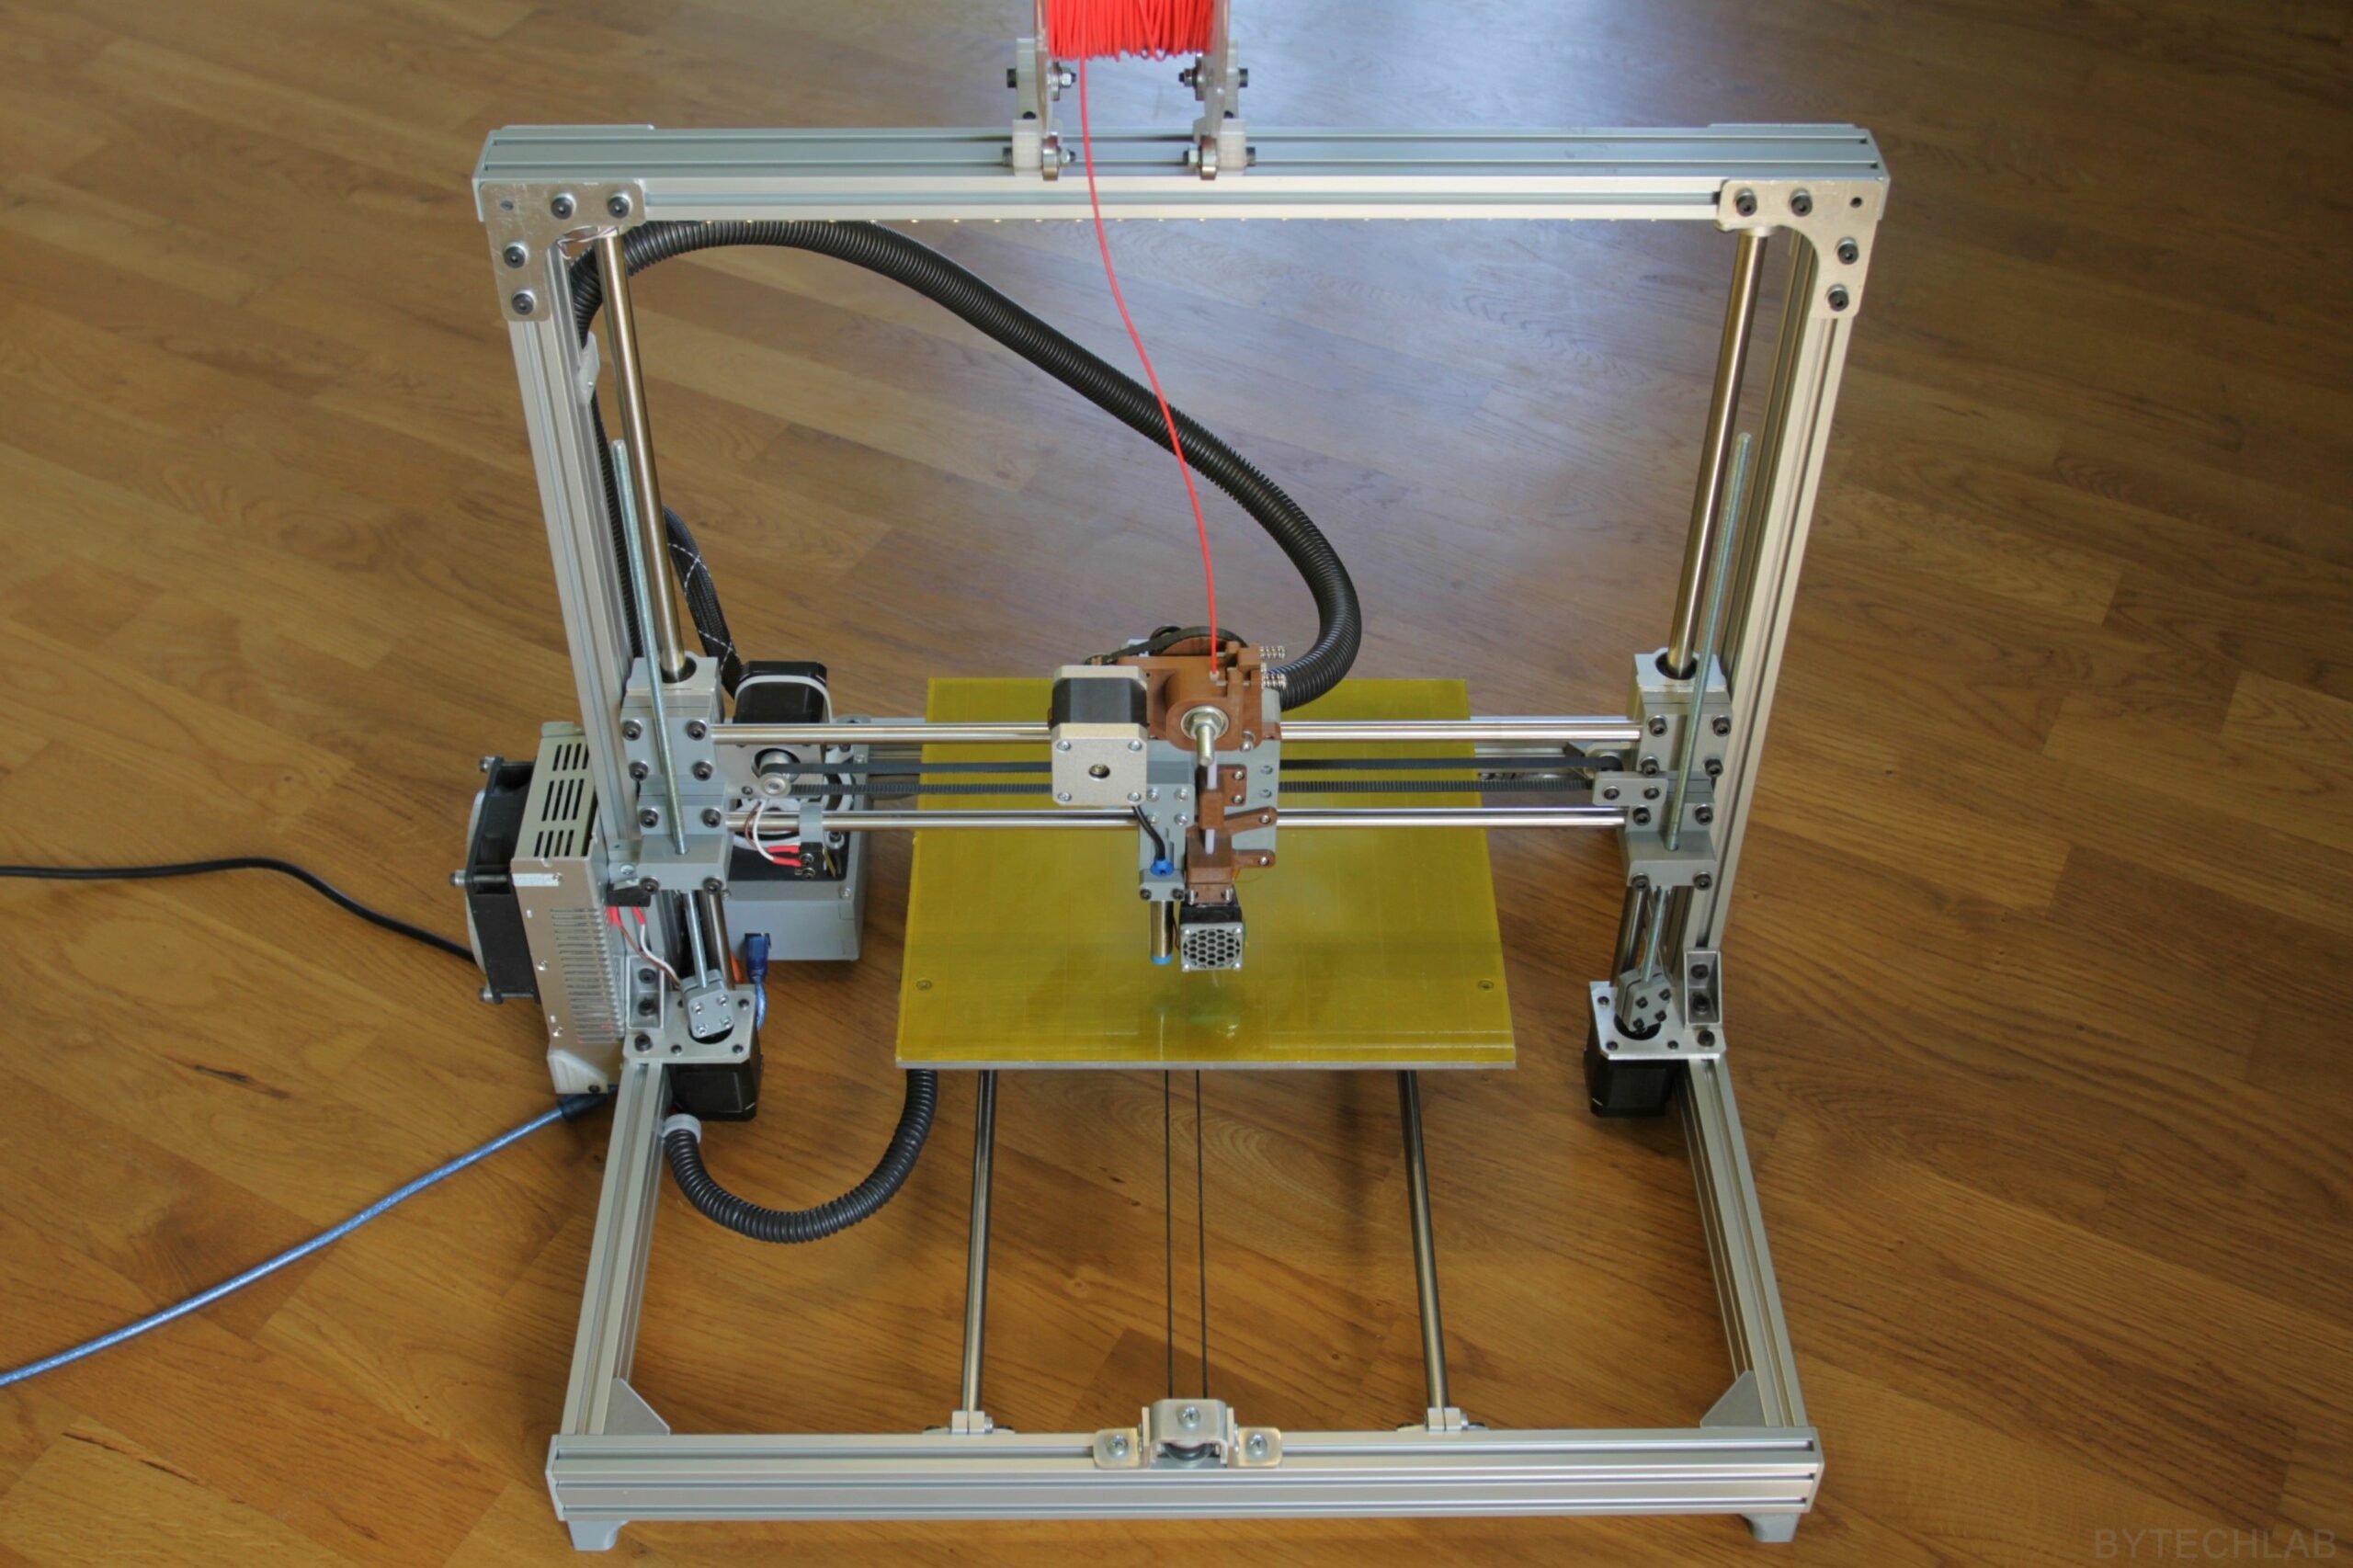
ADDITIONAL PHOTOS

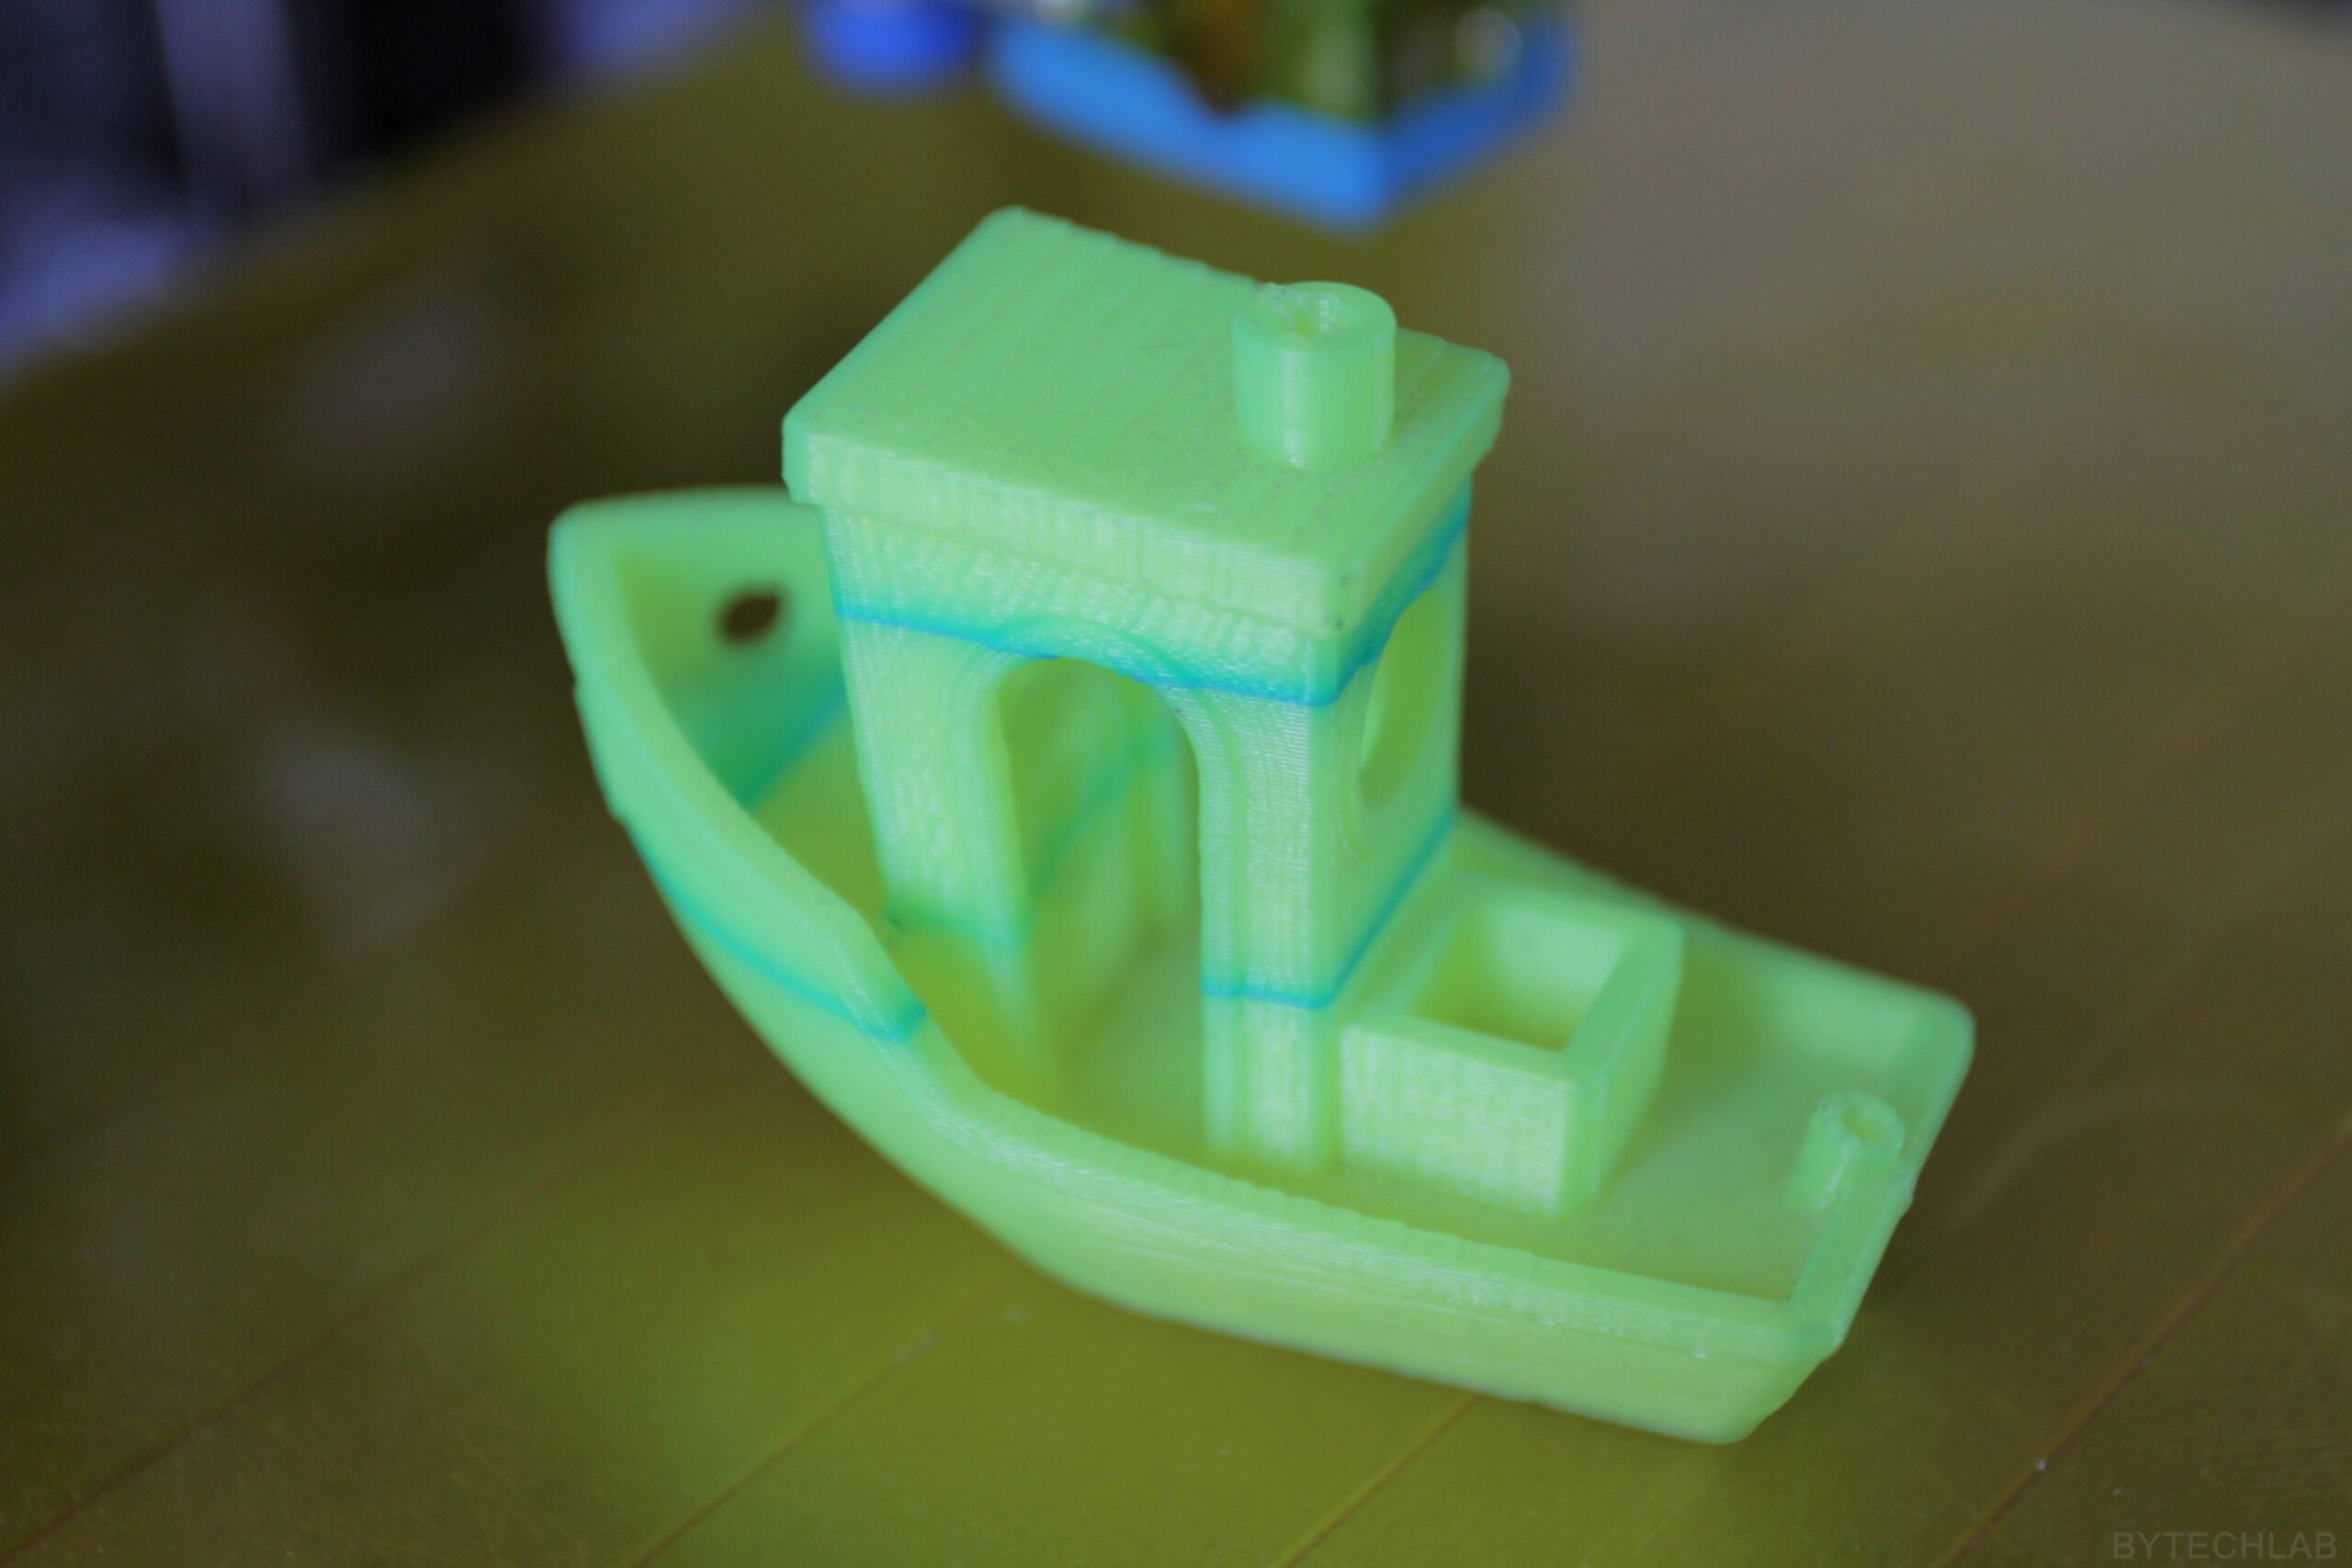
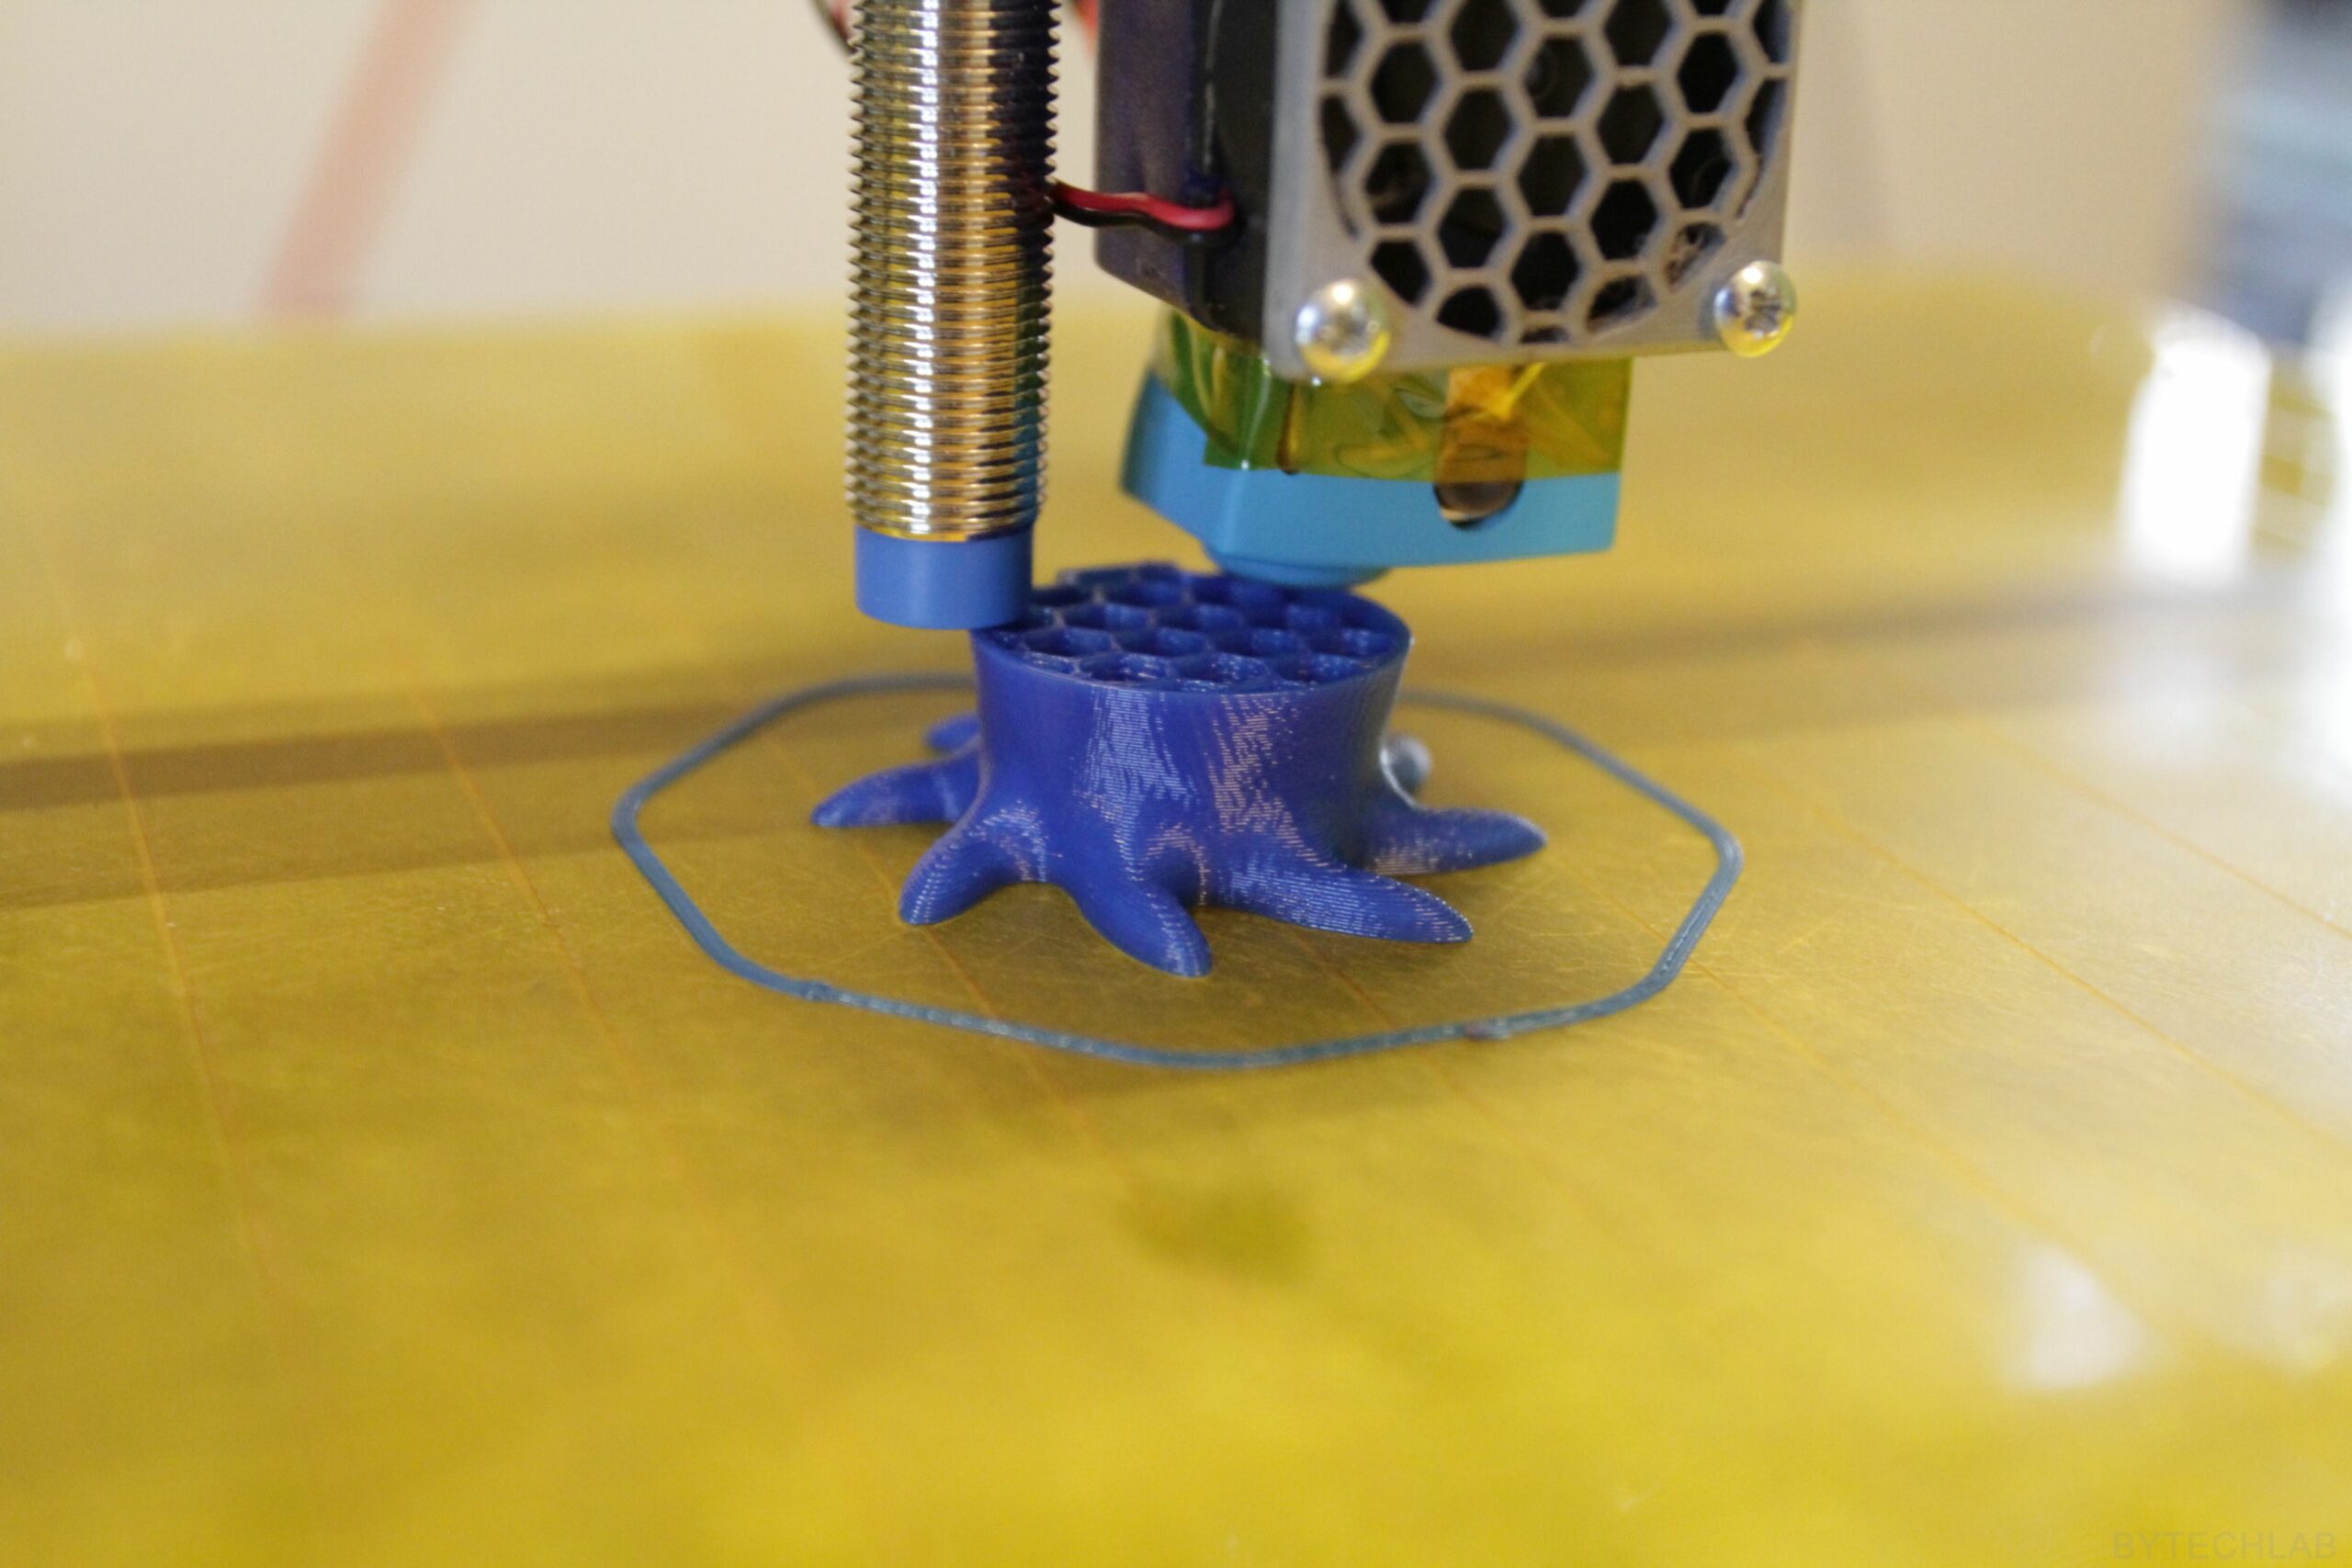
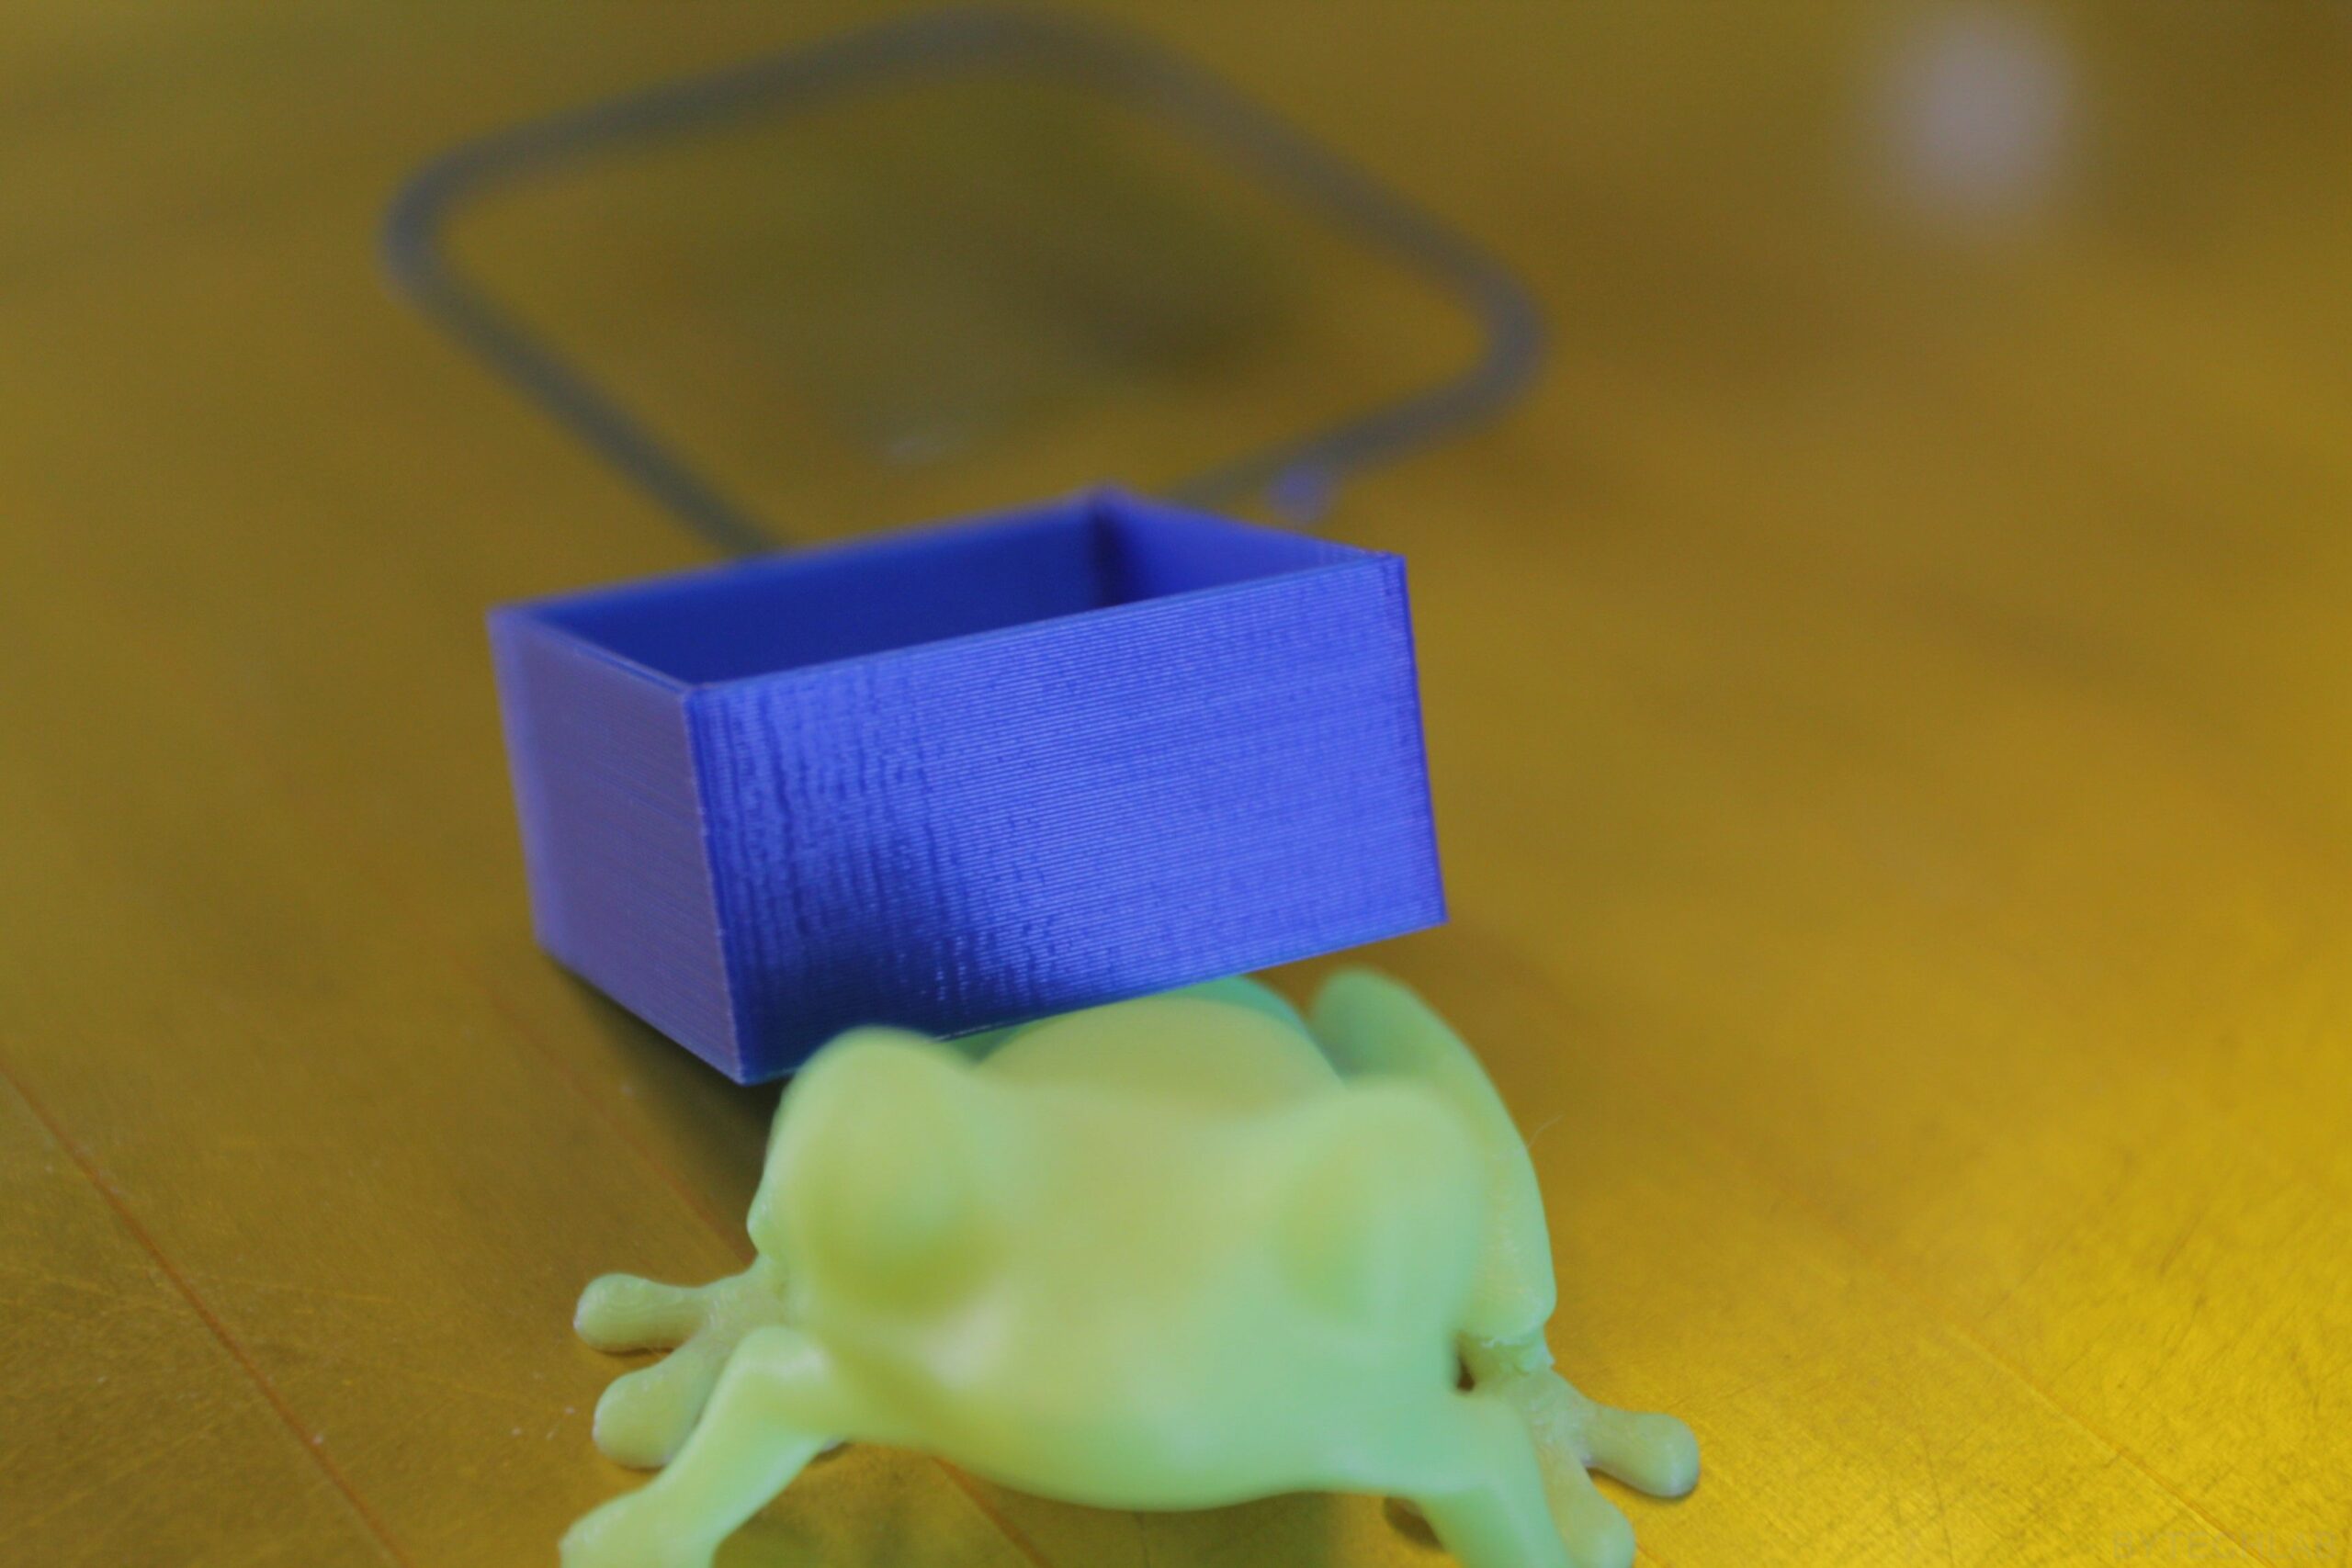
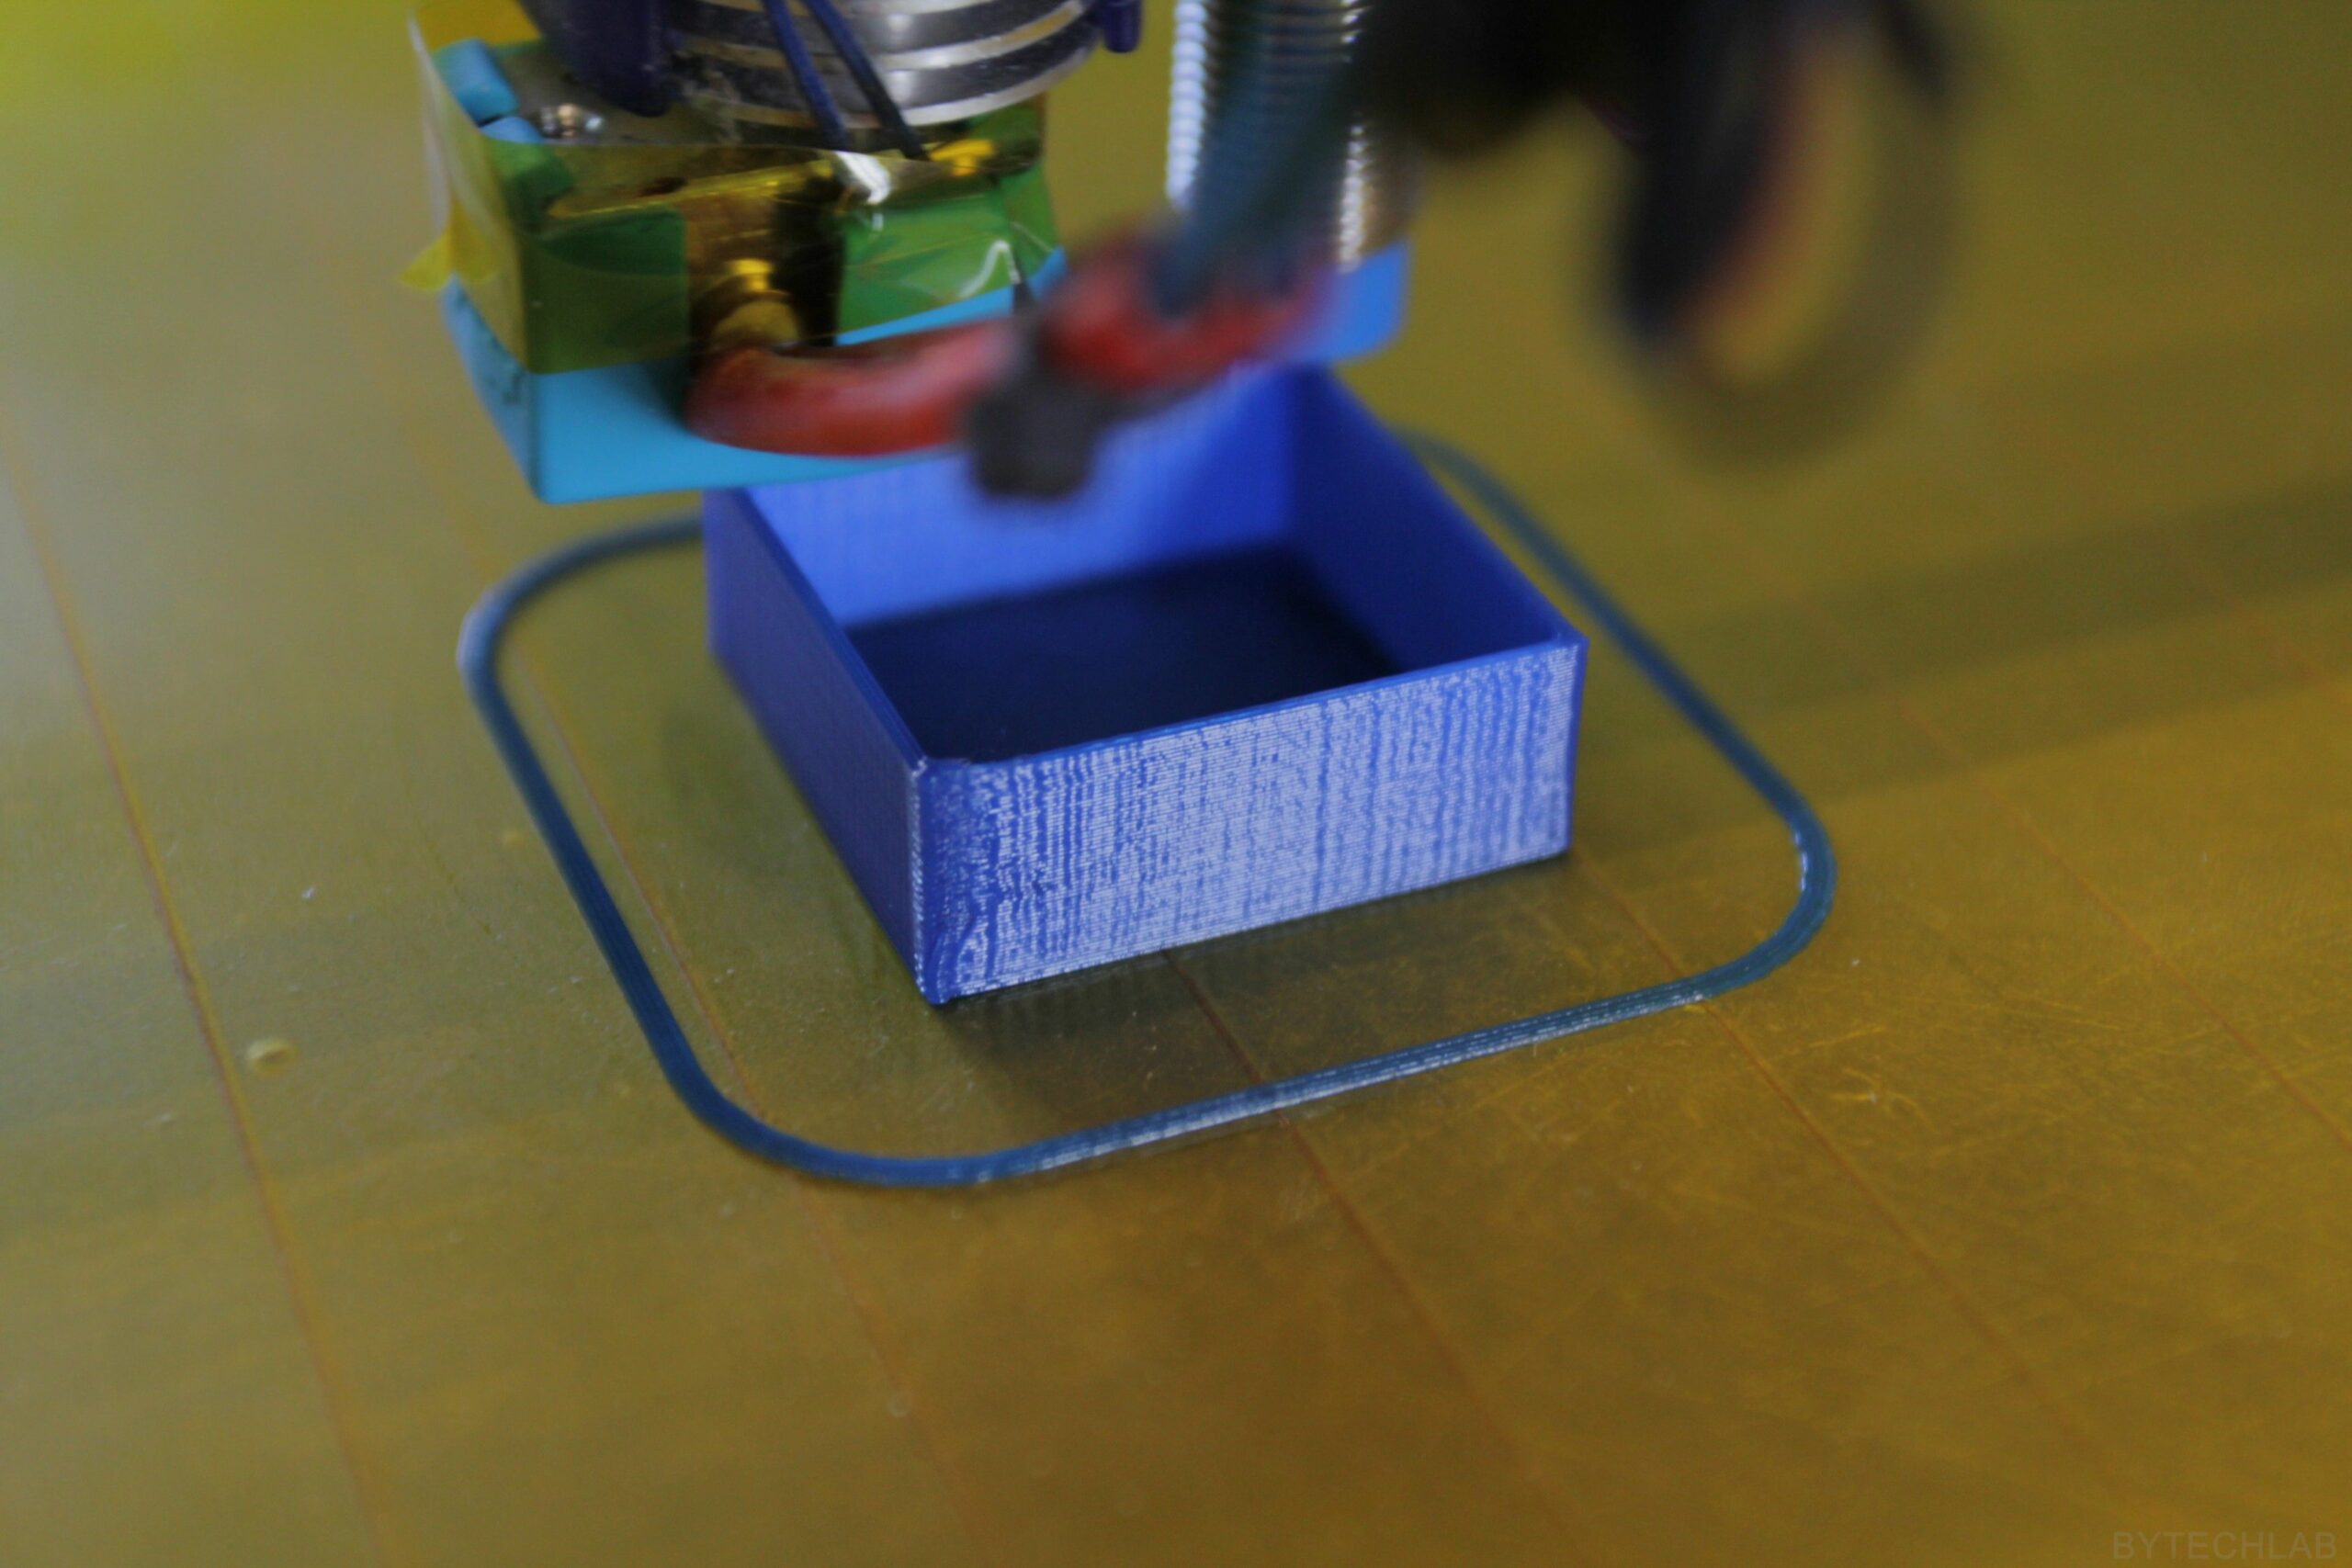
SAMPLE 3D PRINTS
SUMARRY
The FDM 3D Printer – TREX-300 is working quite well after implementing all of the upgrades, improvements, and design changes (print quality is decent). The whole design is not the most optimal one – many improvements are still possible but I think It’s better to simply design a new 3D printer instead of trying to fix this one.