
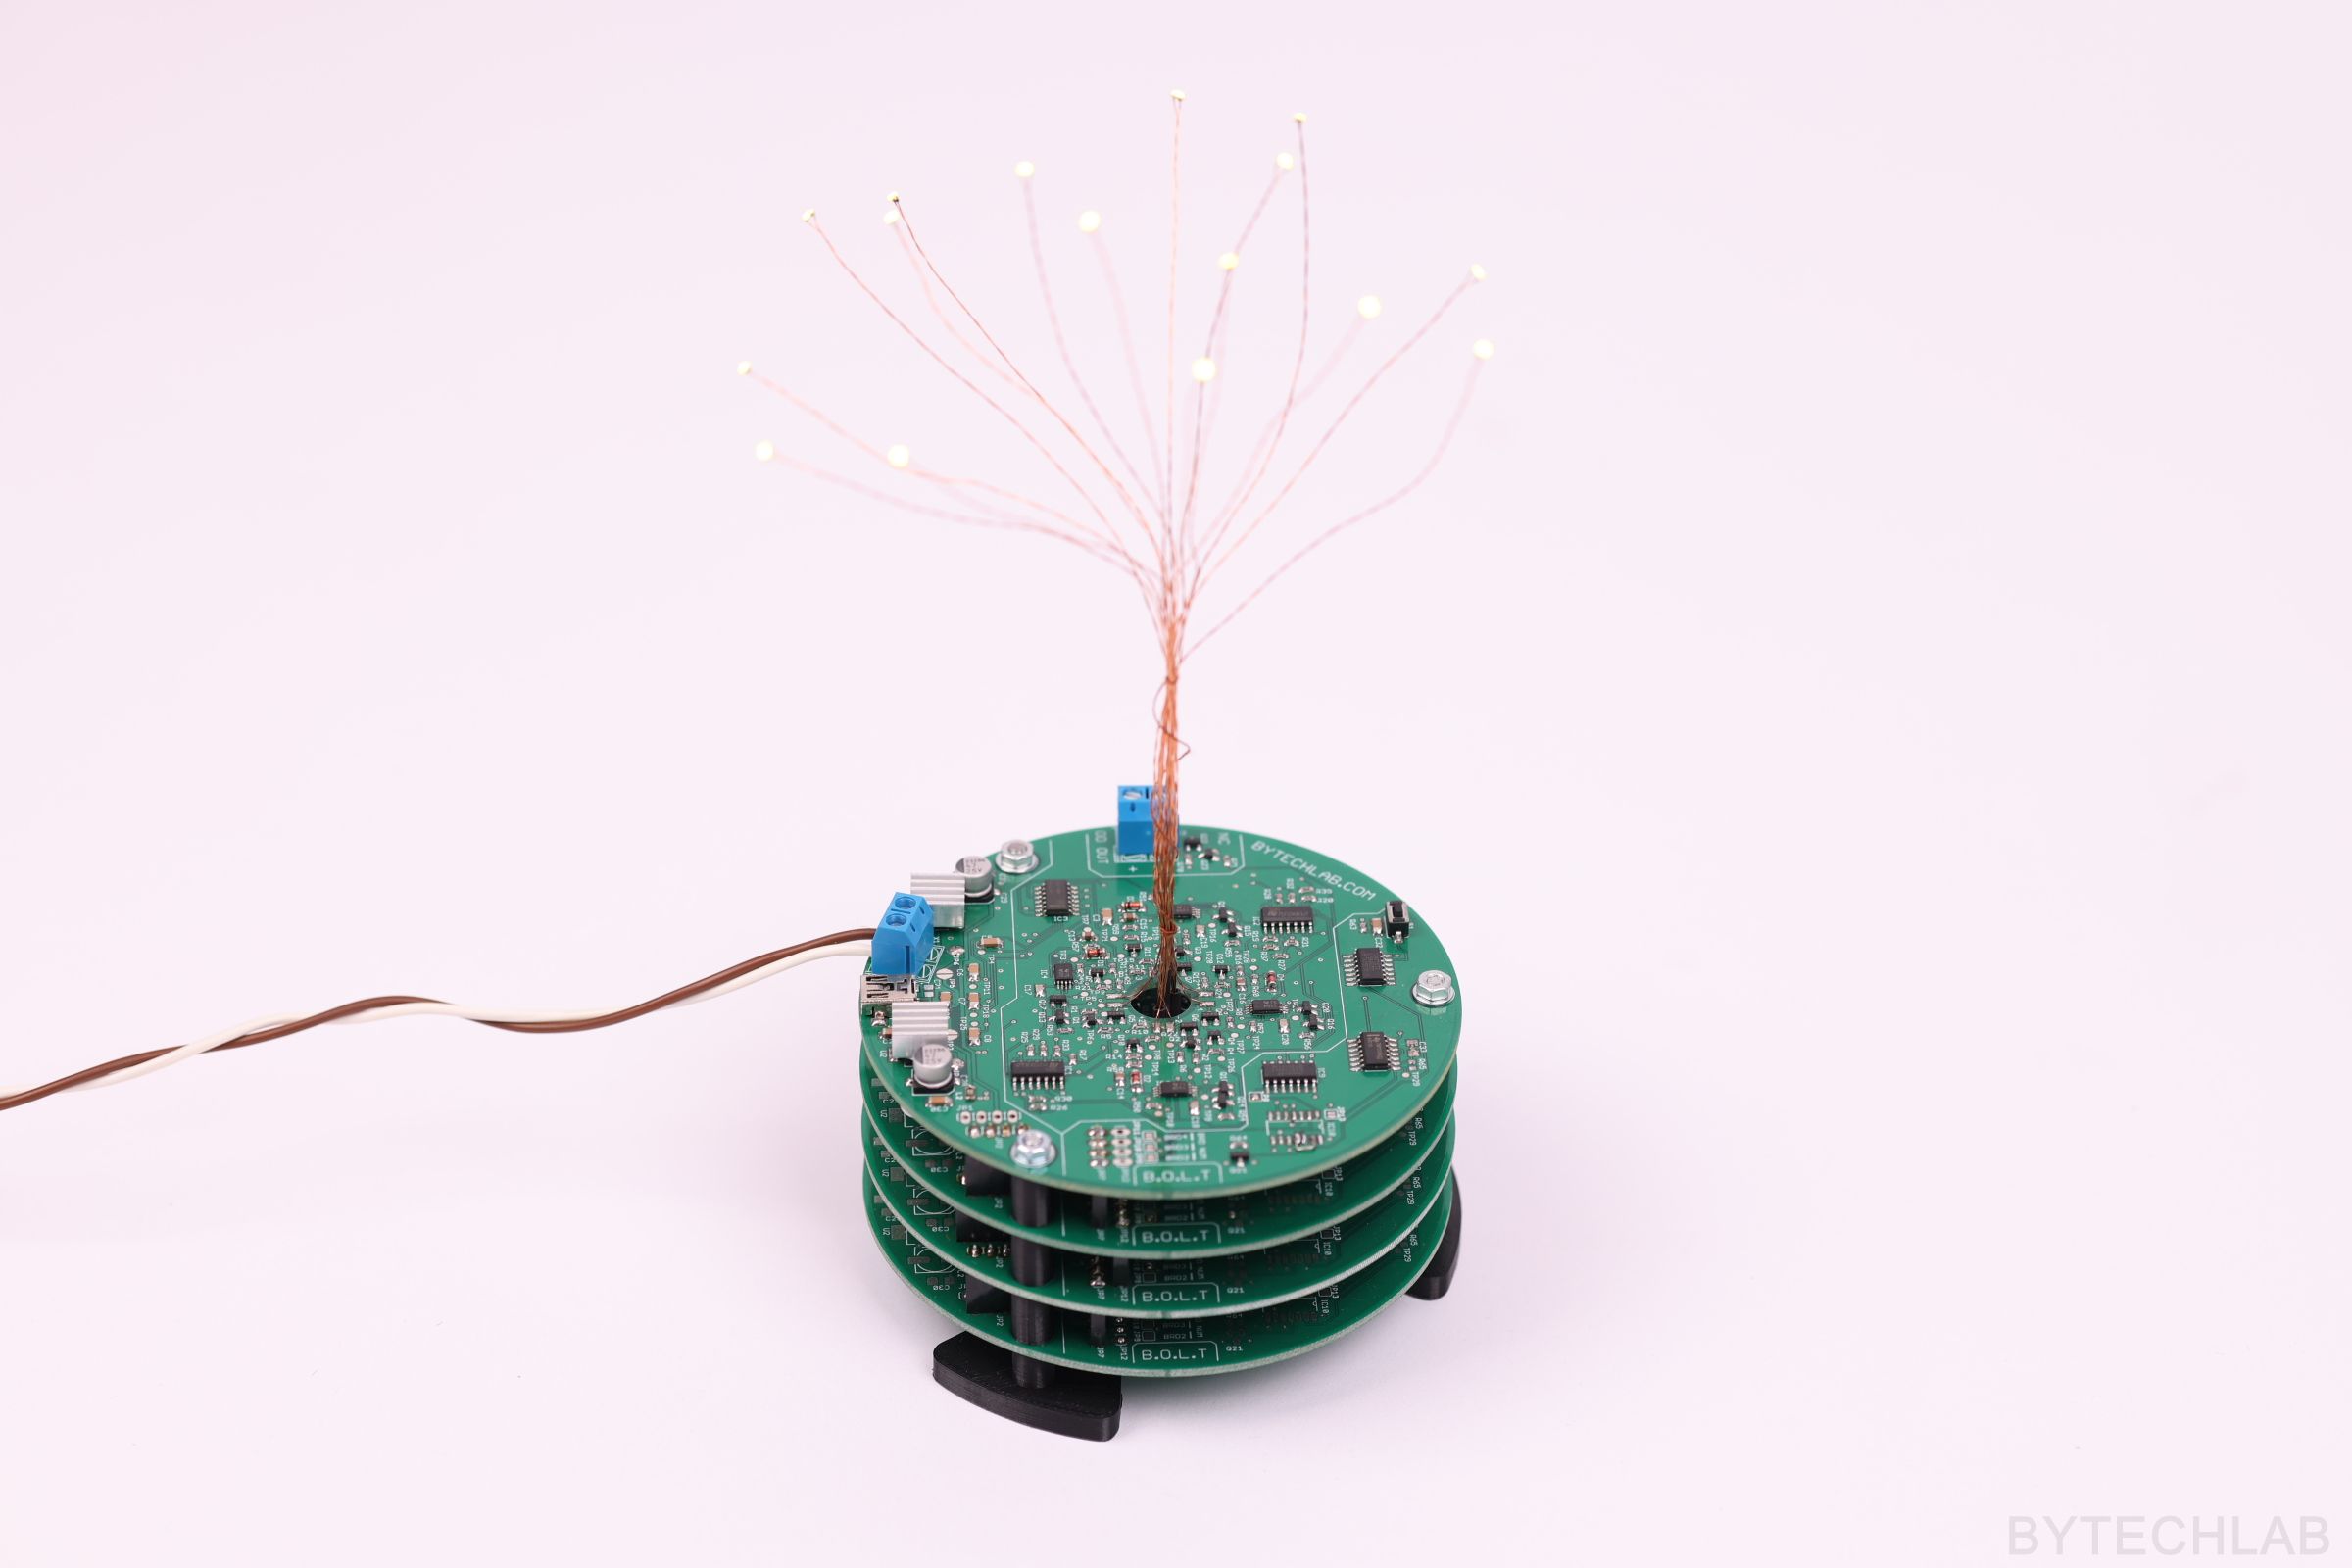
You must be wondering why I’ve done this fancy and unusual project. The answer is pretty straightforward: I wanted to make “one of a kind” gift for my friend. Just something you can’t buy in a store , you know what I mean :). The Wind Sensitive LED Tree from the electronics side is almost 100% analog – capacitors transistors and other stuff like that. Because of that I think its safe to say that it is the most complicated blinking LED circuit in the whole world (probably the biggest overkill I’ve ever done). But you know, certainly this tree wouldn’t be so fun to build if I’ve used a microcontroller.
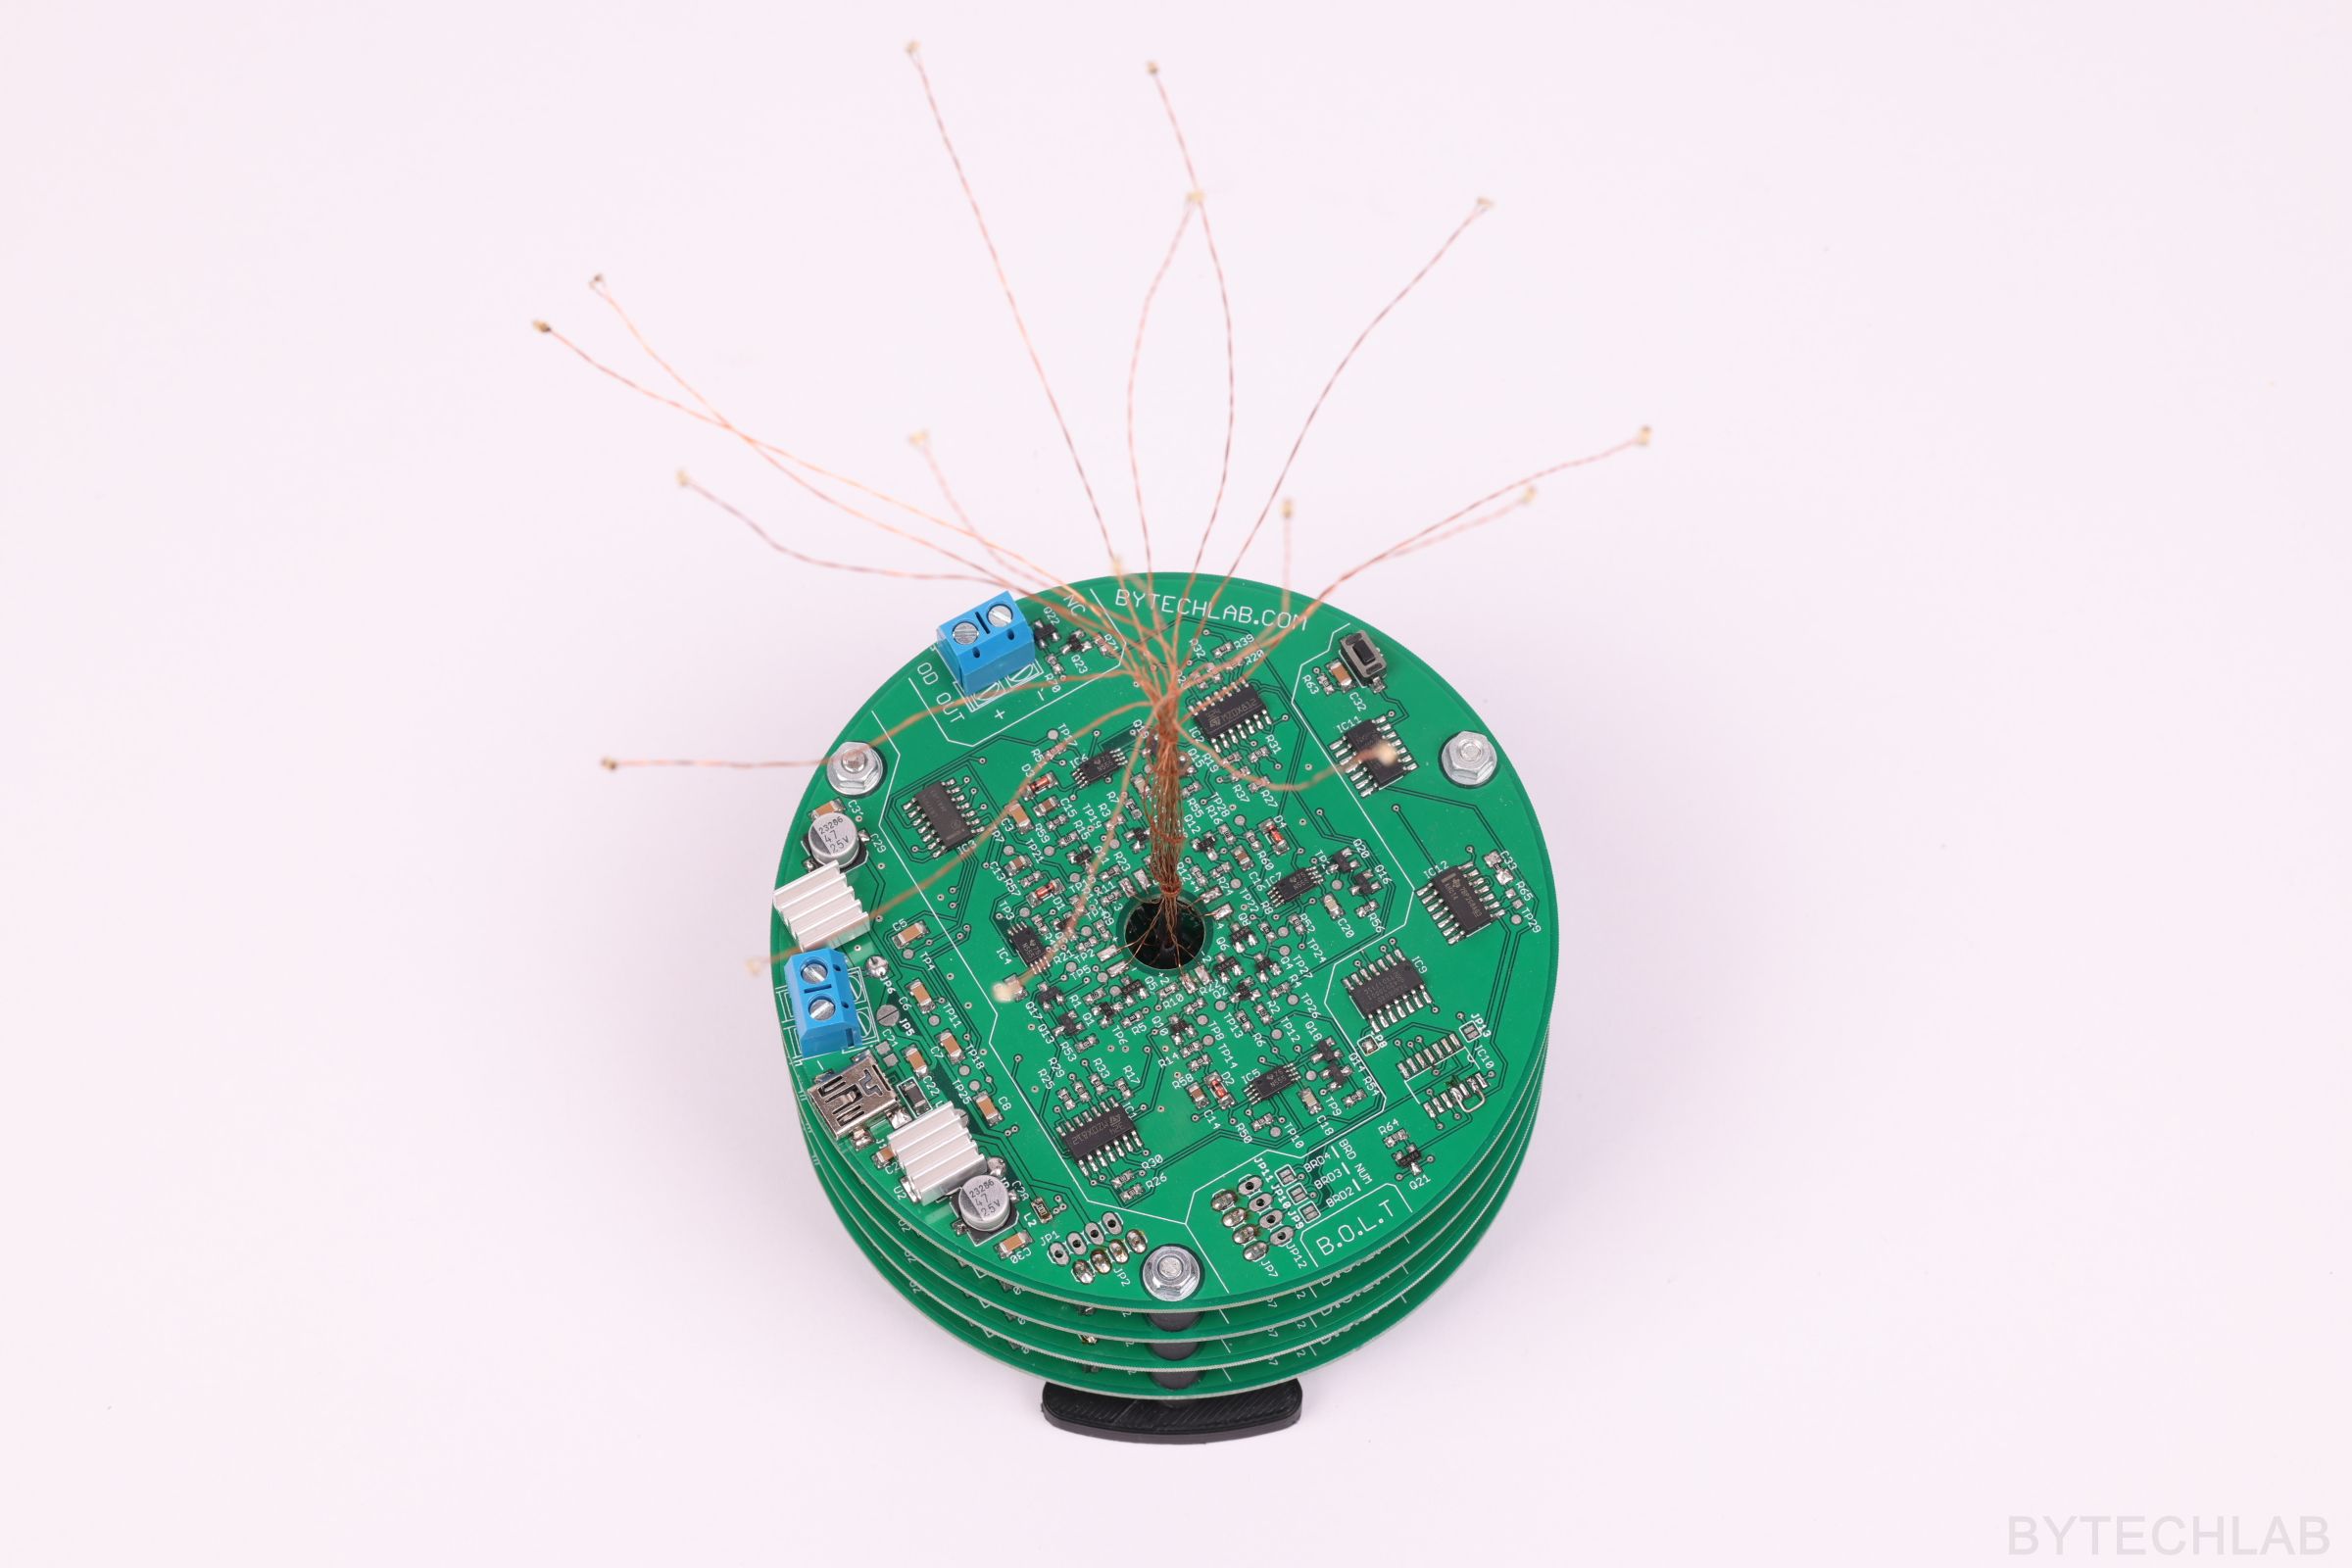
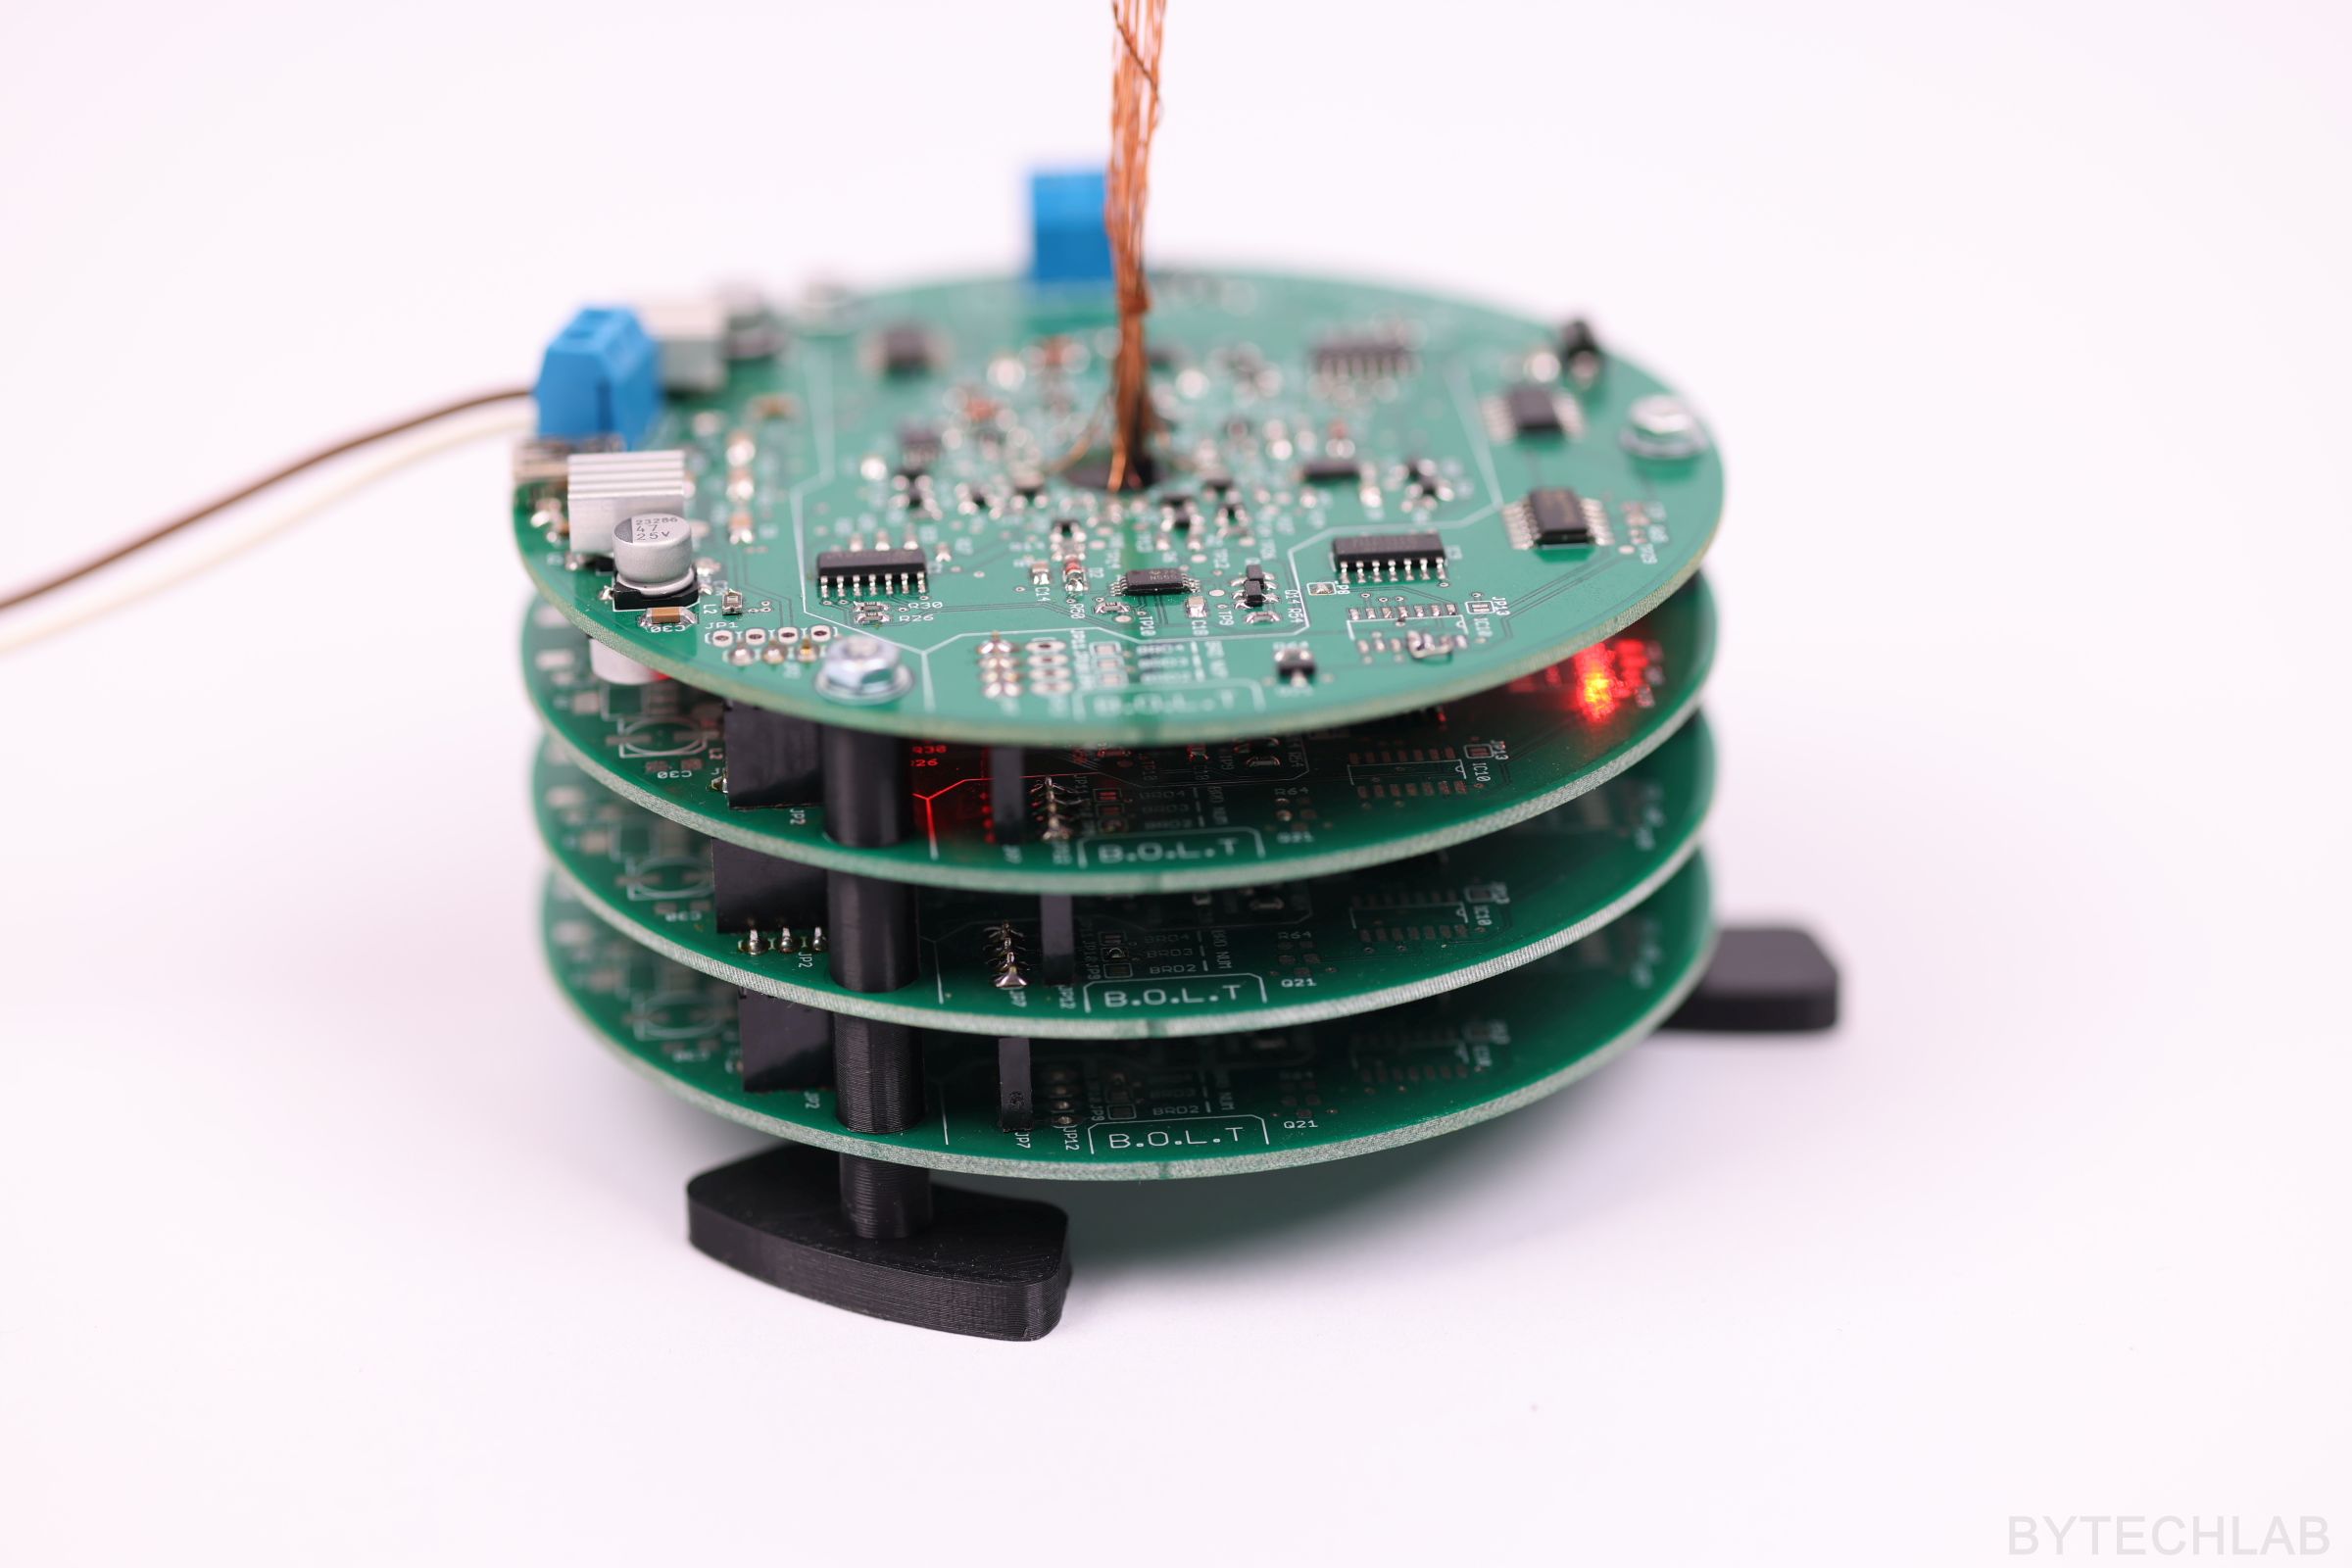
The whole tree consists of a 16 individual twisted copper wire branches with LED,s on its ends, each of these LED,s can be blown out separately. I’ve also added a nice fade in effect (LED,s turn on quite slowly after being blown out). But wait, there’s even more: I’ve implemented a simple game! If you blow out all LED,s before they light up again, the PCB’s will start glowing red indicating that you were fast enough. It’s not that simple to blow out them all at once as I thought it will be. If you want to try again, you can reset it with a button.
Anyway, down below in this short post I will show you how the whole thing was designed, how it looks and how it works.
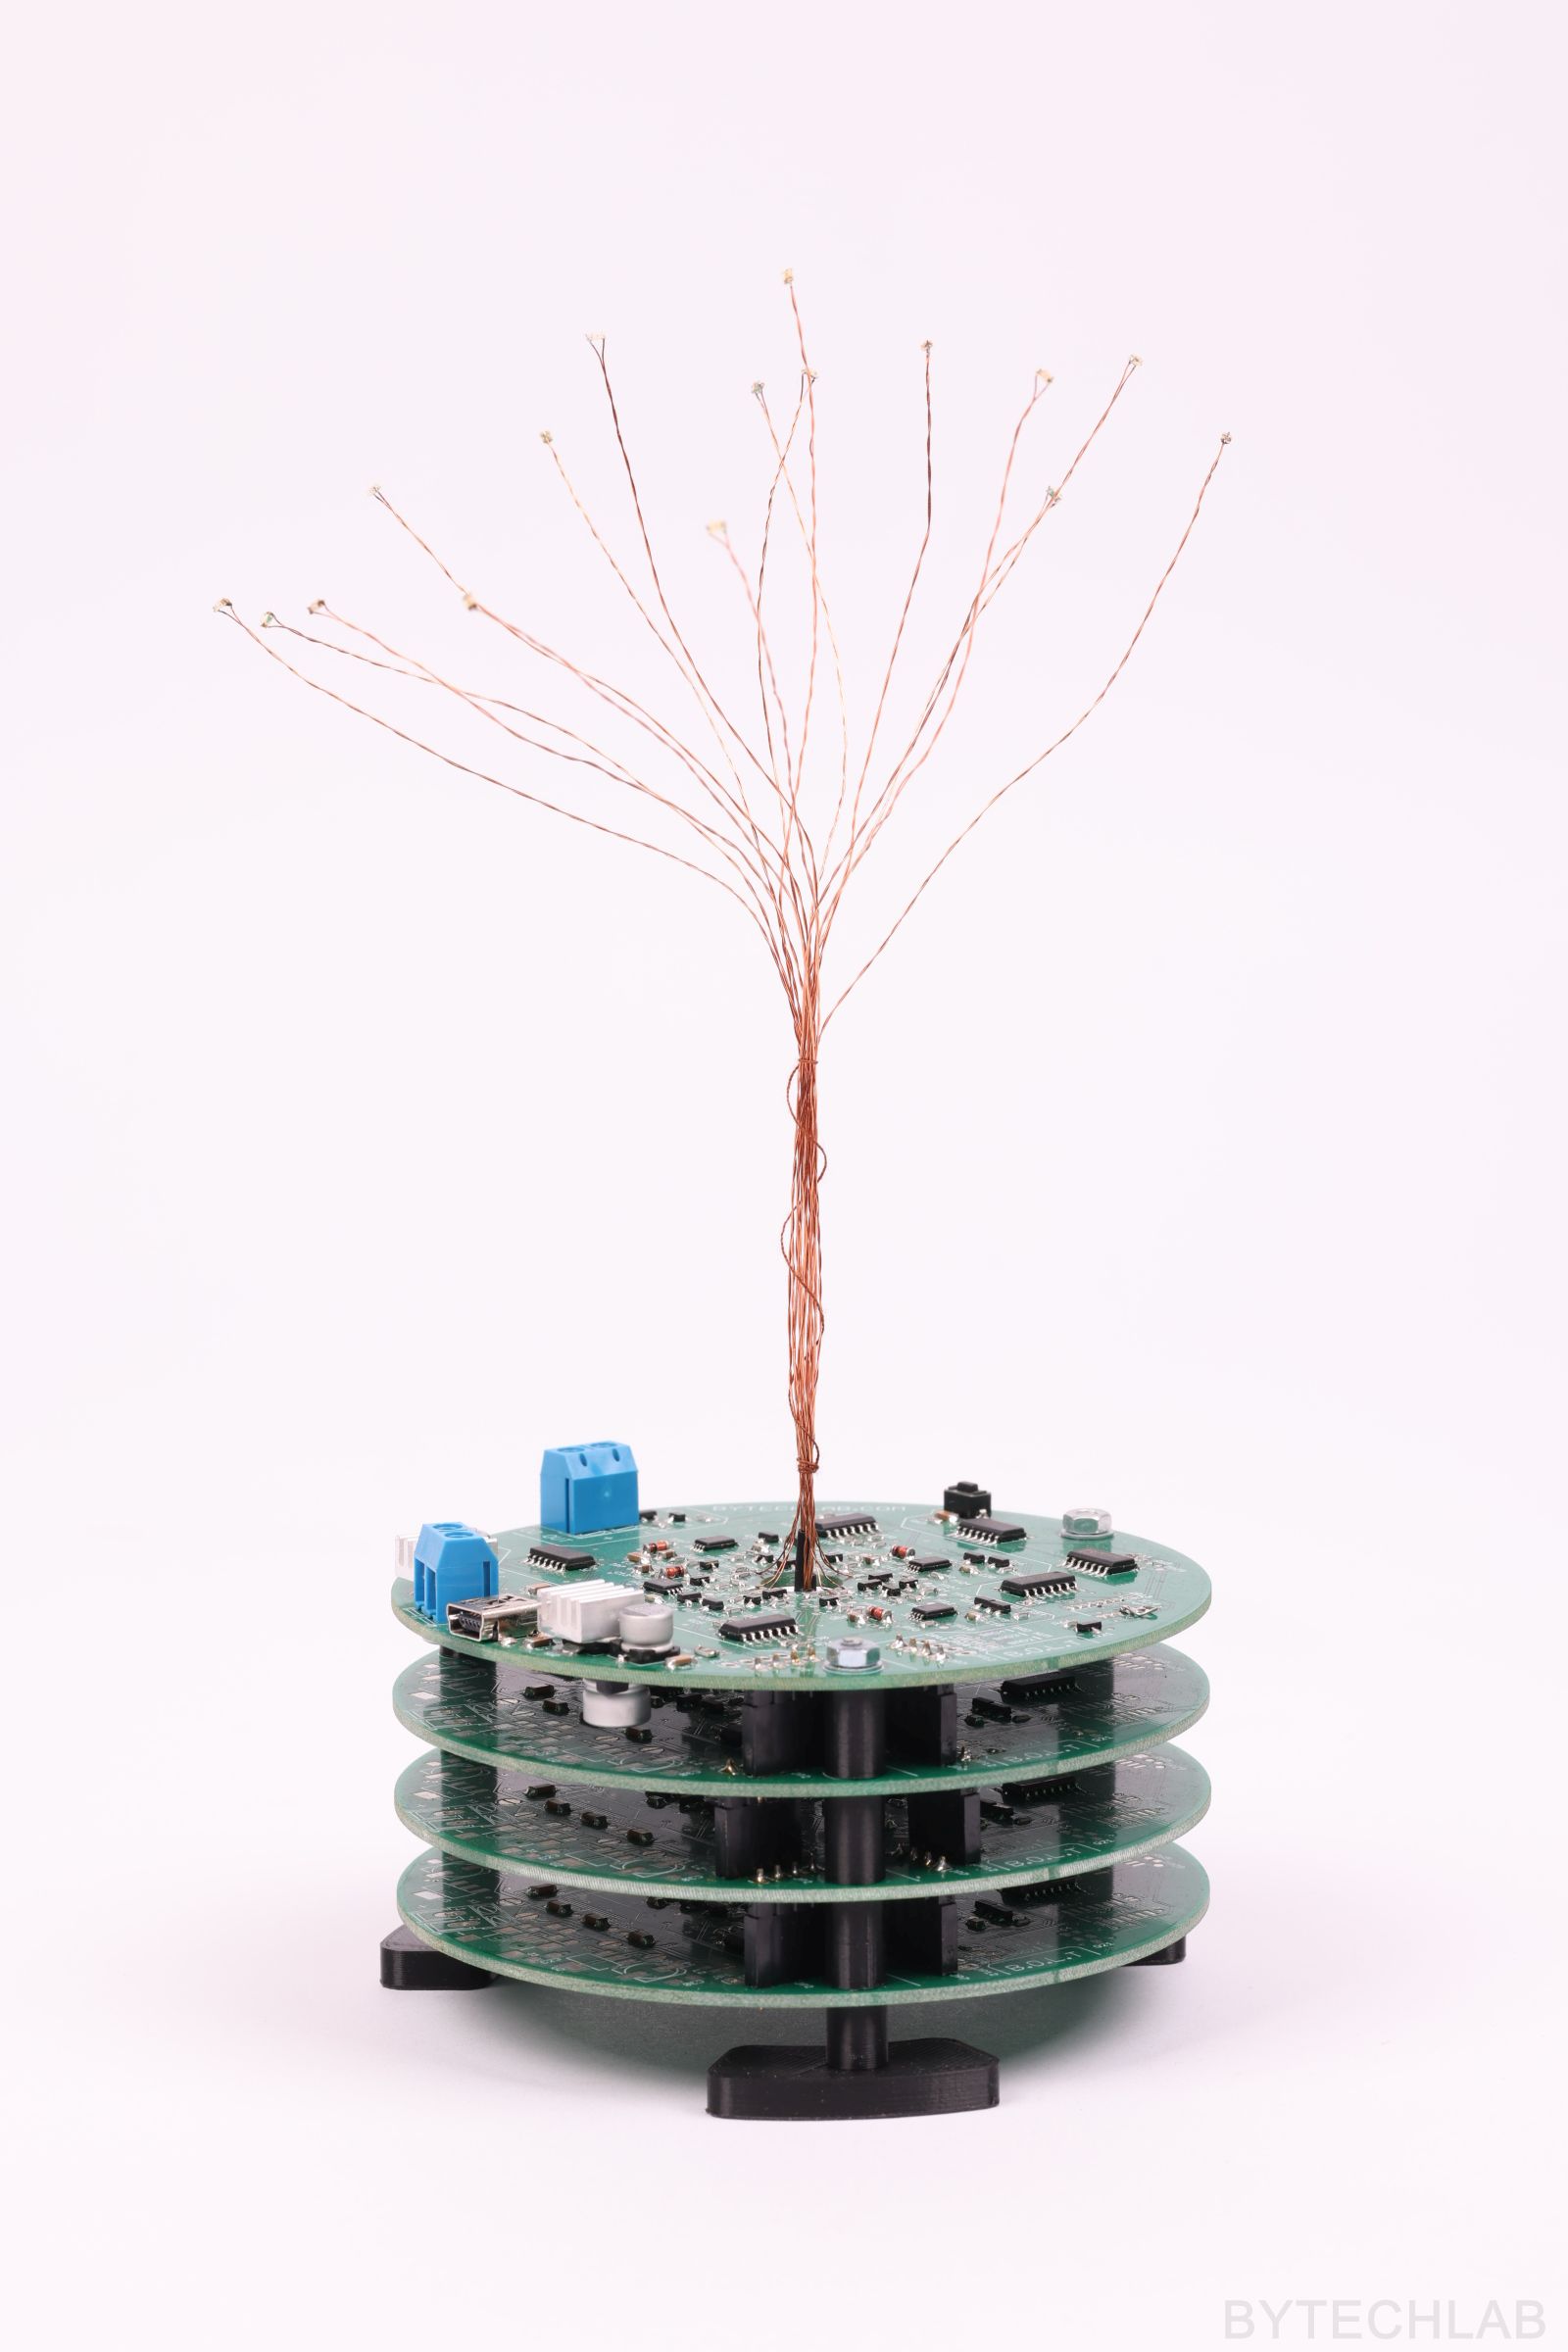
PHOTOS ( FINISHED WIND SENSITIVE LED TREE )
HOW IT WORKS ? – VIDEO
Below you can find a video where I show how LEDs react to the wind from the air blow gun. Also if you watch this video carefully you can see nice fade in effect when the LED lights up again.
SCHEMATICS & HOW DOES IT WORK ?
Schematic of each LED control block is relatively the same as in the [Wind Sensitive LED (analog circuit)] project. But there are some important changes to it.
For example: I’ve used less components to build each LED control block ,there is a special voltage reference just to improve overall stability of the whole circuit , PSU was redesigned to reduce noise and voltage spikes (certainly we don’t want that, when working with analog signals), I’ve also added bypass caps in some places and more…..
To implement a simple game which I’ve described above, I needed to add some logic gates and one JK flip-flop. You can take a look at it down below:

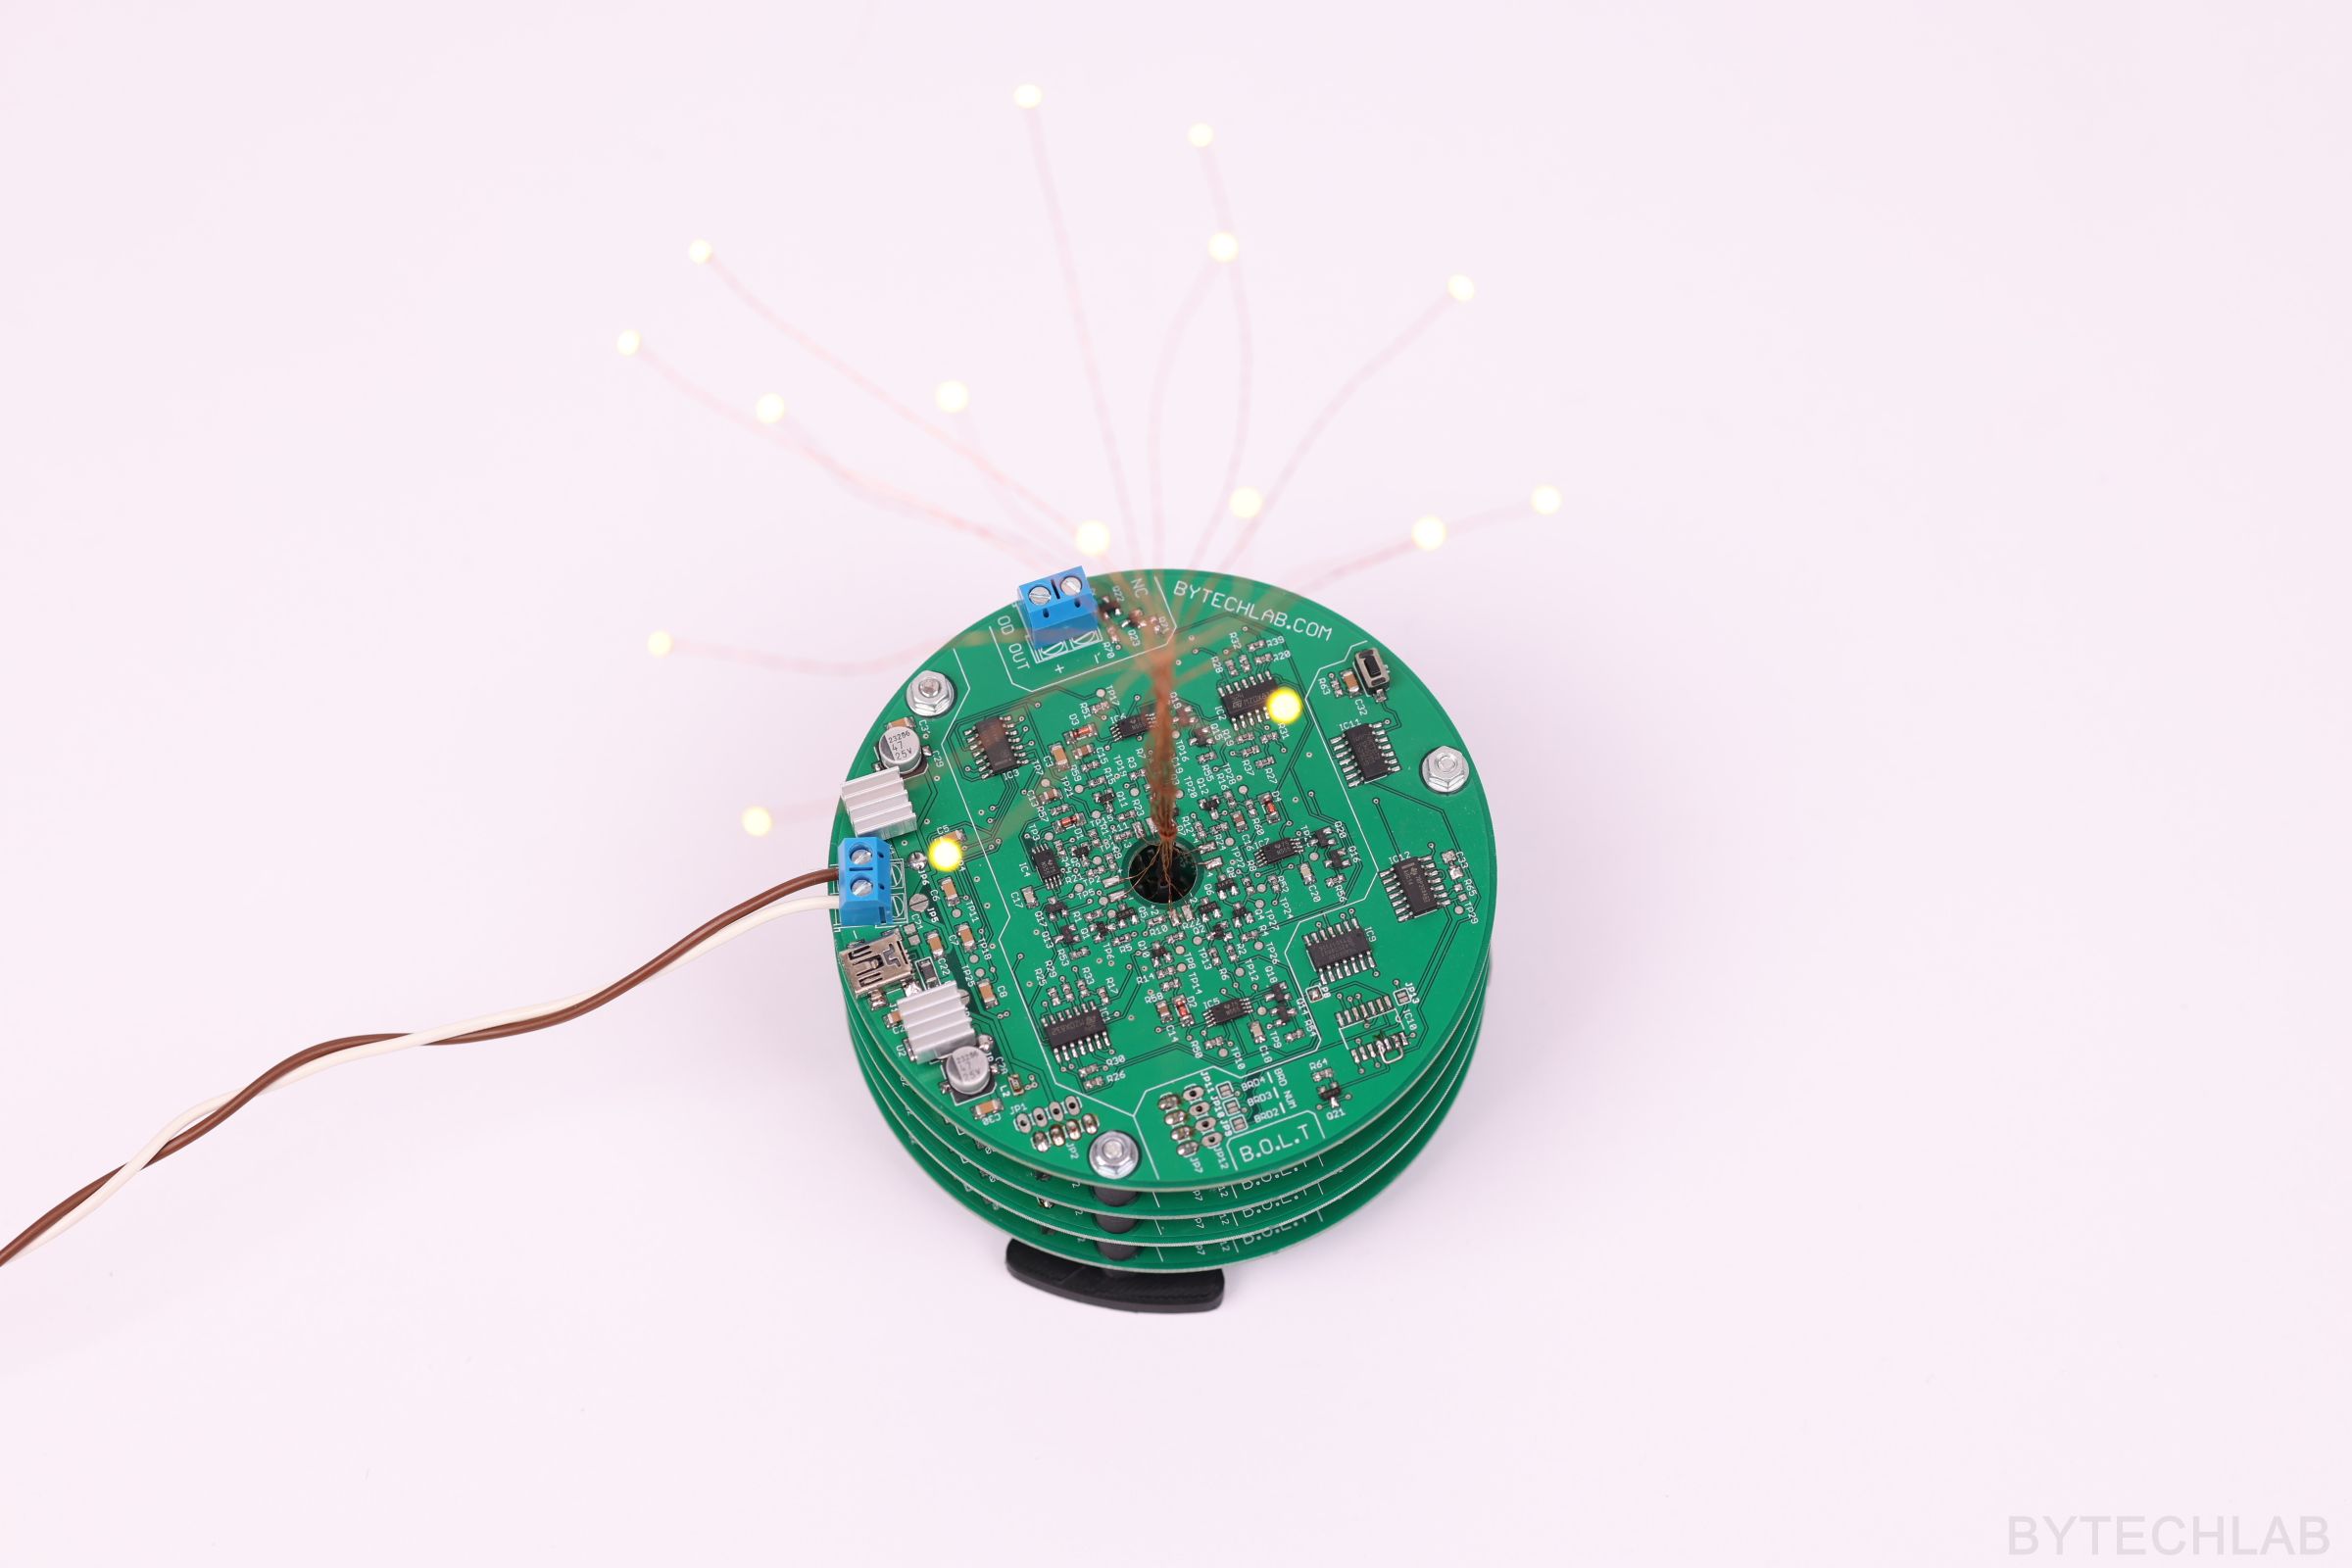
As described above if you blow out all LED,s before they light up again, the PCB’s will start glowing red indicating that you were fast enough. You can see these red LEDs on the photo below:
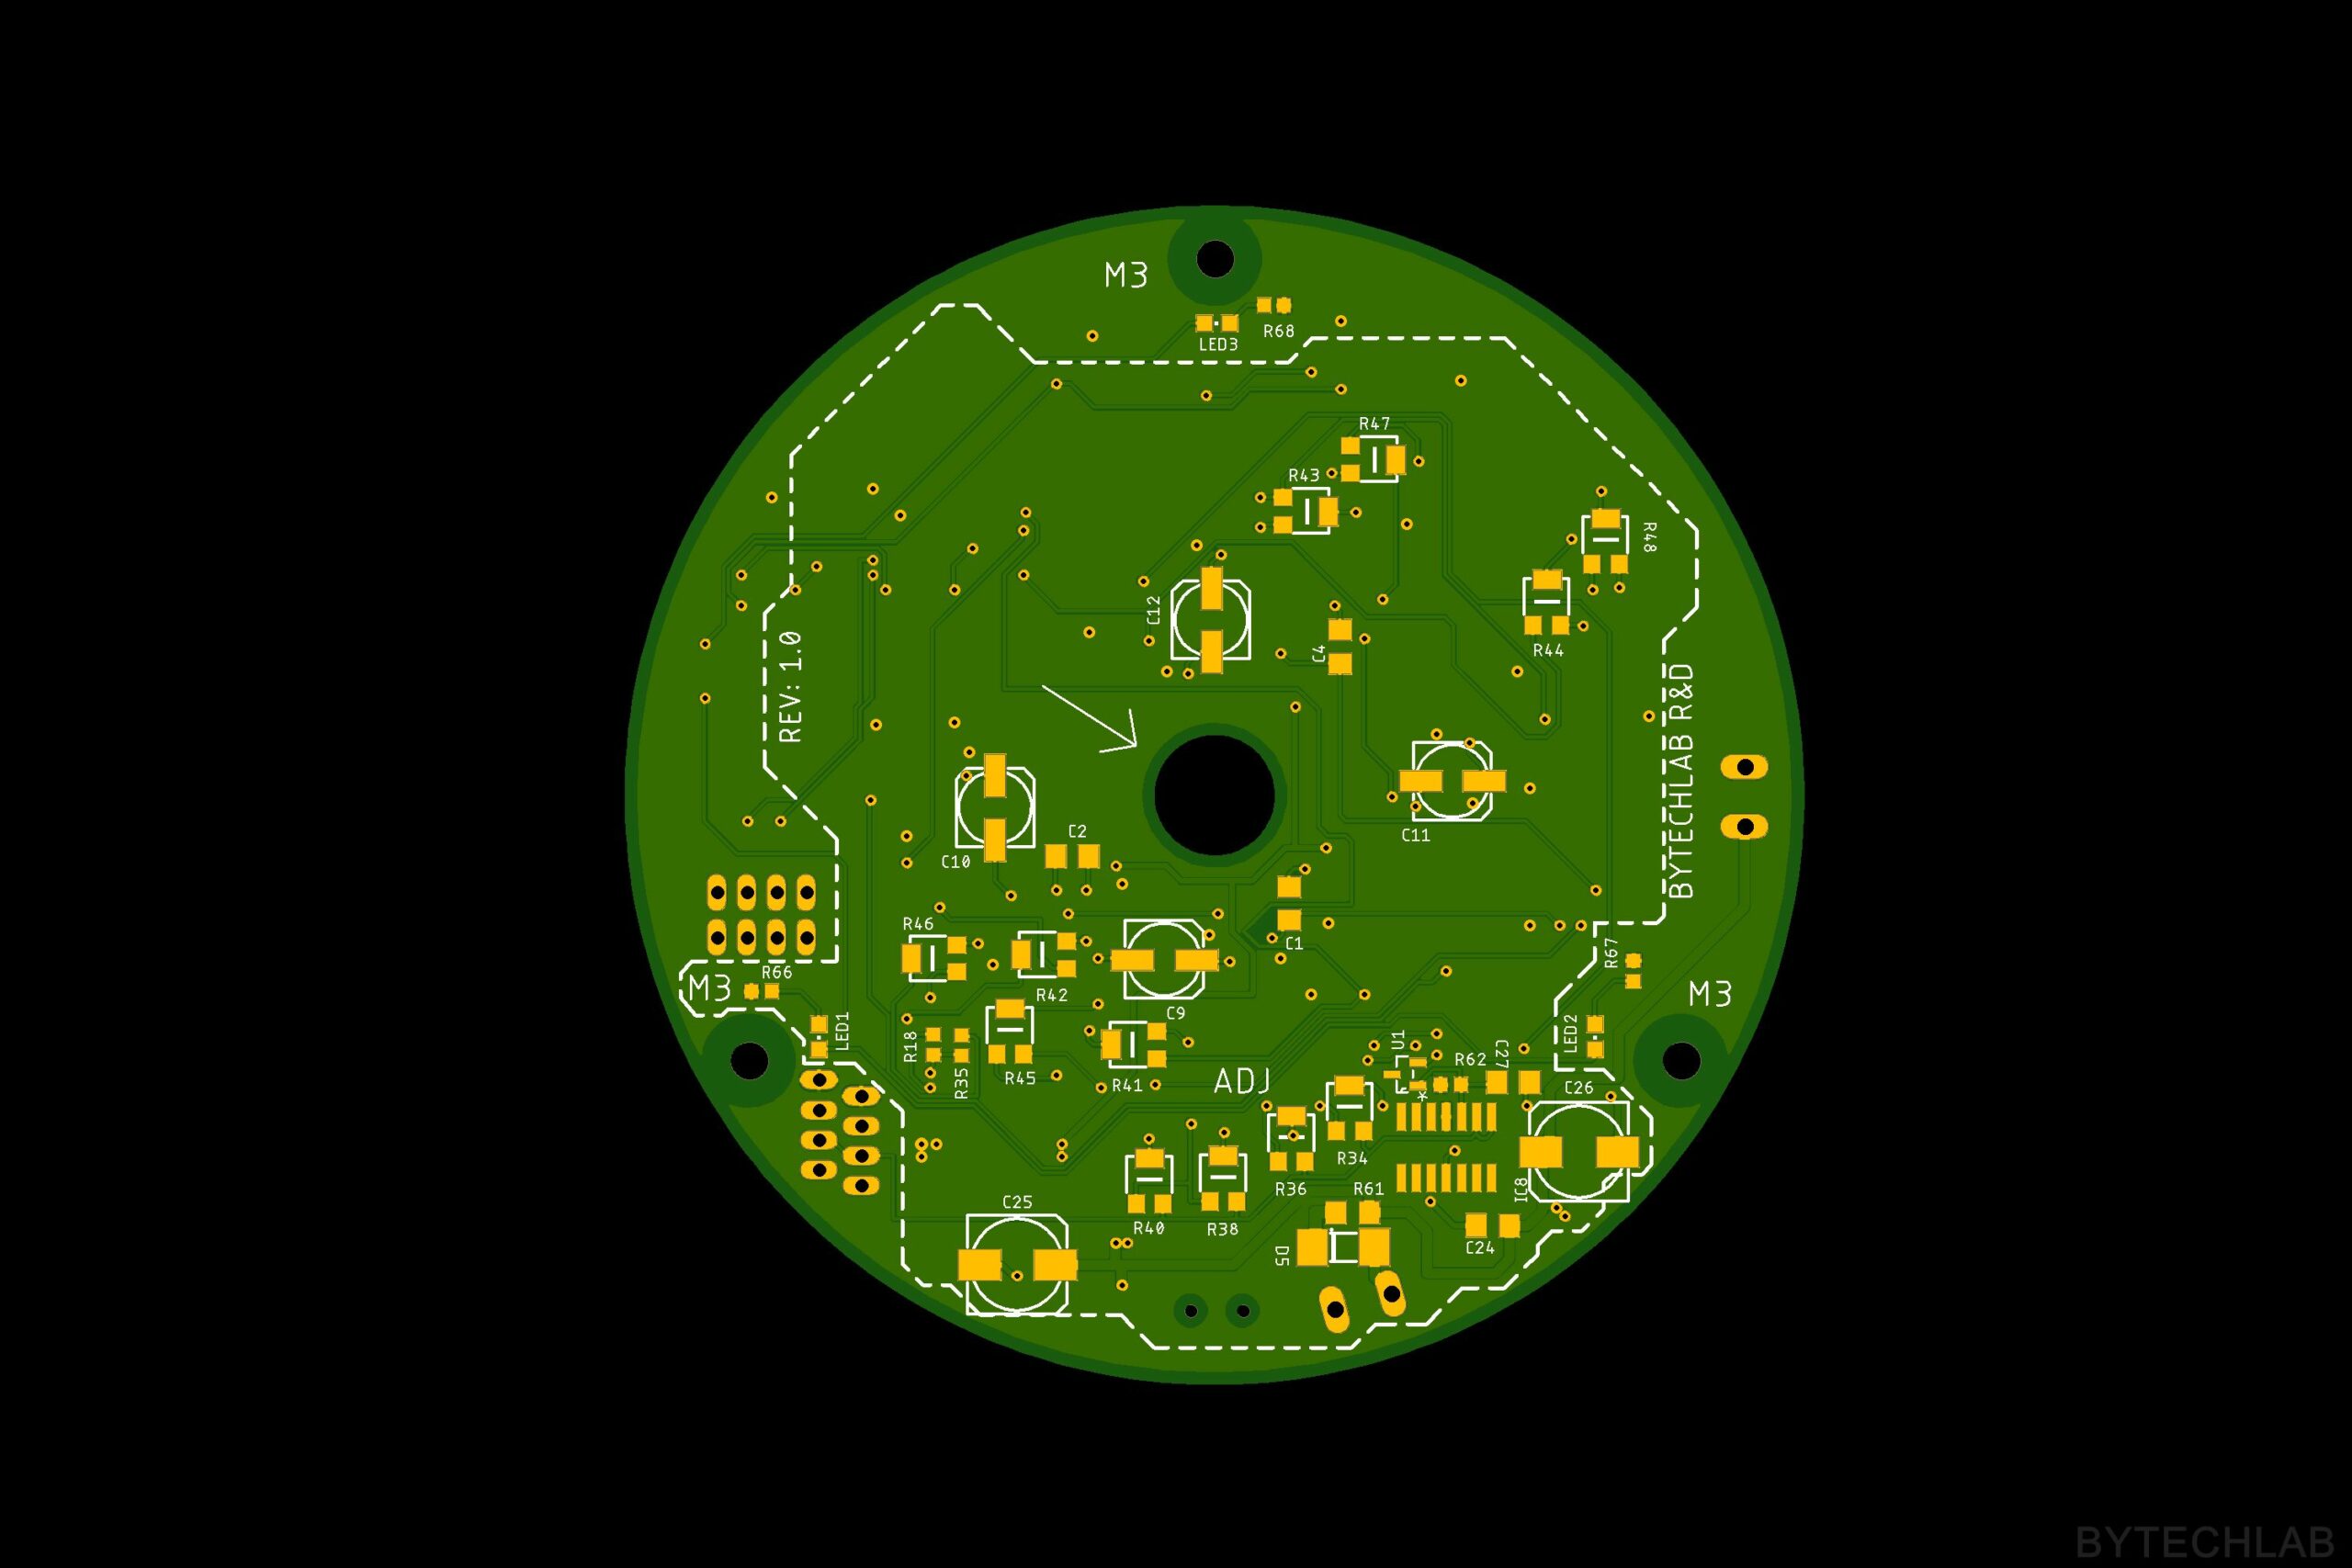
PCB DESIGN
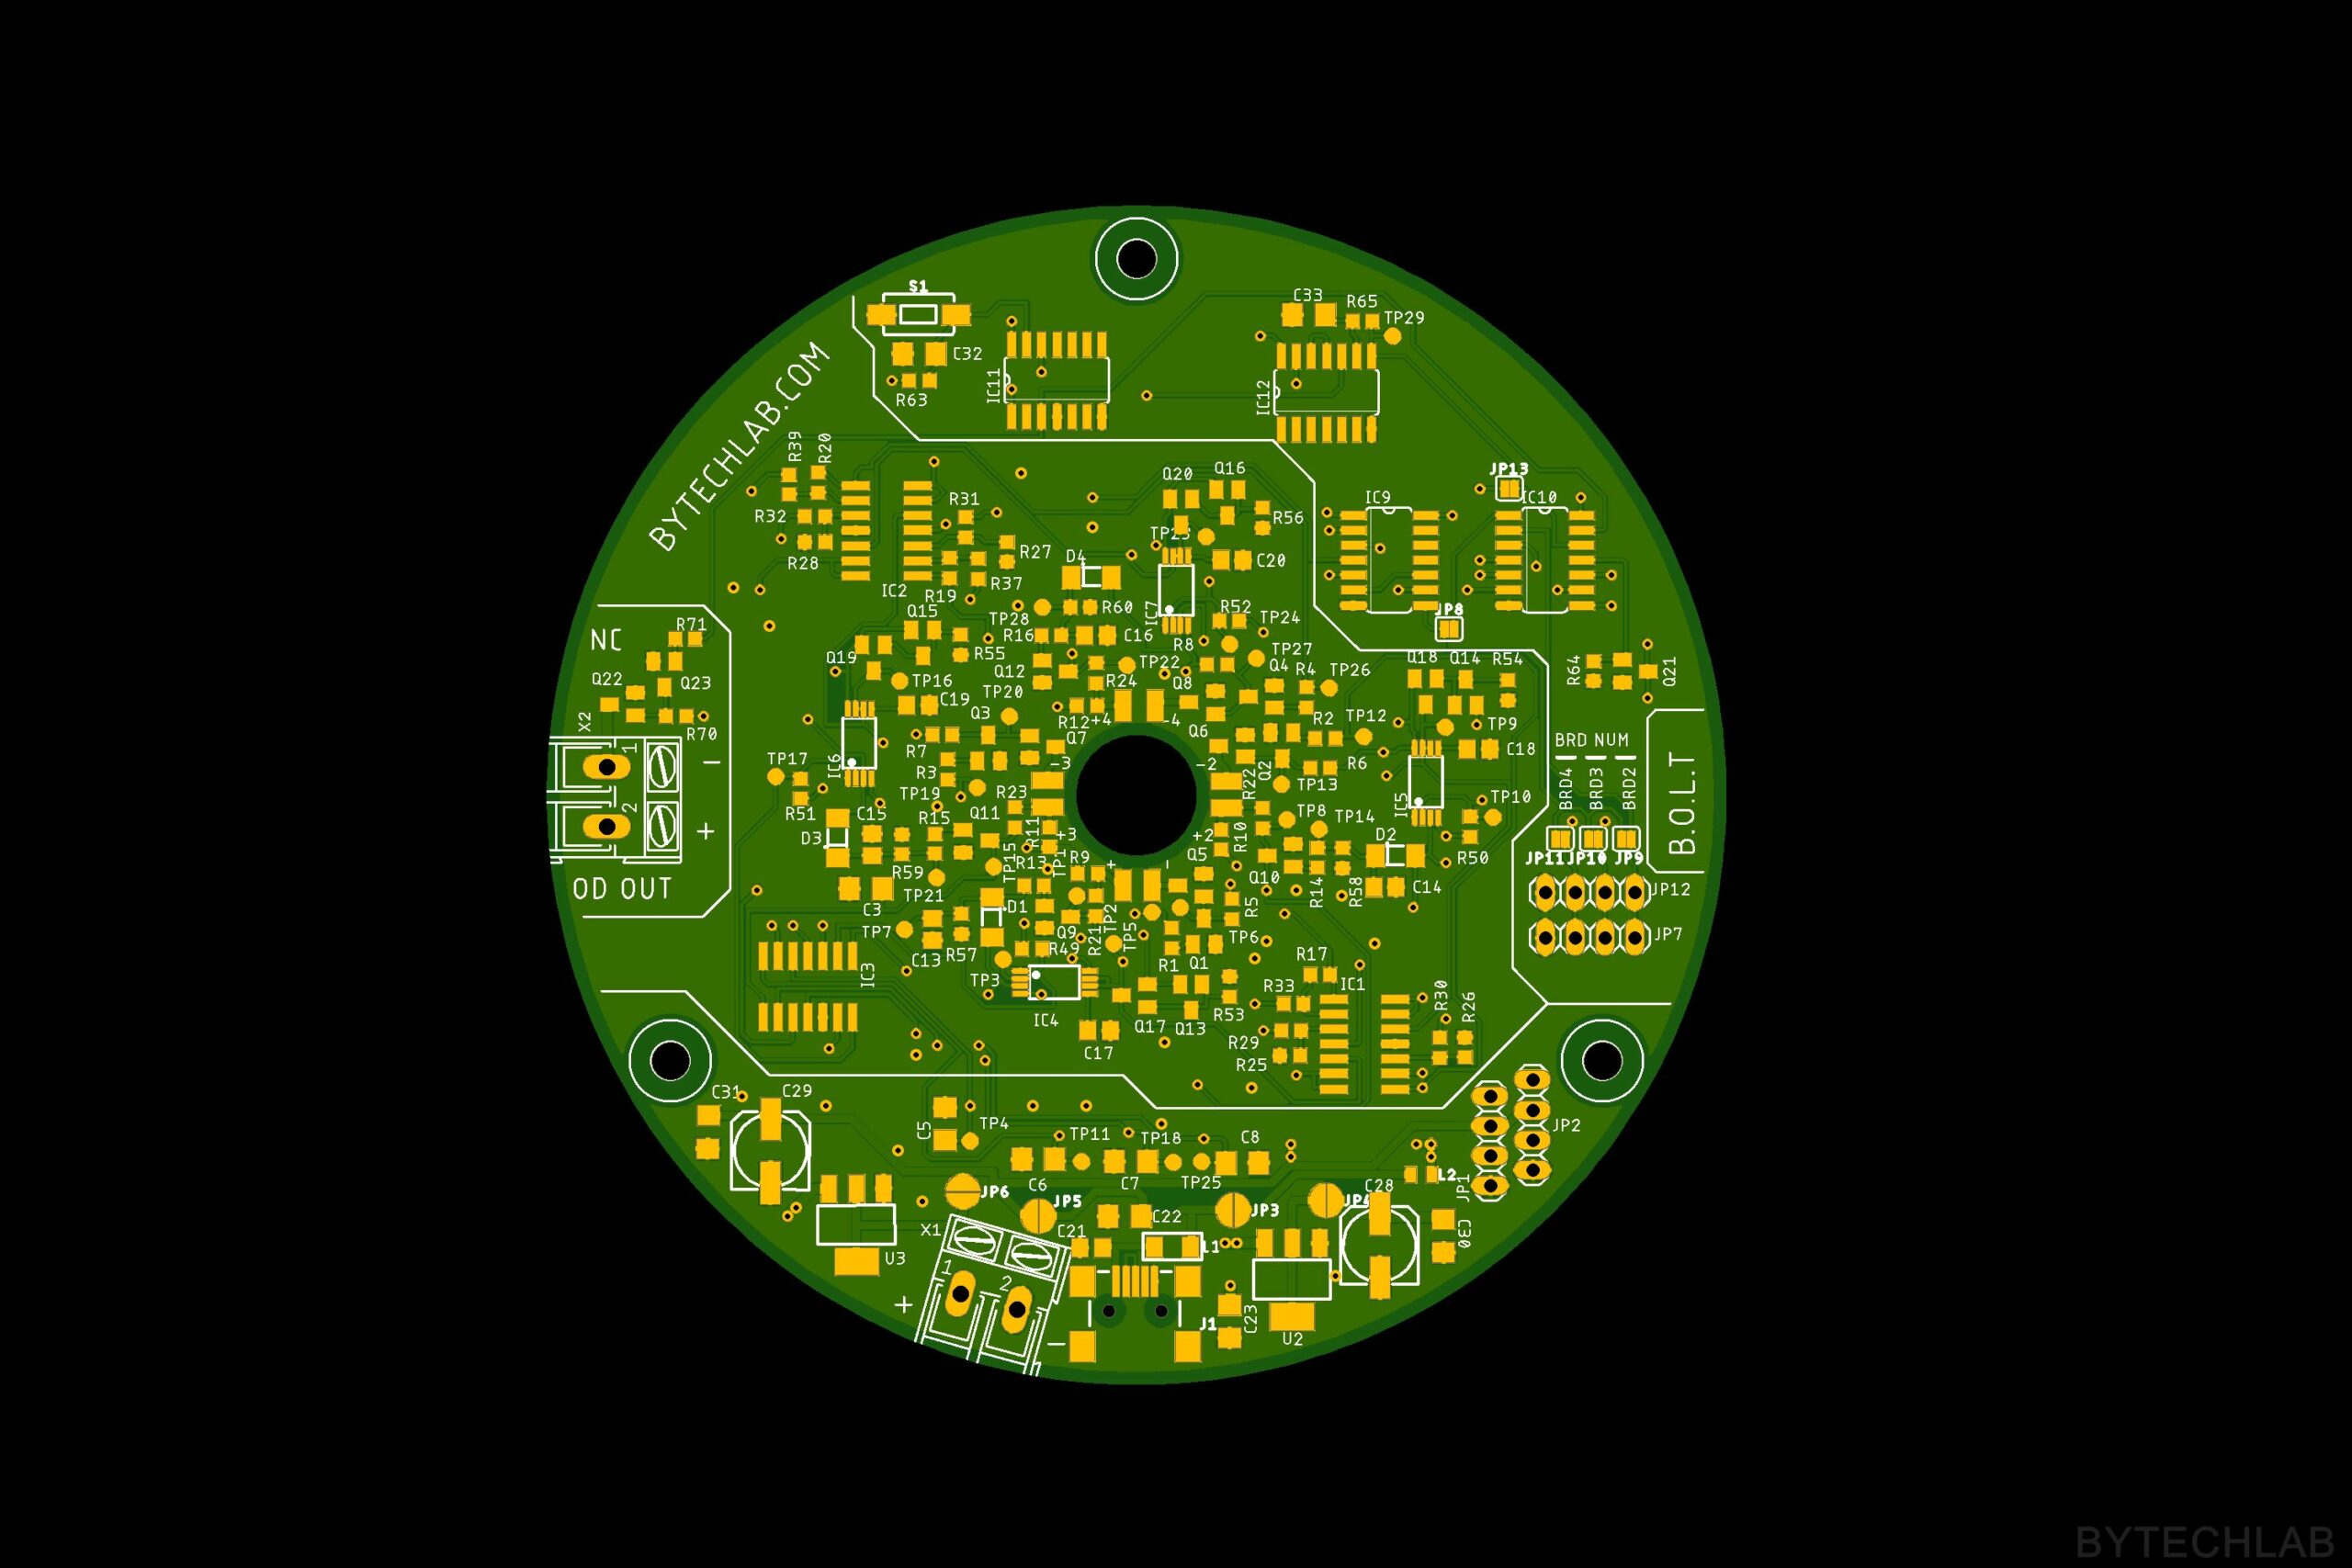
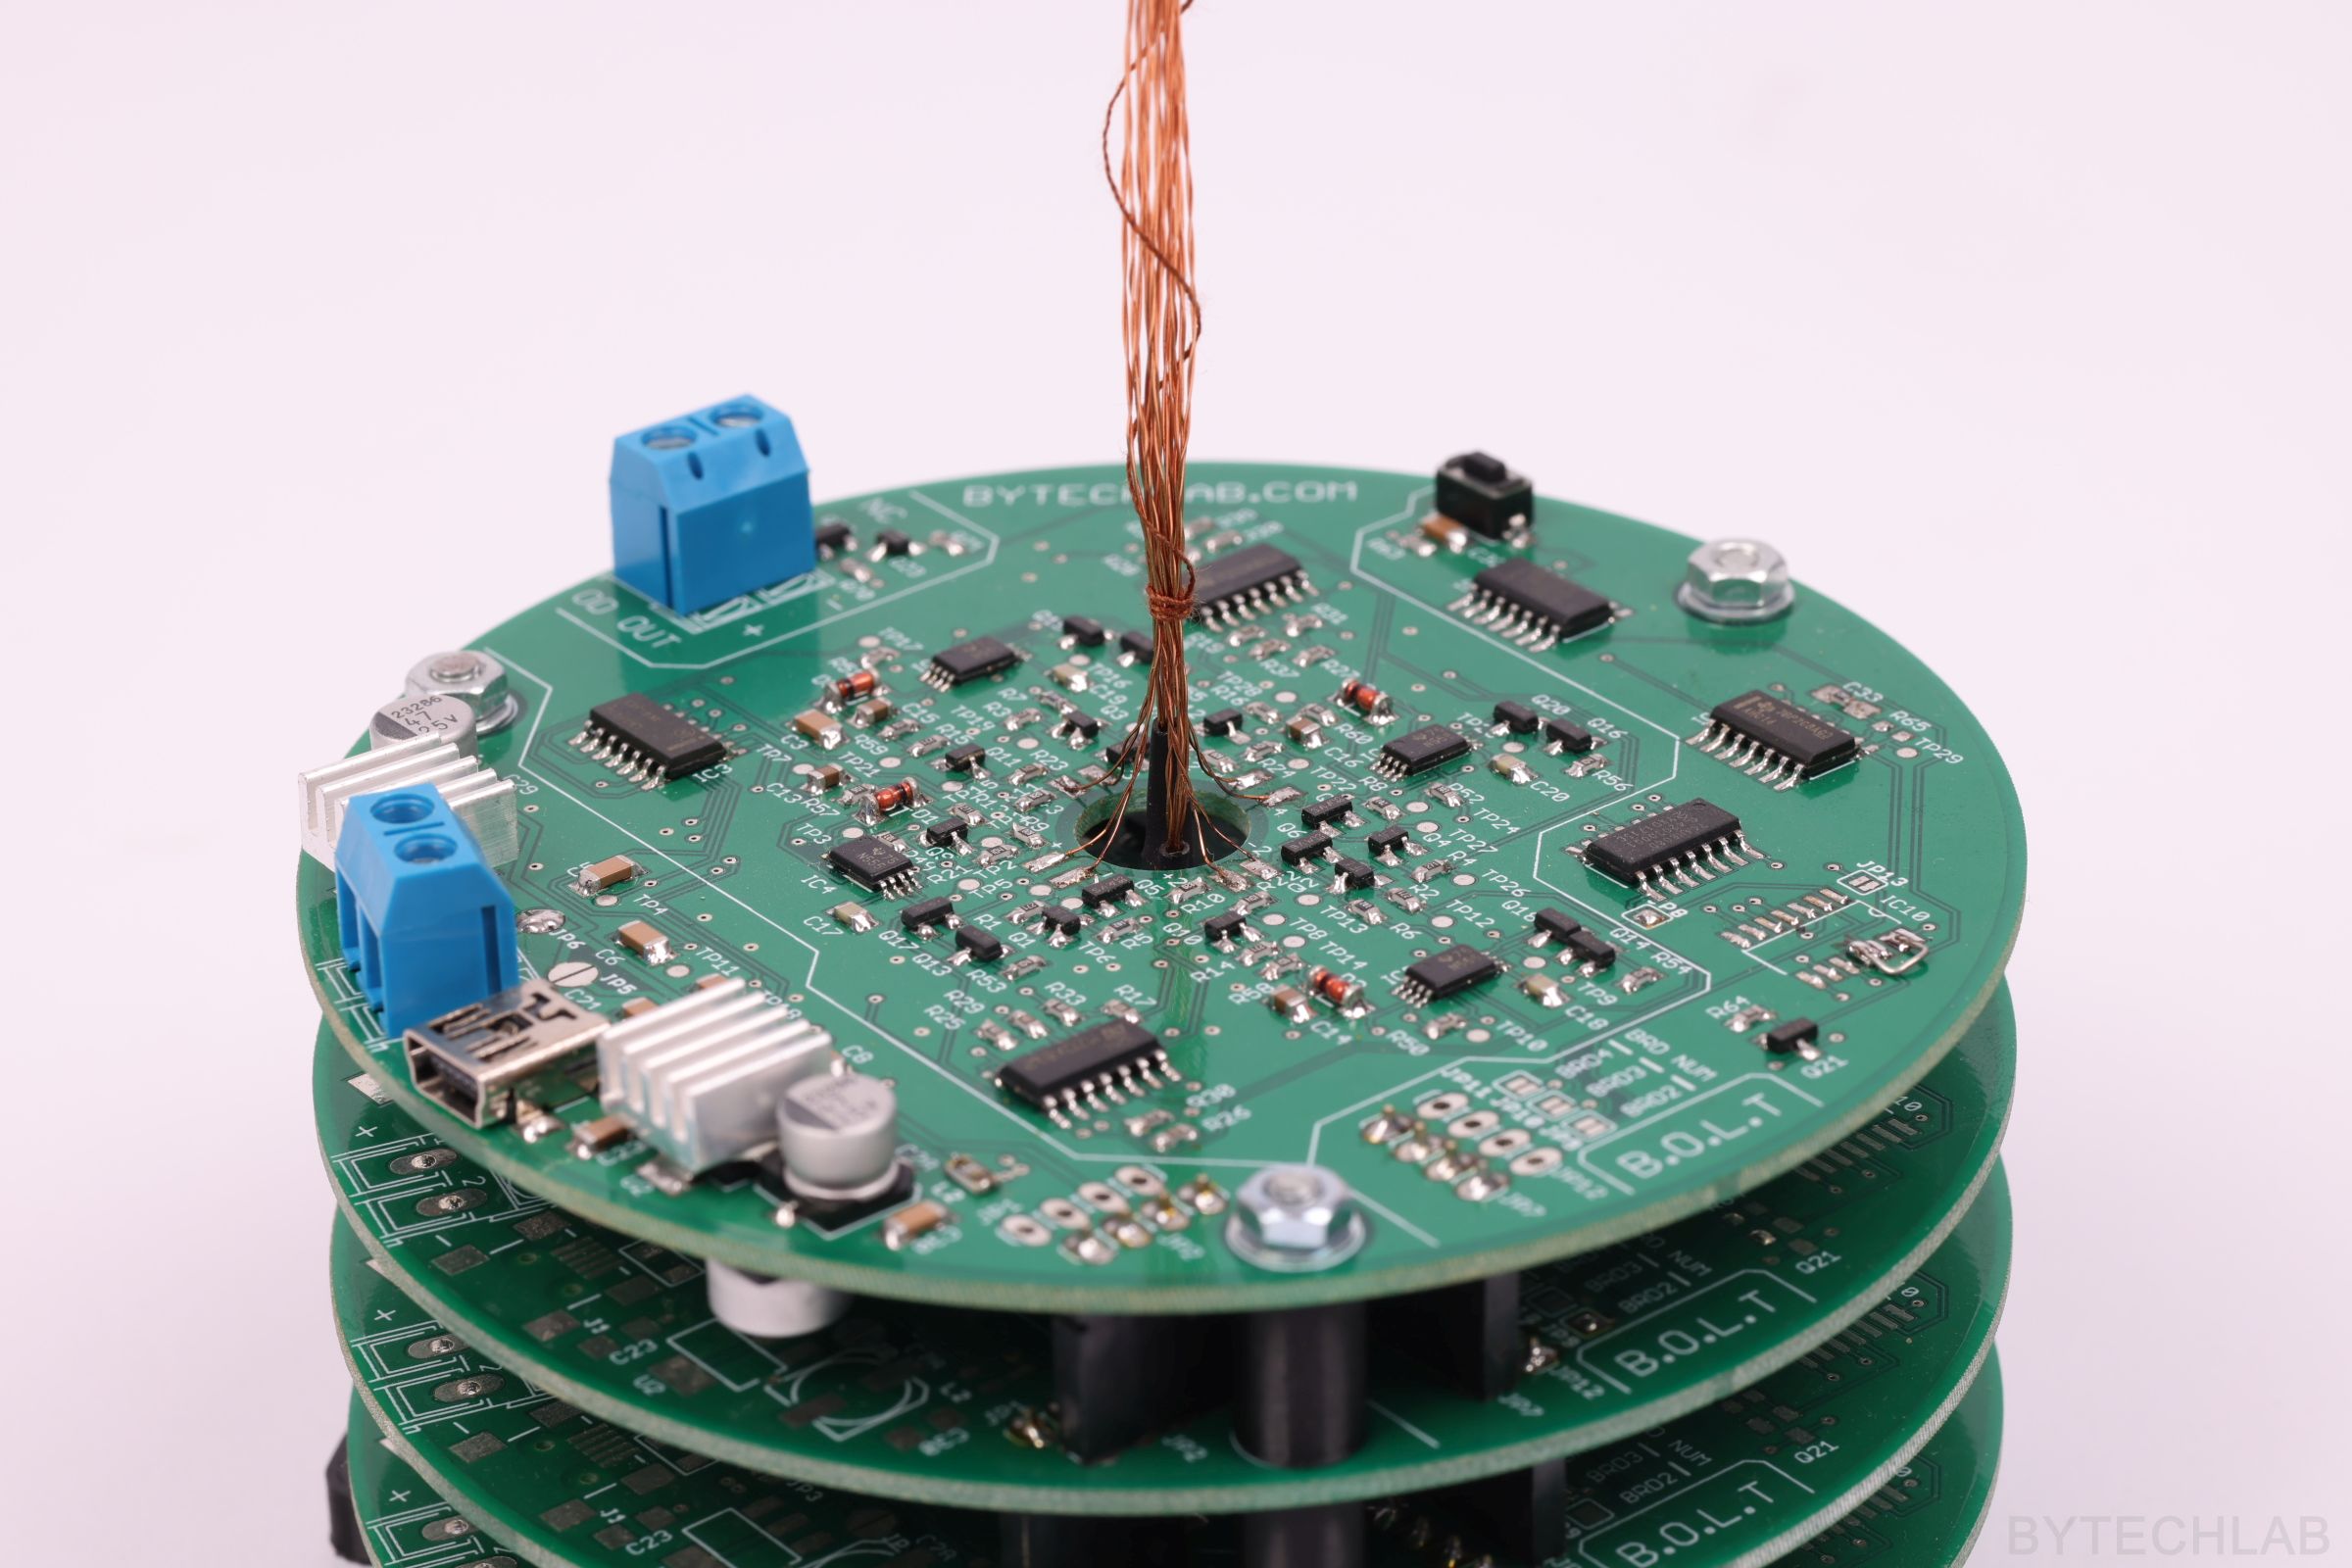
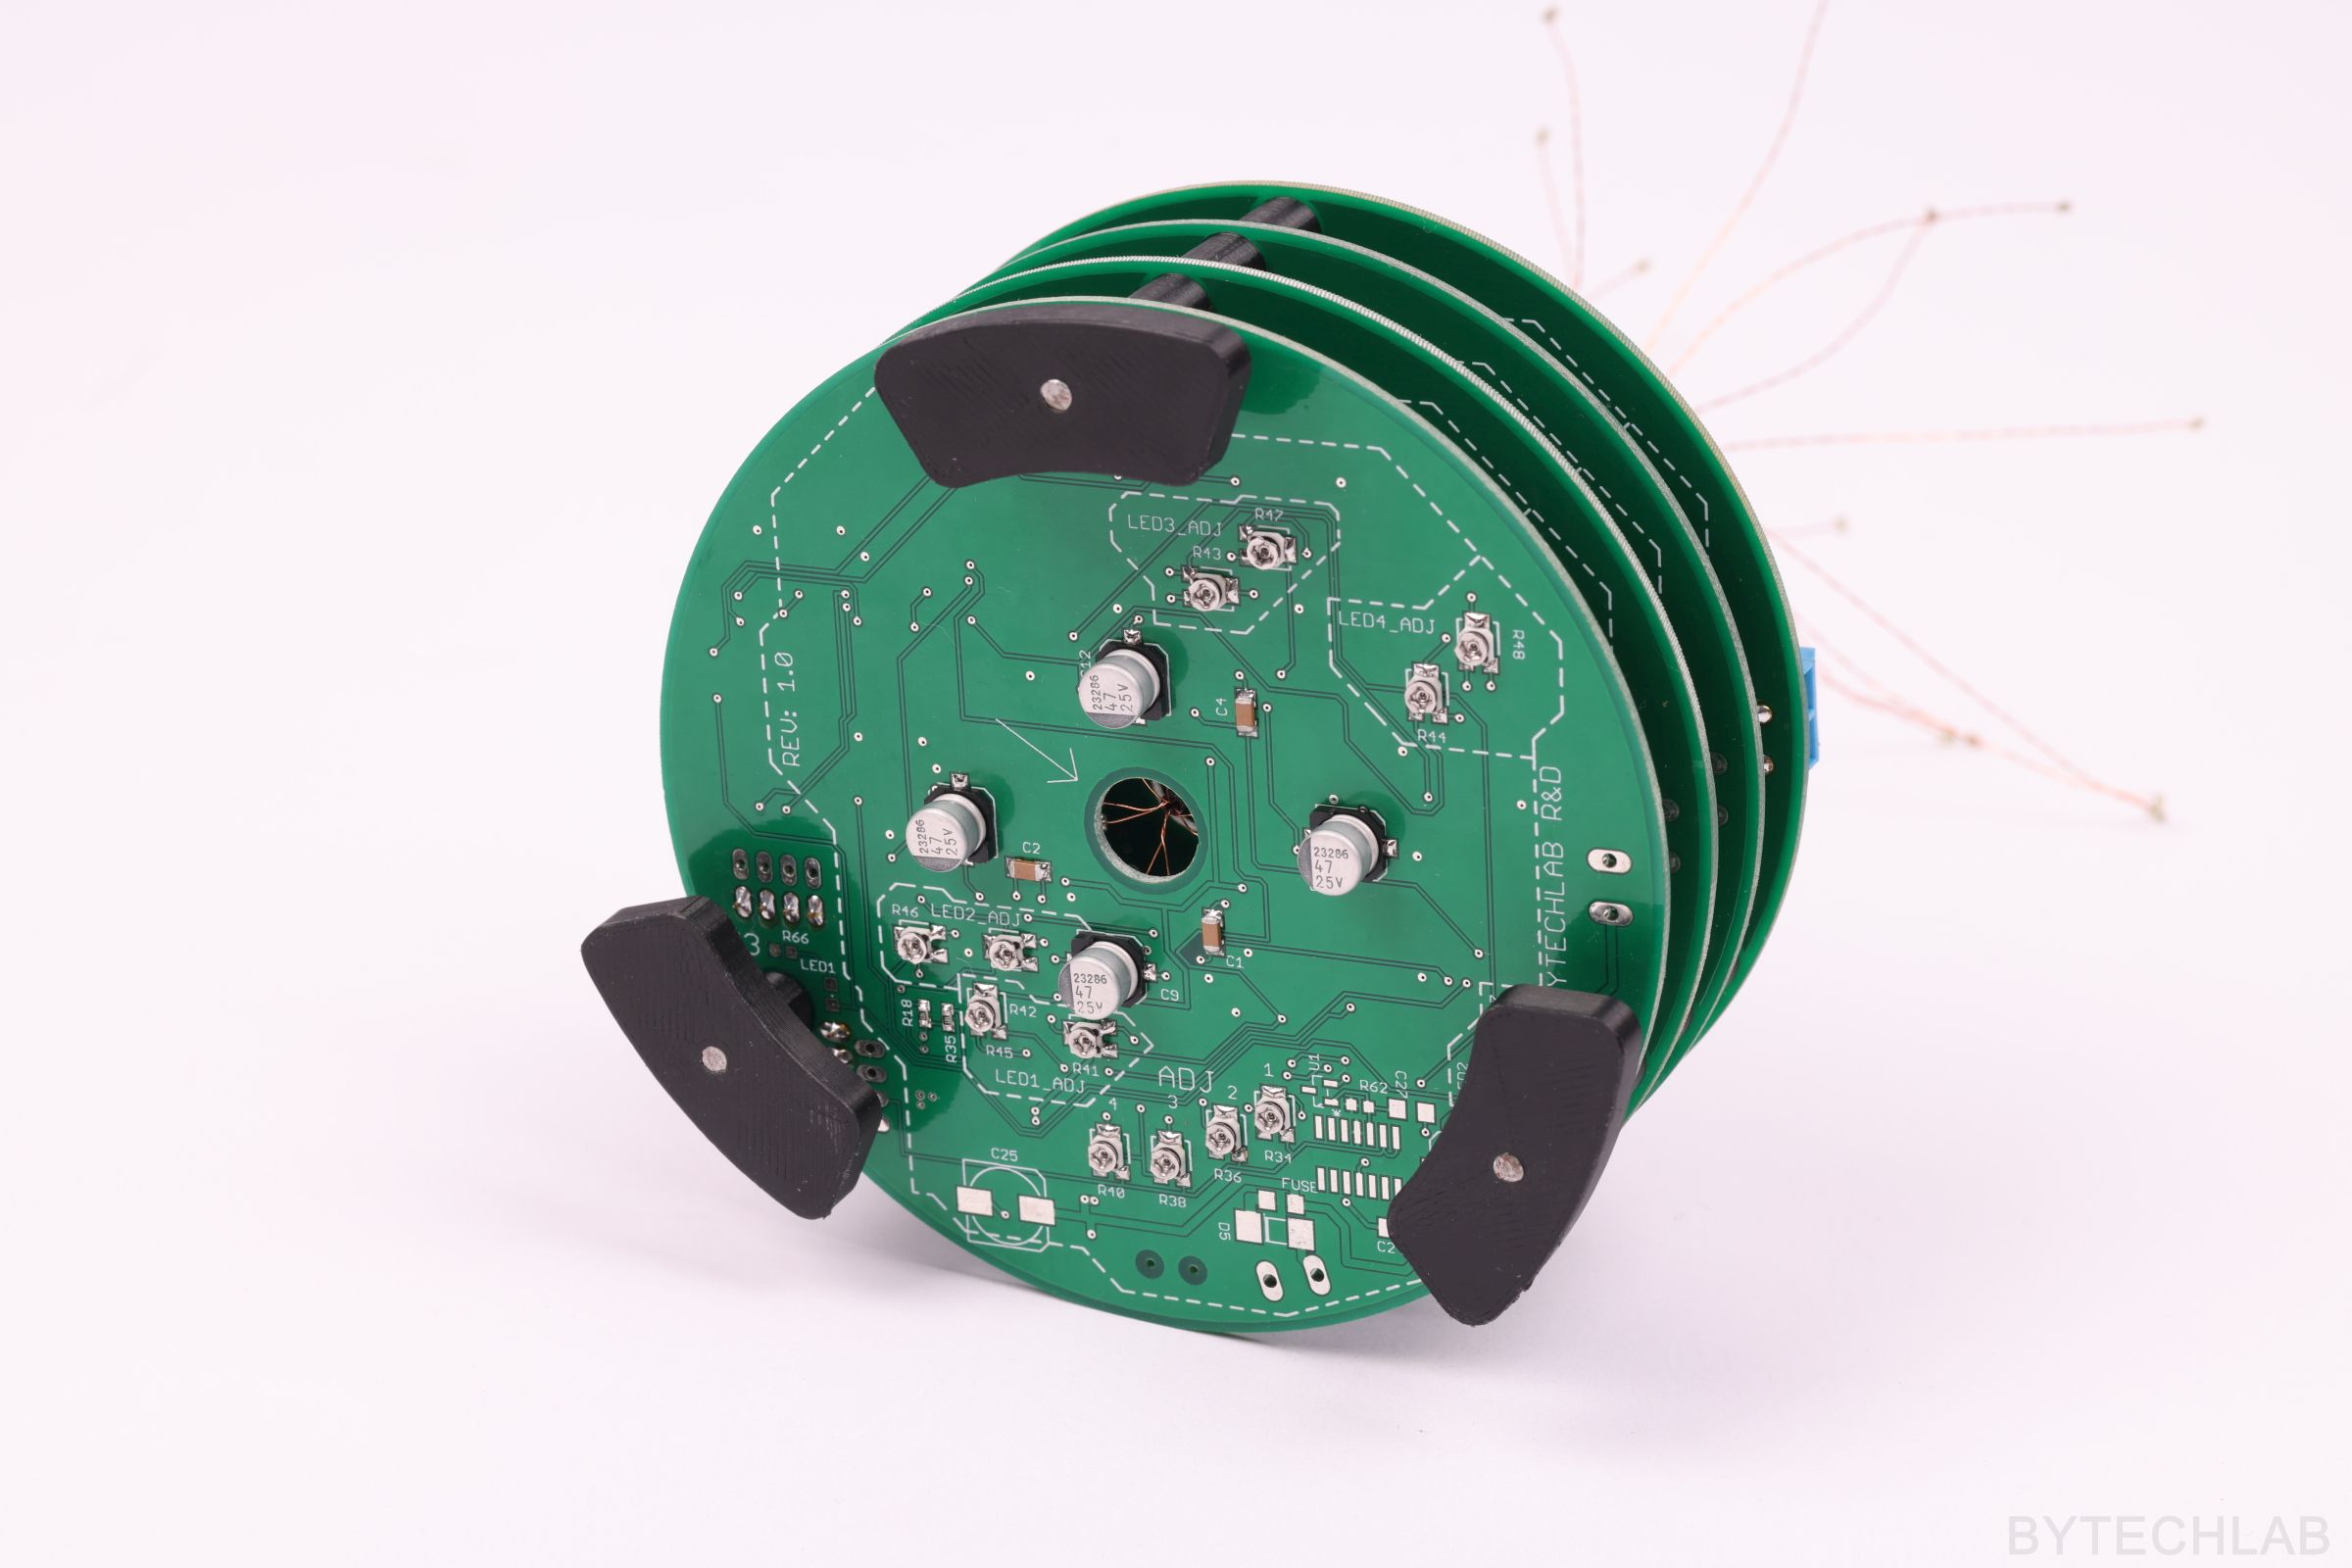
The whole PCB was designed in Autodesk Fusion (Eagle) software. It took me about one or two days to draw the schematic and design the PCB itself . I’m quite happy with this layout, all small components are tightly packed on the PCB.
The PCB doesn’t have to handle high current,voltages or frequencies, so I didn’t have to care about: copper thickness ,traces width and their shape, substrate type and other stuff like that.
The PCB has a diameter of 100 mm (max. size before manufacturing price starts to grow exponentially).
I’ve ordered 5 of these from PCBway for 5$ + shipping. The overall quality is quite impressive for this price. The only thing I’ve noticed is that the silkscreen is slightly offset from the pads.
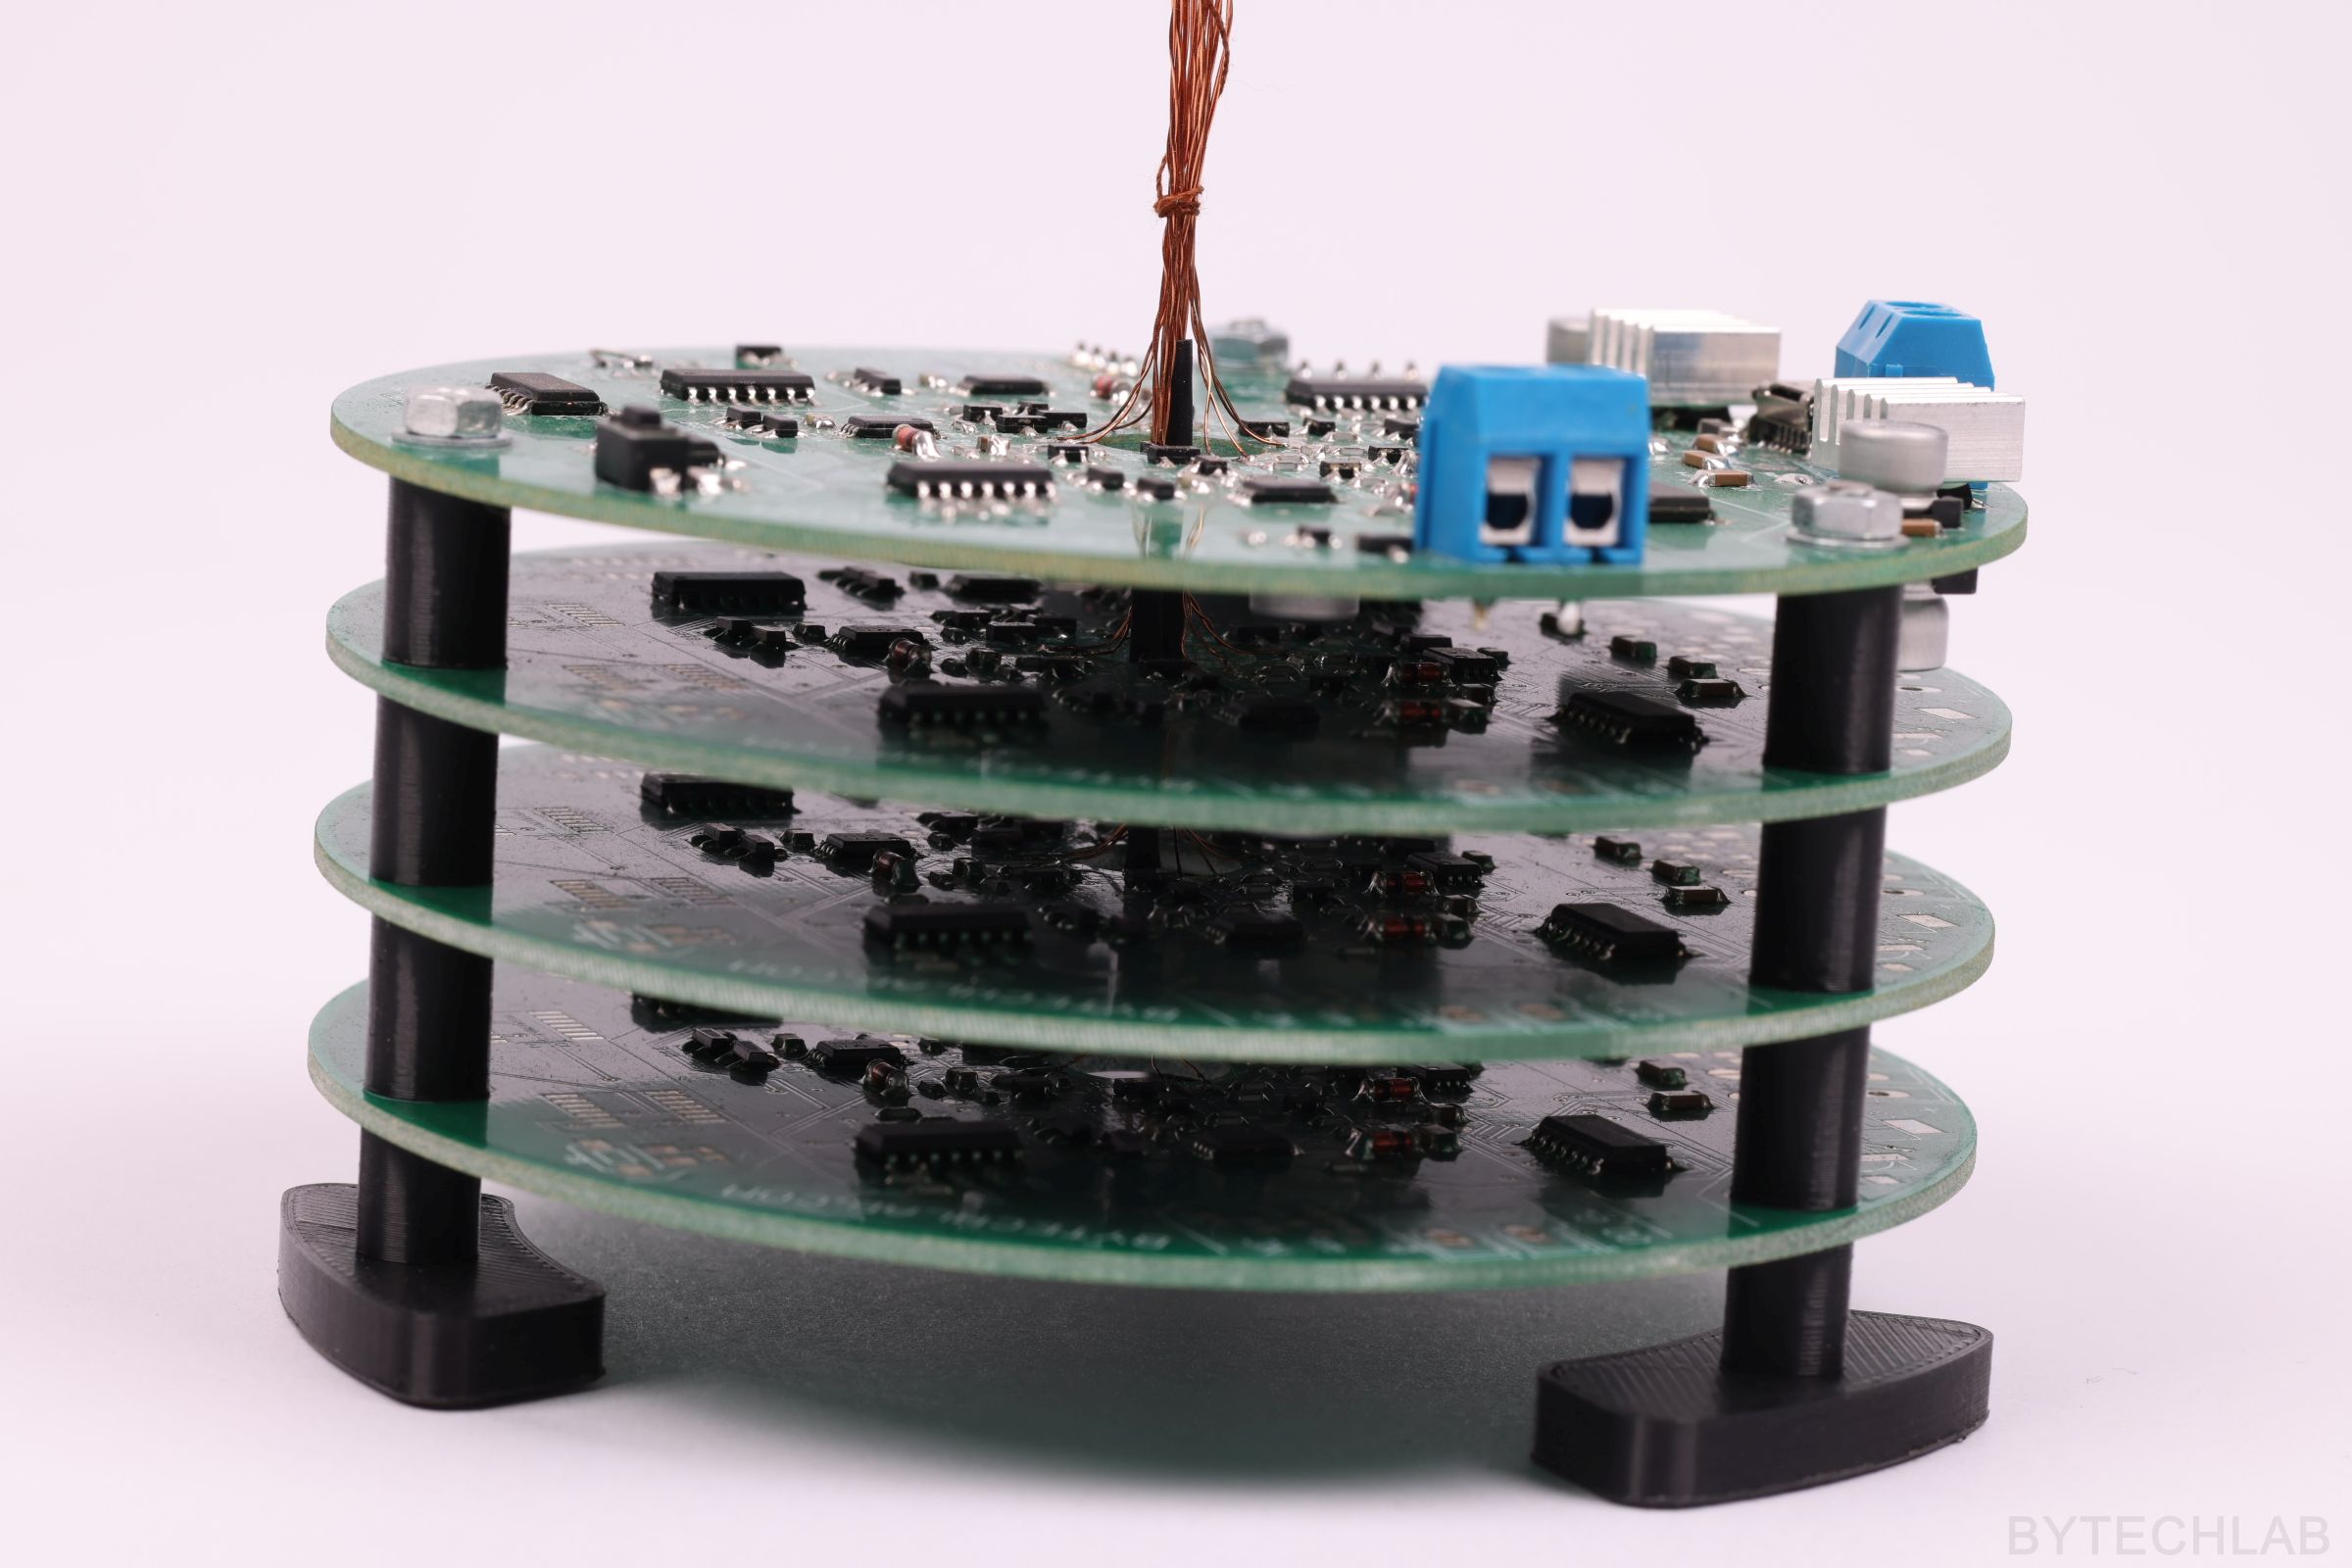
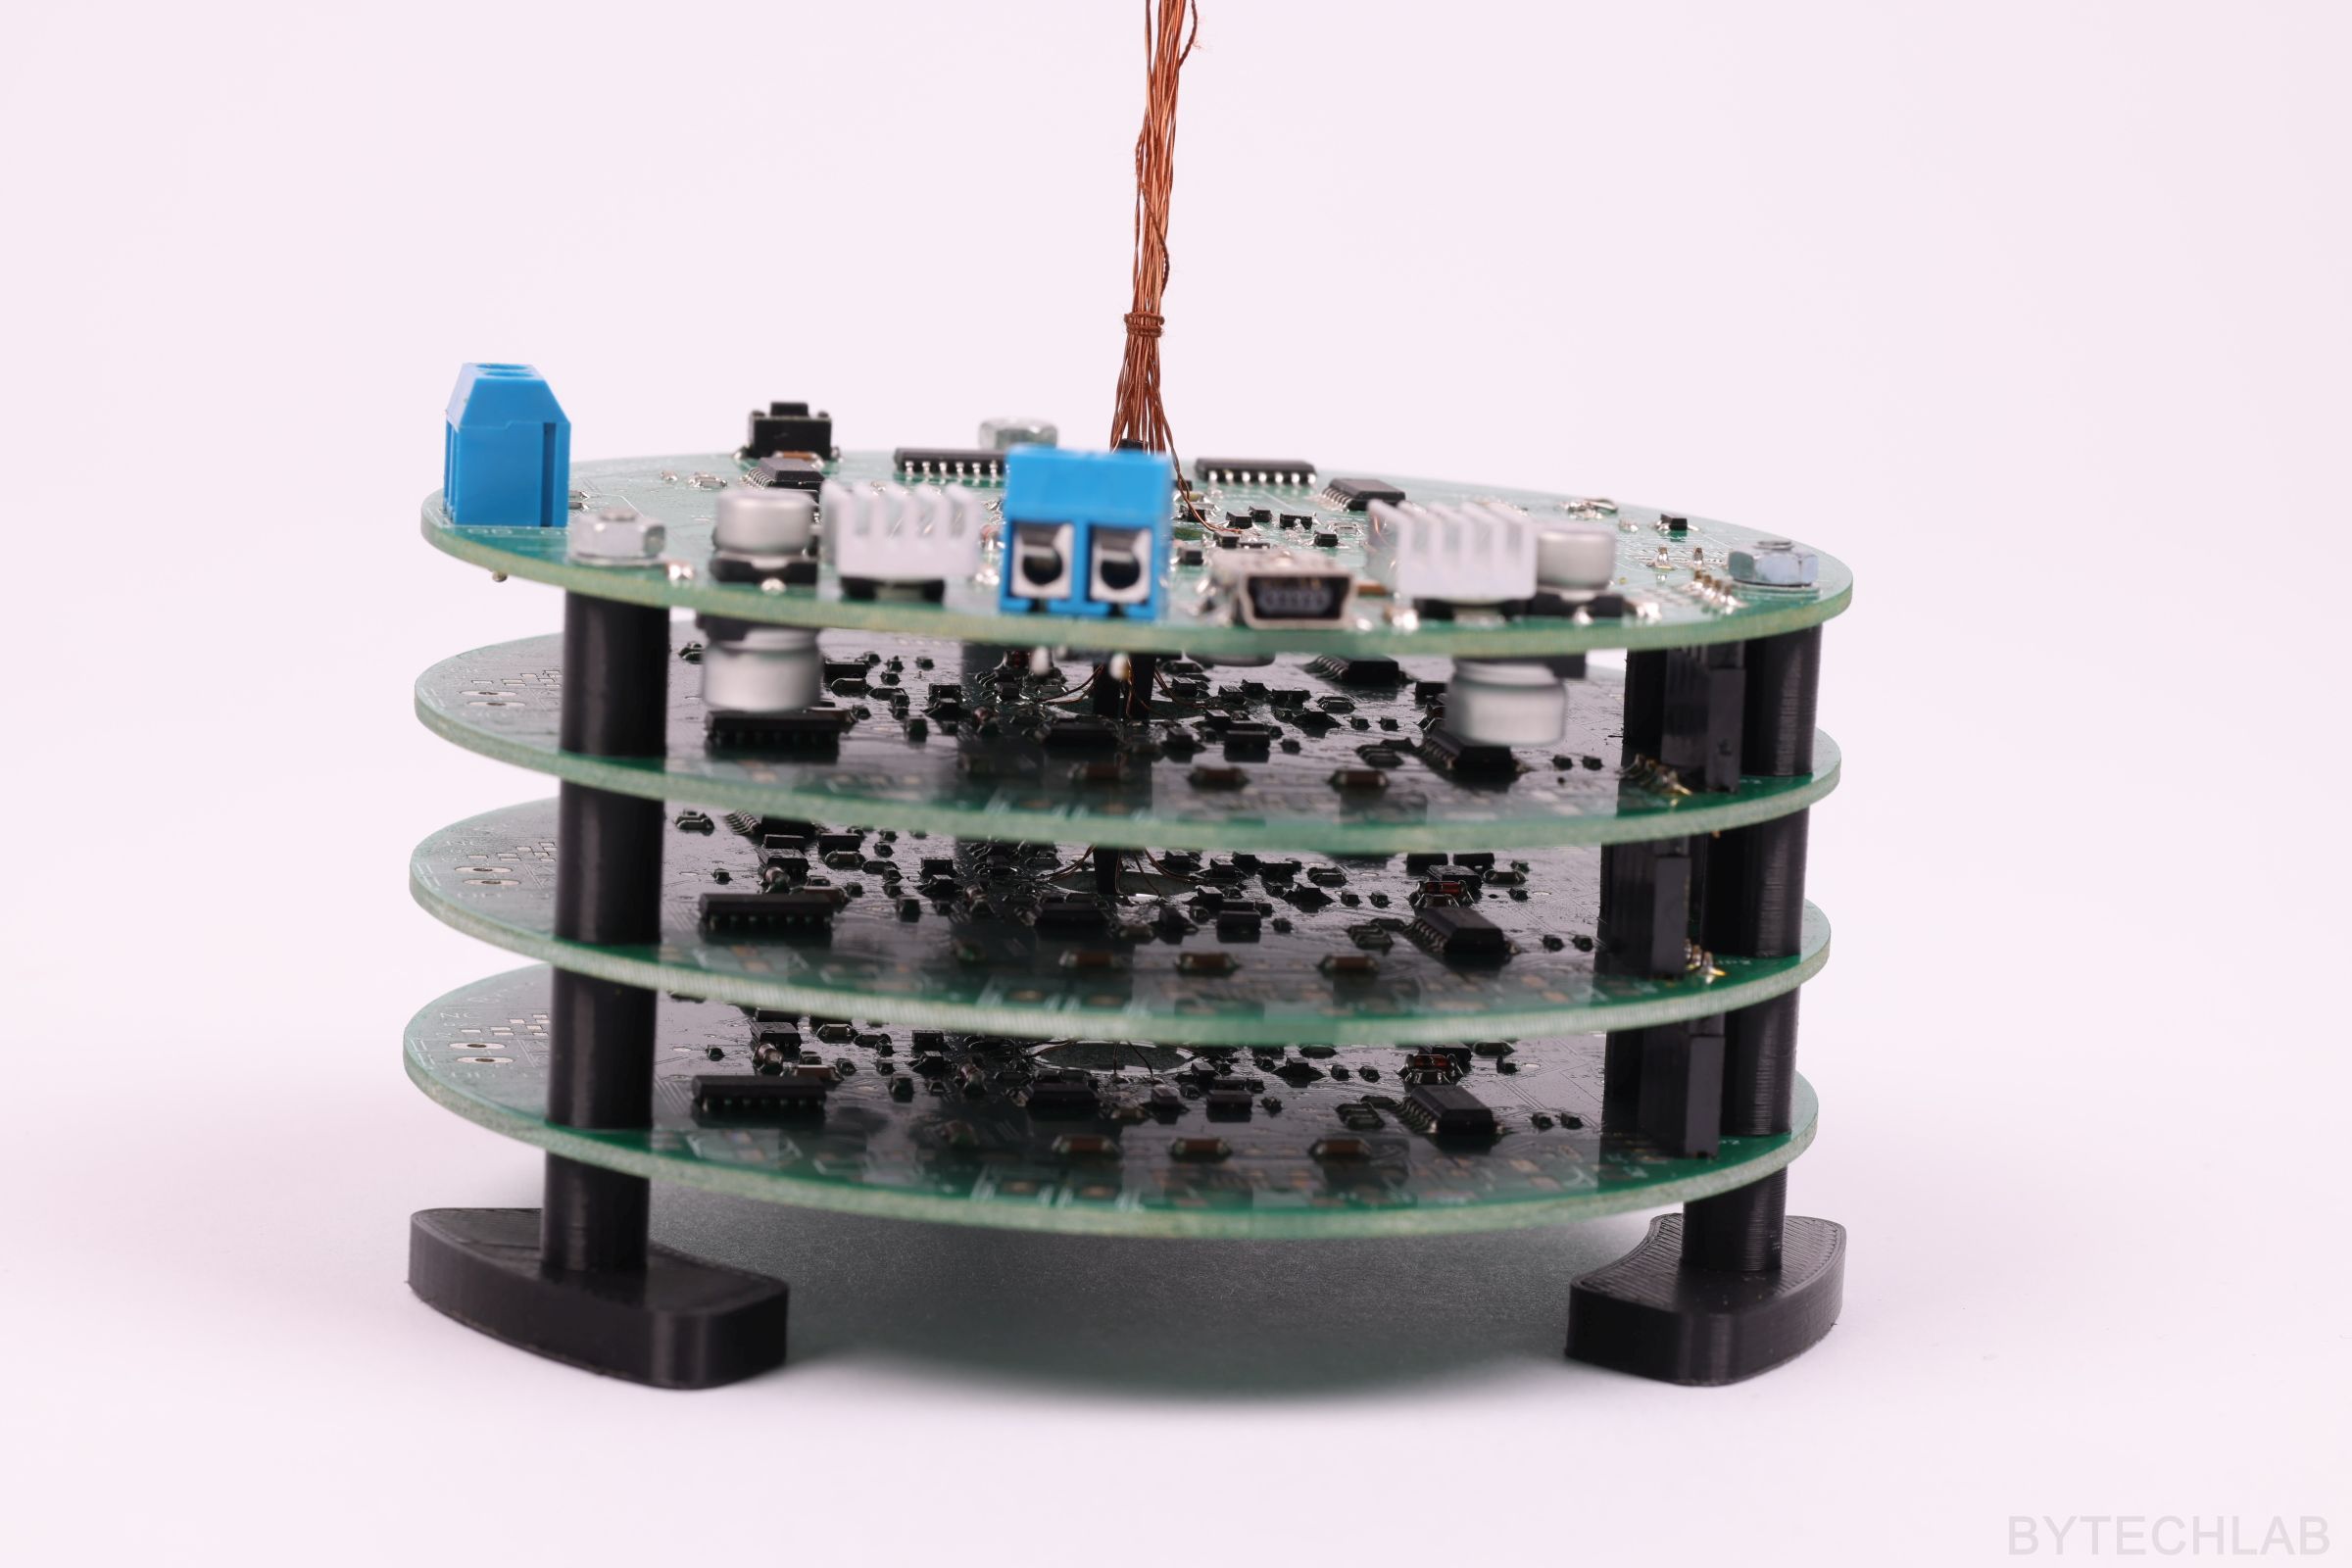
Most of the passive components are in 0603 package. It is a 2 layer 1.6 mm FR4 board.
PCB’s ASSEMBLY, ADJUSTMENTS & TESTING

I’ve soldered all of the components by hand , because of that it took me almost a eternity to solder them all …
After putting everything together I just needed to adjust some potentiometers to make it work. It was a fairly straightforward process , really nothing special.
IR CAMERA MEASUREMENTS
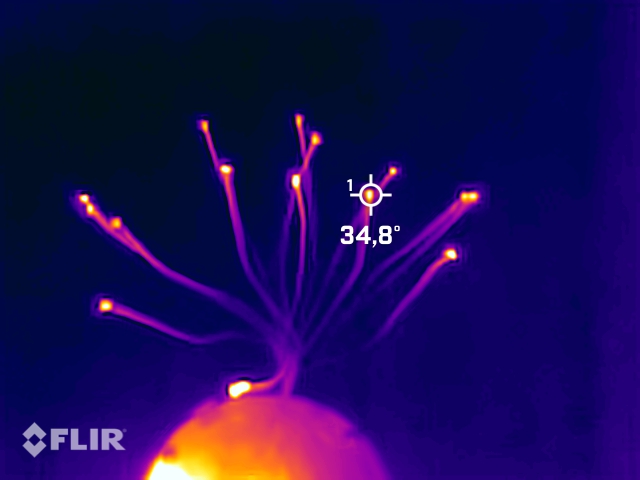
On the IR camera image above you can see how the LEDs heat up in order to sense the air movement. When the LED is being cooled down by the wind the diode forward voltage changes. This effect is used by the analog circuit to switch the LED off. For this circuit to work properly the ambient air temperature must be lower than LEDs temperature.
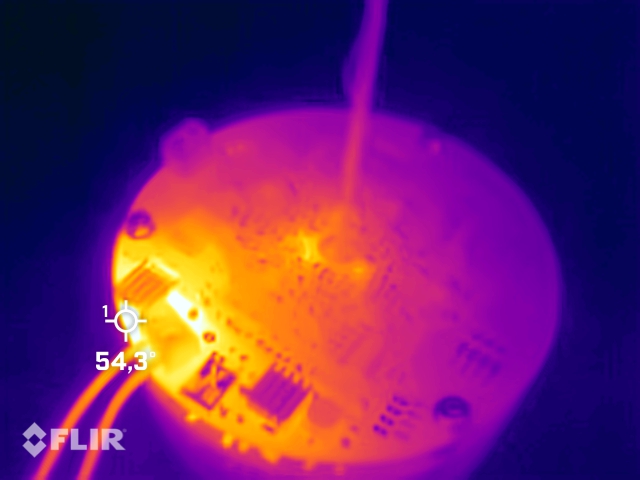

Additionally I have measured the temperature of PSU LDOs, it is reaching about 60 deg. C – not too bad.
3D PRINTING
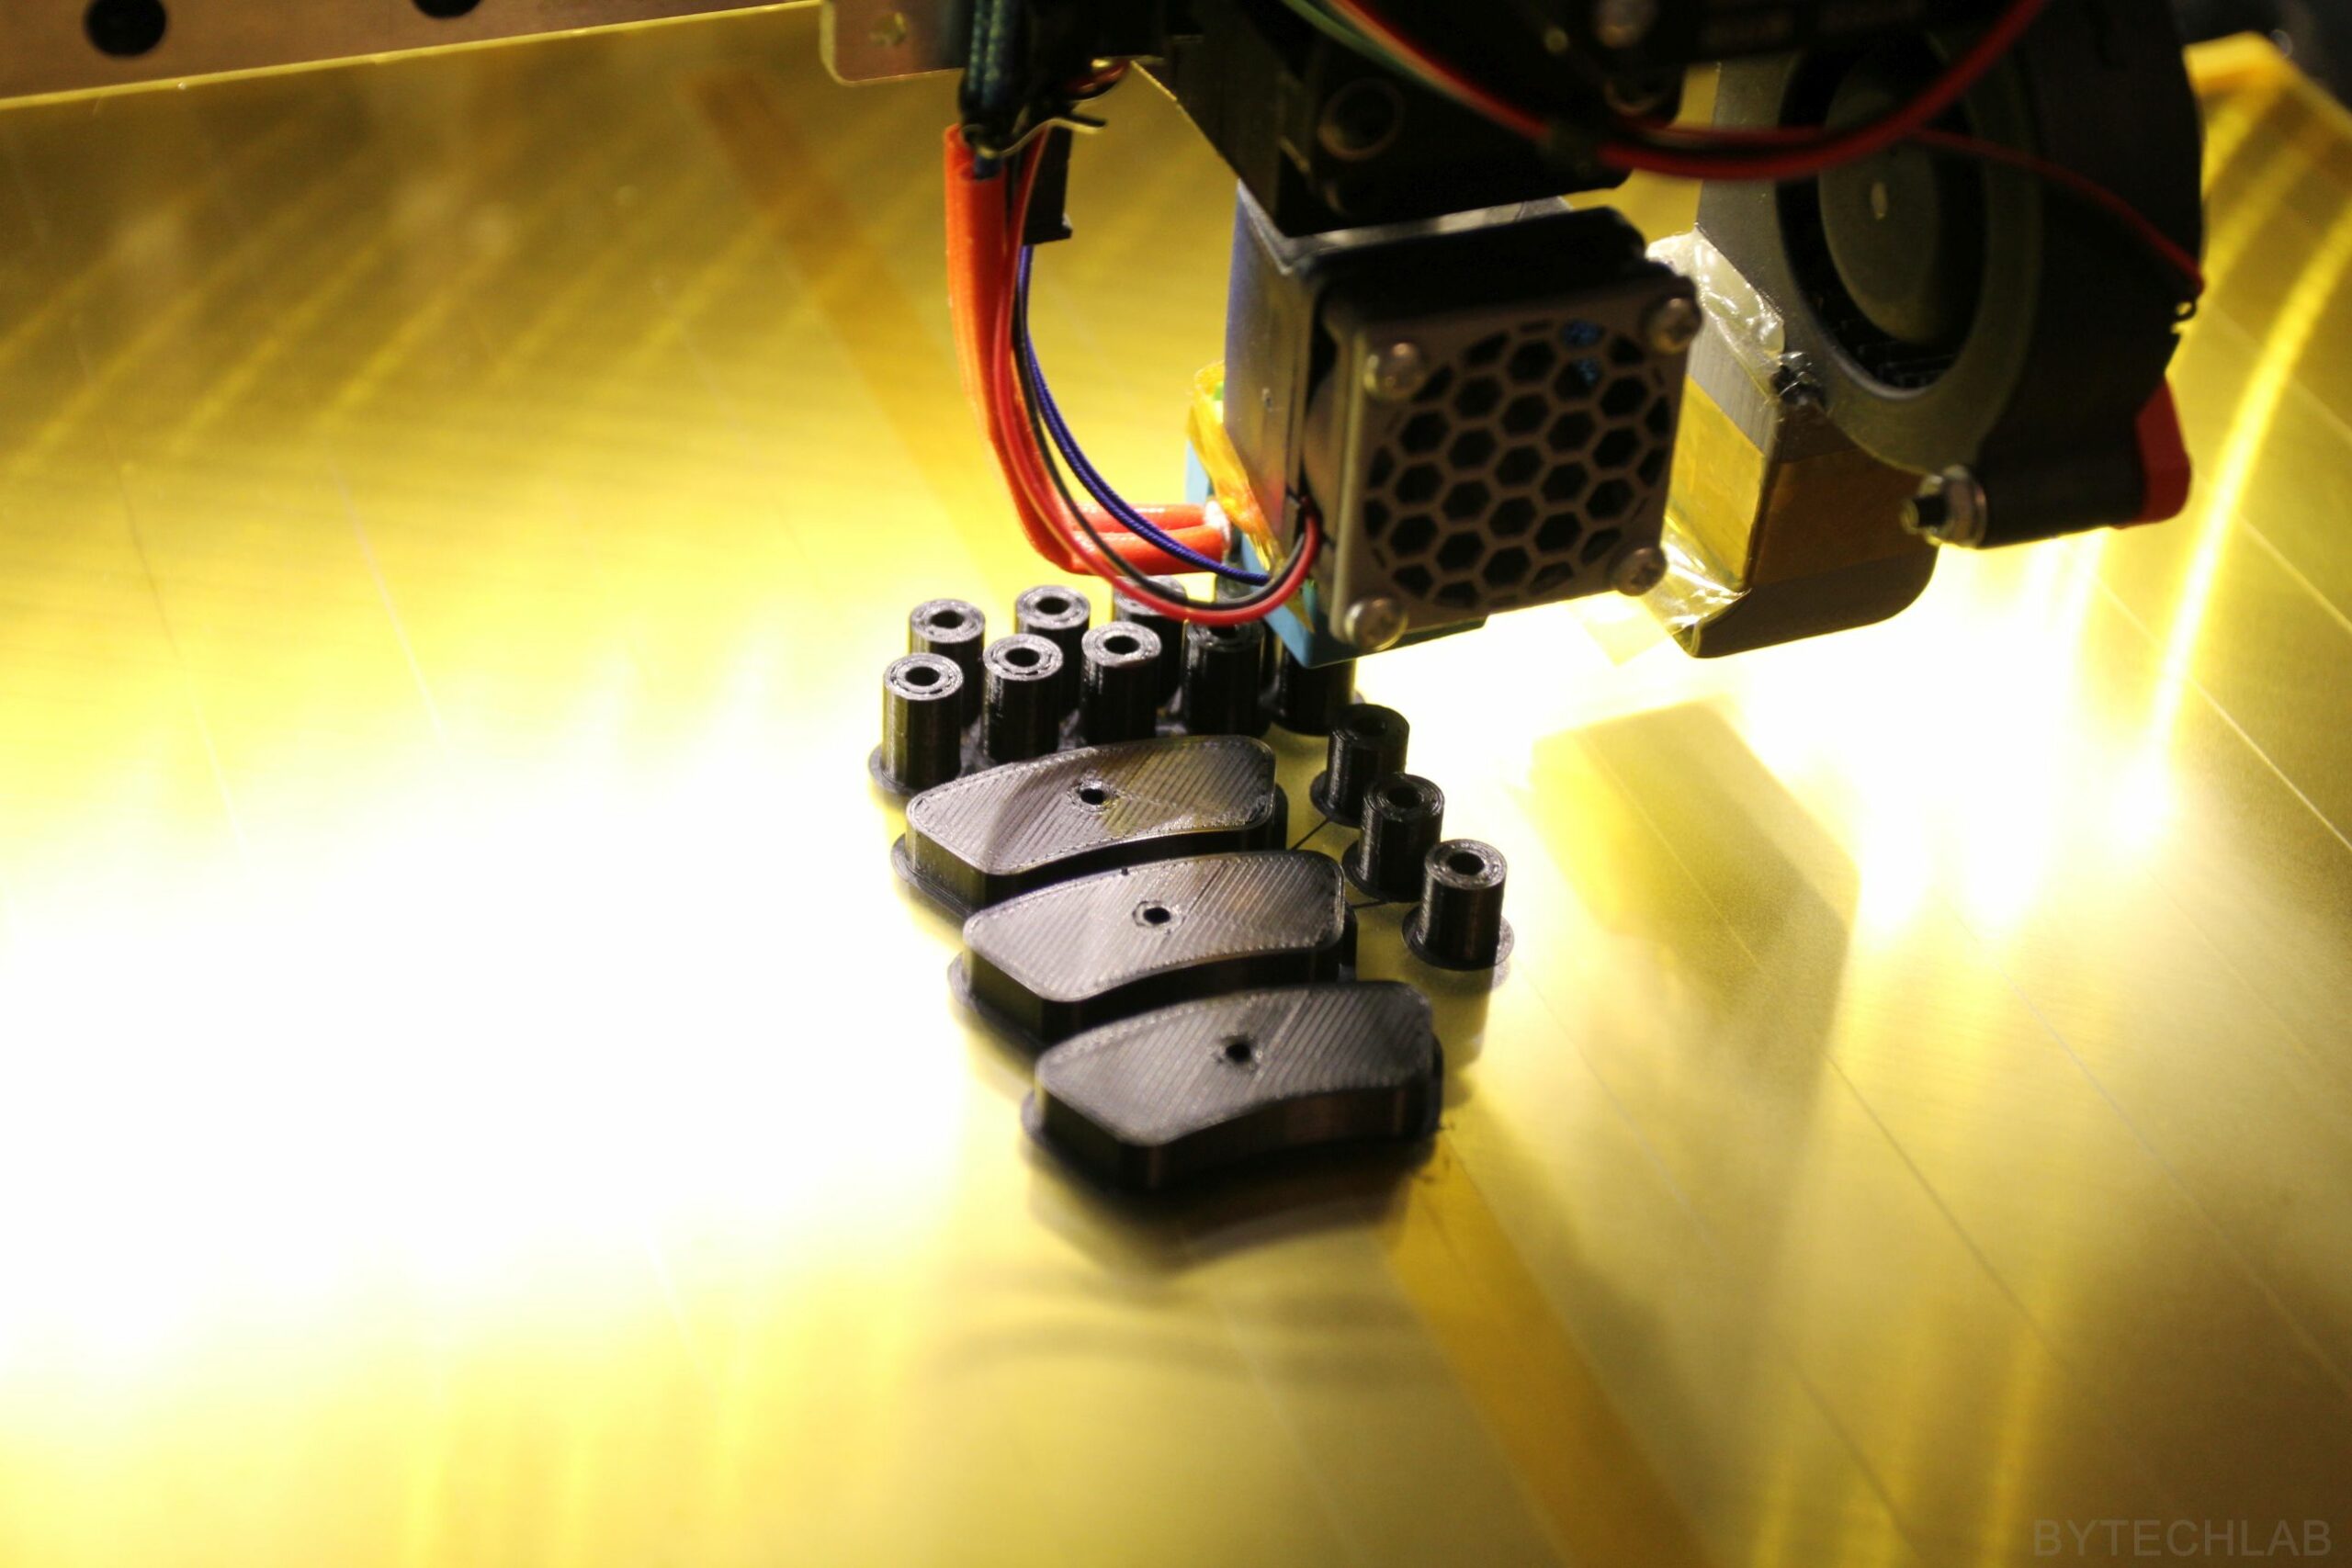
I have used my [RAPTOR XLS 360] 3D printer to print some parts for this LED Tree project ( standoffs , foot , etc. ).
SUMMARY
The LED tree works really nice. I think that a tree with much more branches would look so much better. But I think I would need to use a digital approach to handle more branches ( analog circuit is way too big and too complicated ).